

This is my little online home where we celebrate life's real magic - the warm connections, simple self-care rituals, and those quiet moments that stay with you.
What I do here:
• Craft stories and tips to brighten your everyday
• Build a space where everyone feels welcome
• Make each visit worth your while - whether you need quick advice or food for thought
My superpowers? Turning ordinary moments into something special through words that actually mean something.
Off-screen, I'm probably:
☕ Curled up with a book that changes my perspective
🎨 Trying some new creative hobby
🌿 Noticing the small wonders we usually rush past
So glad you're here - let's make something meaningful together!
Youtube: https://www.youtube.com/@FamilyGoods
- 100 Attractions in the World 2025 In-Depth Guide - 05/13/2025
- 100 Best Life Hacks 2025 In-Depth Guide - 05/12/2025
- 100 Easy Dinner Ideas 2025 In-Depth Guide - 05/09/2025
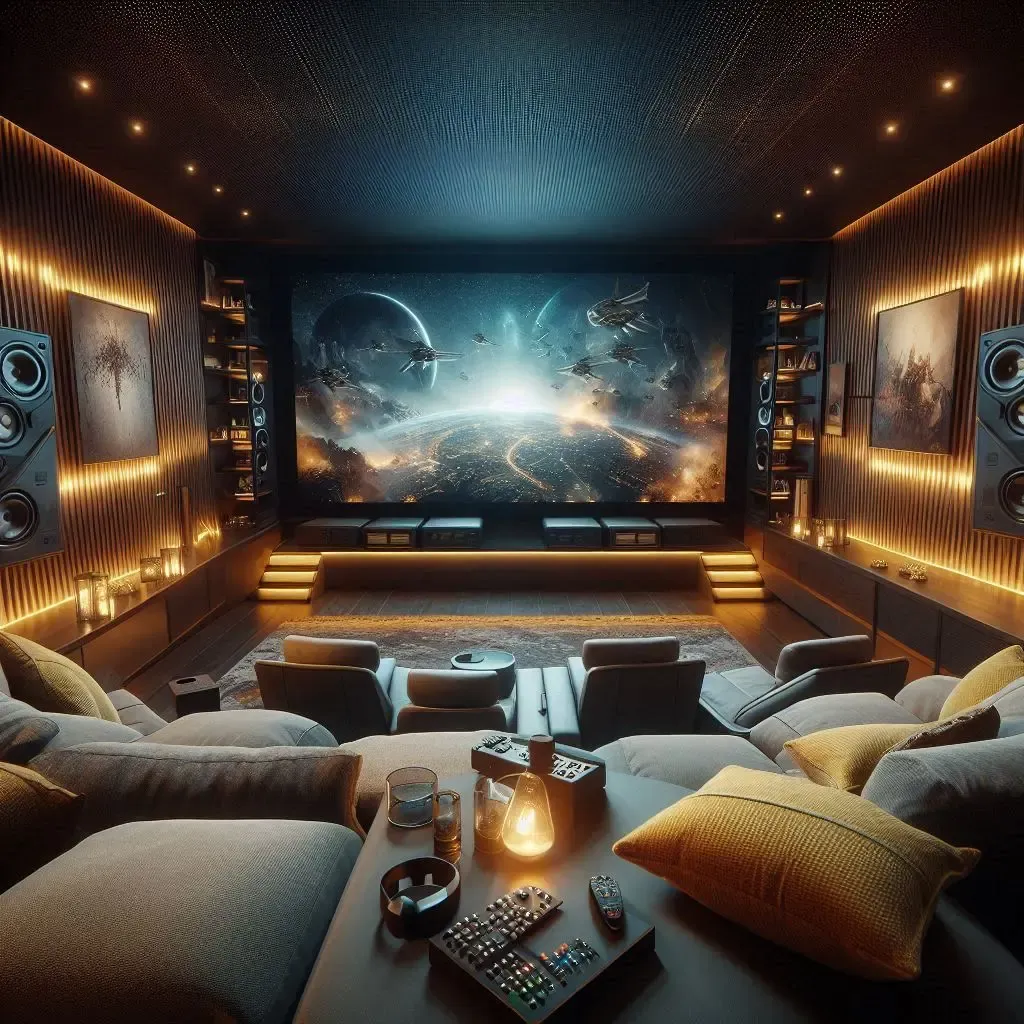
Table of Contents
Best Practices for Home Theatre Installation: A Complete Guide
Creating a home theatre is a dream for many, offering the luxury of a cinematic experience without leaving your home. However, the difference between an average setup and an exceptional one lies in the details of the installation. This guide will walk you through the essential steps and considerations to achieve the best home theatre installation.
Step 1: Planning Your Space
The first and most crucial step in setting up a home theatre is planning the space. The room’s size, shape, and layout will significantly impact the overall experience.
- Room Selection:
- Dedicated Room vs. Multi-Use Space: A dedicated home theatre room is ideal as it allows you to control lighting, acoustics, and seating without compromise. However, if you are using a multi-purpose space, careful planning can still yield excellent results.
- Room Shape: Rectangular rooms are preferable for home theatres because they offer better sound distribution compared to square rooms, which can cause sound reflections.
- Seating Arrangement:
- Viewing Distance: The distance between your seating and the screen should be 1.5 to 2.5 times the diagonal size of the screen. This ensures that you’re close enough to appreciate the details but far enough to avoid seeing individual pixels.
- Seating Comfort: Opt for comfortable seating with appropriate headrests and reclining features. If possible, stagger the seating or elevate the back rows to provide an unobstructed view.
- Lighting Control:
- Ambient Light Management: Use blackout curtains or shades to block out natural light, which can wash out the screen image. Install dimmable lighting to create the perfect movie-watching ambiance.
Step 2: Choosing the Right Equipment
The quality of your home theatre experience is heavily dependent on the equipment you choose.
- Display Options:
- Television vs. Projector: For screen sizes under 75 inches, a high-end television, particularly an OLED or QLED model, might be the best choice. For larger screen sizes, a 4K projector paired with a high-quality screen can offer a true cinematic experience.
- Screen Size and Resolution: Aim for at least 4K resolution for sharp, detailed images. Consider the screen size in relation to your room’s dimensions to avoid overwhelming the space.
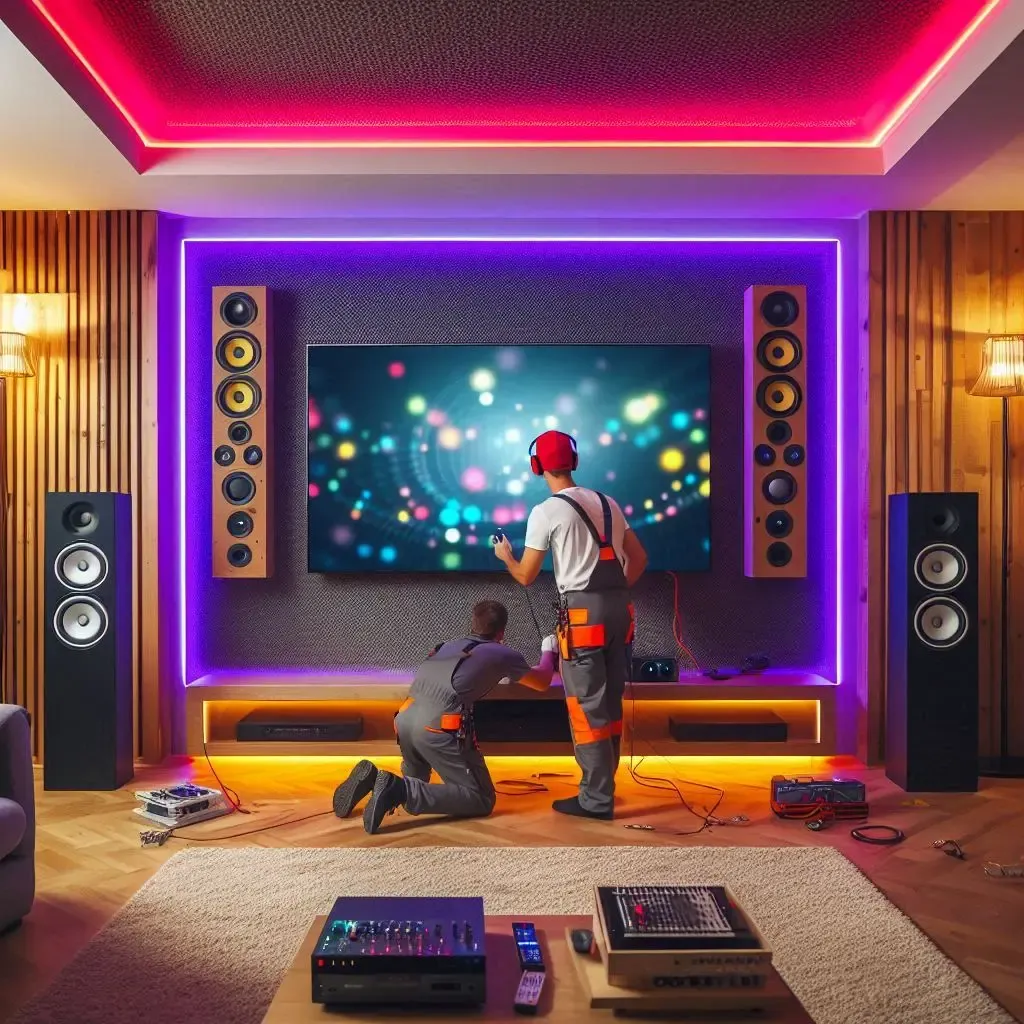
- Audio System:
- Surround Sound Setup: A 5.1 or 7.1 surround sound system, which includes multiple speakers and a subwoofer, is essential for immersive audio. For those seeking the best experience, a Dolby Atmos setup, which adds overhead sound channels, can create a three-dimensional sound field.
- Speaker Placement: Front speakers should be at ear level, with the center speaker directly above or below the screen. Rear speakers should be placed slightly behind and to the sides of the seating area. The subwoofer should be placed in a corner or along a wall to enhance bass response.
- AV Receiver:
- The AV receiver is the hub of your home theatre system, connecting and powering your speakers, display, and media sources. Choose a receiver that supports the latest audio formats and offers enough HDMI inputs for your devices.
- Source Components:
- Streaming Devices and Blu-ray Players: Ensure your streaming device or Blu-ray player supports 4K HDR content for the best picture quality. For gamers, consider a gaming console that offers 4K resolution and high frame rates.
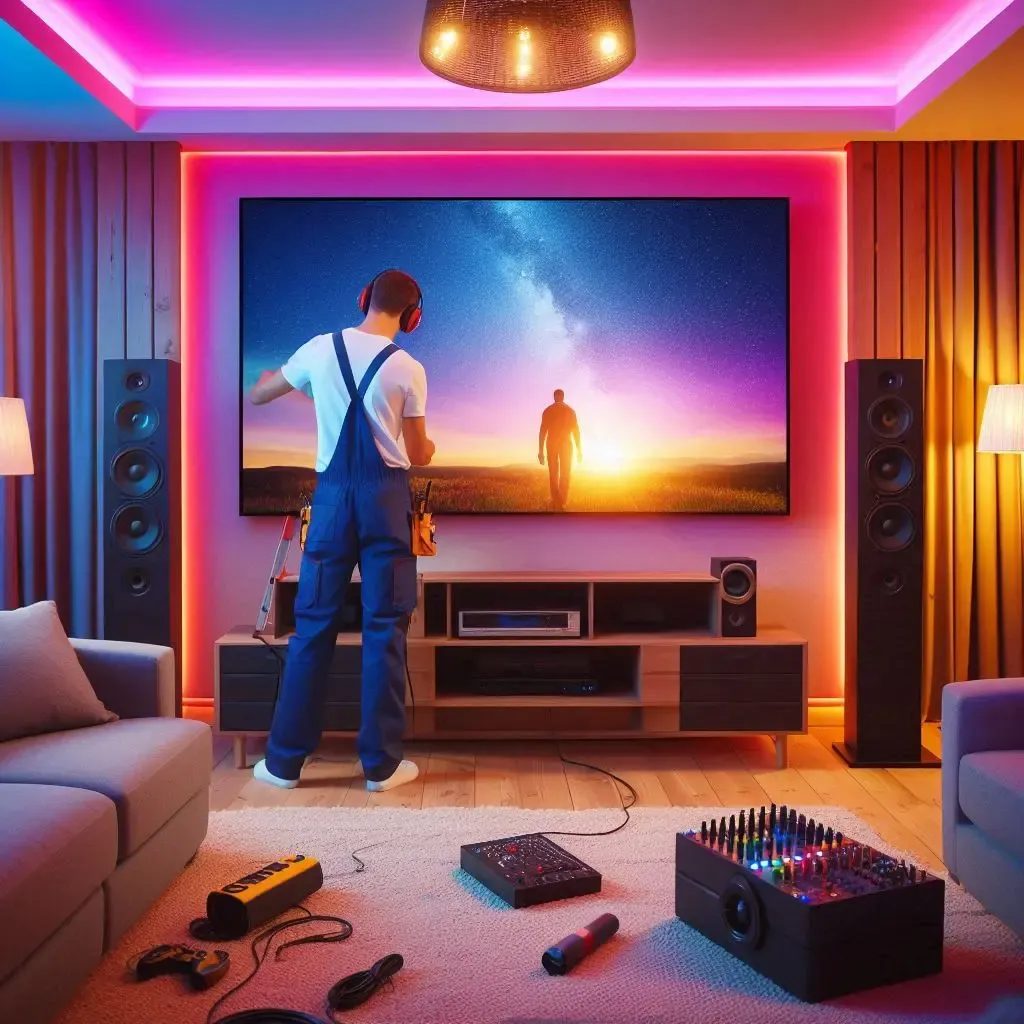
Step 3: Installation and Setup
Once you have your equipment, the installation phase is critical to achieving optimal performance.
- Display Installation:
- Mounting: Wall-mounting your TV or ceiling-mounting your projector can save space and enhance the viewing experience. Ensure the mount is secure and at the correct height for comfortable viewing.
- Speaker Placement and Calibration:
- Use a sound level meter or the auto-calibration feature on your AV receiver to adjust speaker levels and distances. Proper calibration ensures balanced sound throughout the room.
- Cable Management:
- Keep your installation tidy by using cable management solutions like cable ties, raceways, or in-wall conduits. This not only improves the aesthetics but also makes future maintenance easier.
- Ventilation:
- Ensure that your equipment, especially the AV receiver and projector, has adequate ventilation to prevent overheating. Overheating can reduce the lifespan of your components and cause performance issues.
Step 4: Fine-Tuning and Personalization
After installation, spend time fine-tuning your system. Play different types of content to test the sound and picture quality, making adjustments as needed.
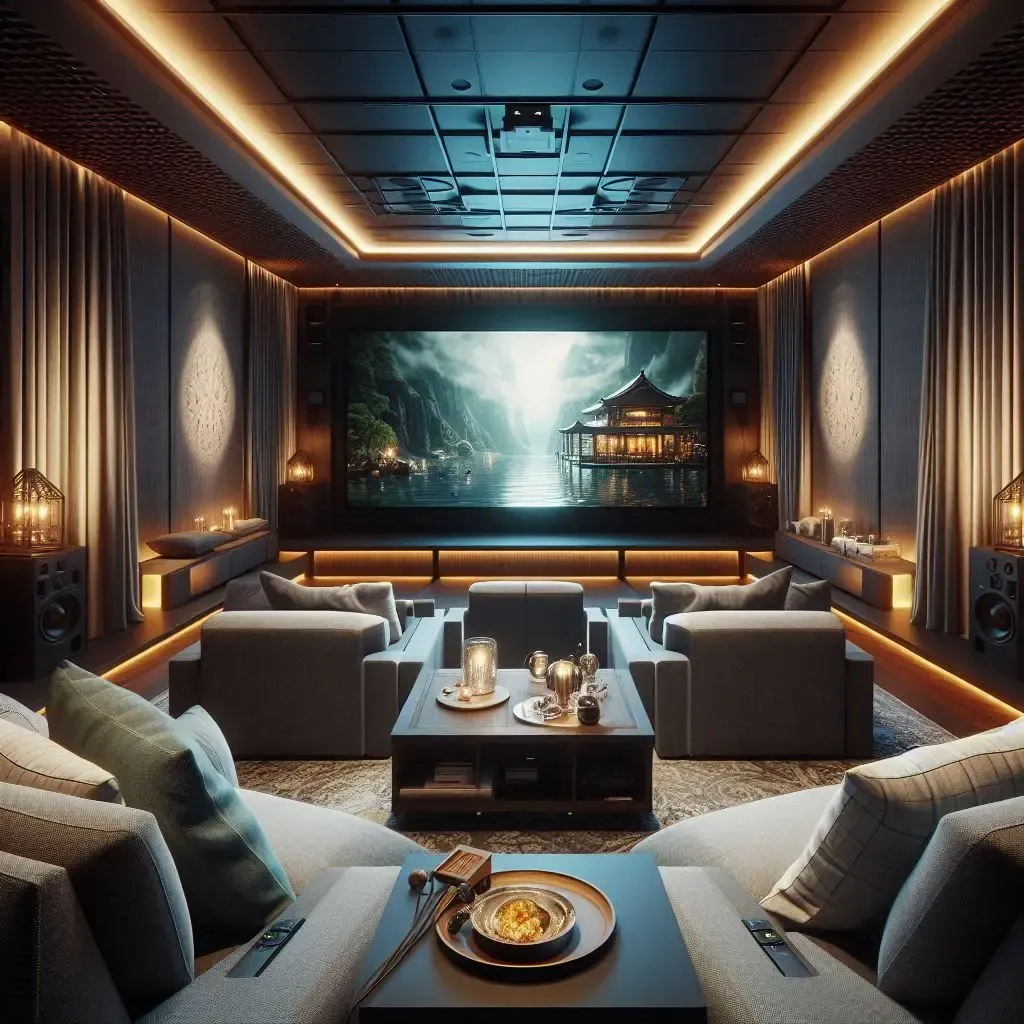
- Acoustic Treatments:
- Consider adding acoustic panels, heavy curtains, or rugs to reduce sound reflections and improve audio clarity.
- Smart Home Integration:
- Incorporate smart home technology to control your lighting, sound, and screen settings through a single app or voice command, enhancing convenience and user experience.
- Personal Touches:
- Add personal touches like custom seating, themed decor, or even a popcorn machine to make your home theatre a true reflection of your style.
Conclusion
A well-executed home theatre installation can provide years of entertainment and elevate your home’s value. By carefully planning your space, selecting the right equipment, and paying attention to installation details, you can create a home theatre that rivals any commercial cinema. Enjoy the luxury of a perfect movie night, every night!
2024 Black Myth: Wukong Review – love a happy home (loveahh.com)
- 100 Attractions in the World 2025 In-Depth Guide

- Amazon Best Sellers in Clothing Shoes: Top 10 2025

- Walmart Photo Center: The Ultimate Guide 2025

- Capybara as a Pet: The Ultimate Guide 2025

- Top 100 Attractions in the World 2025

- US Female Movie Stars Top 10

- Who is the Most Handsome Man in the World?

- Top 100 Party Entertainment Ideas 2025

- 100 Best Dad Jokes That Never Get Old 2025

- US Male Movie Stars Top 10

- How to Make Slime: A Comprehensive Guide 2025

- YouTube History Top 10 Funny Videos 2025 In-Depth

- How to Make a Paper Airplane: Complete Guide 2025

- Can Dogs Eat Fruit? A Comprehensive Guide 2025

- The Funniest Dad Jokes 2025 In-Depth Guide

- Guess What Jokes: 2025 A Playful Exploration