- How to Be Funny Ultimate 2025 Guide - 07/21/2025
- 100 Best Guess What Jokes Ultimate 2025 Guide - 07/21/2025
- What the Difference Between Jokes? 2025 In-Depth - 07/21/2025
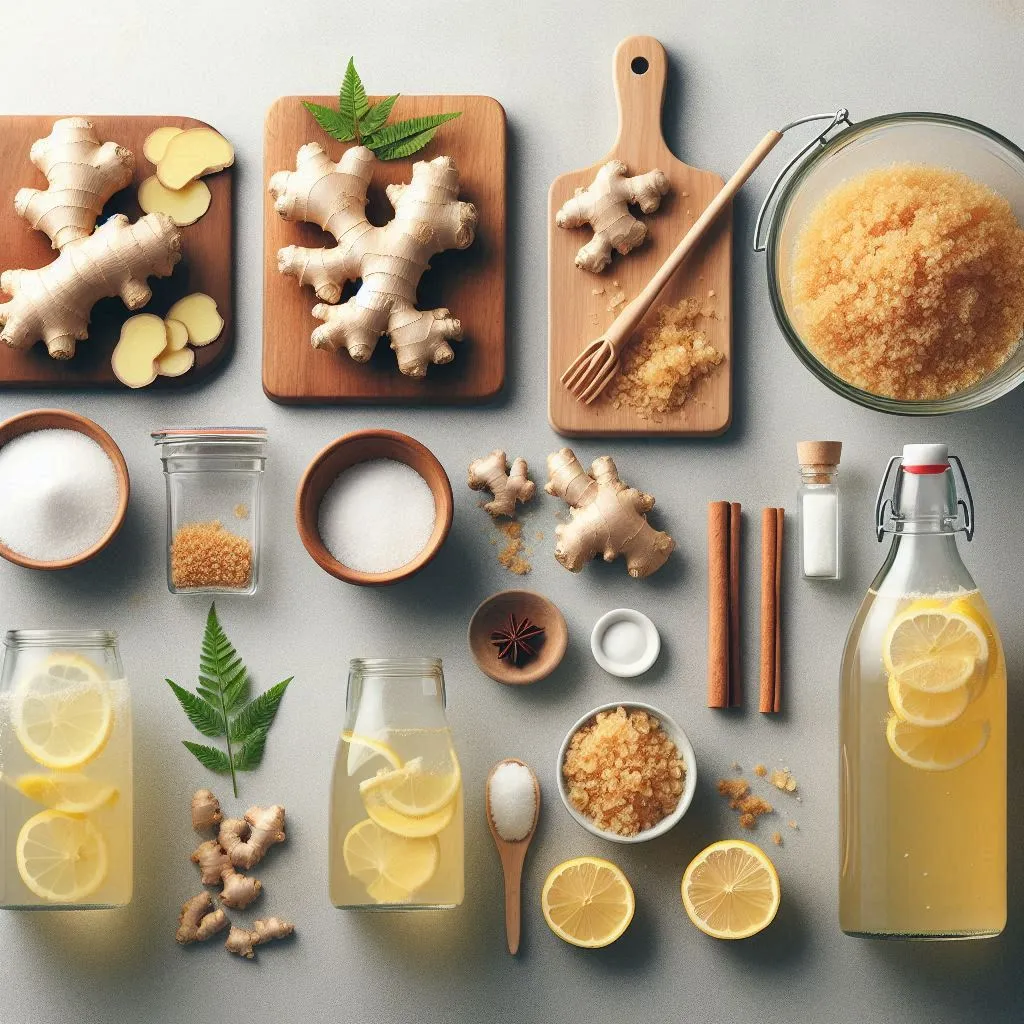
Table of Contents
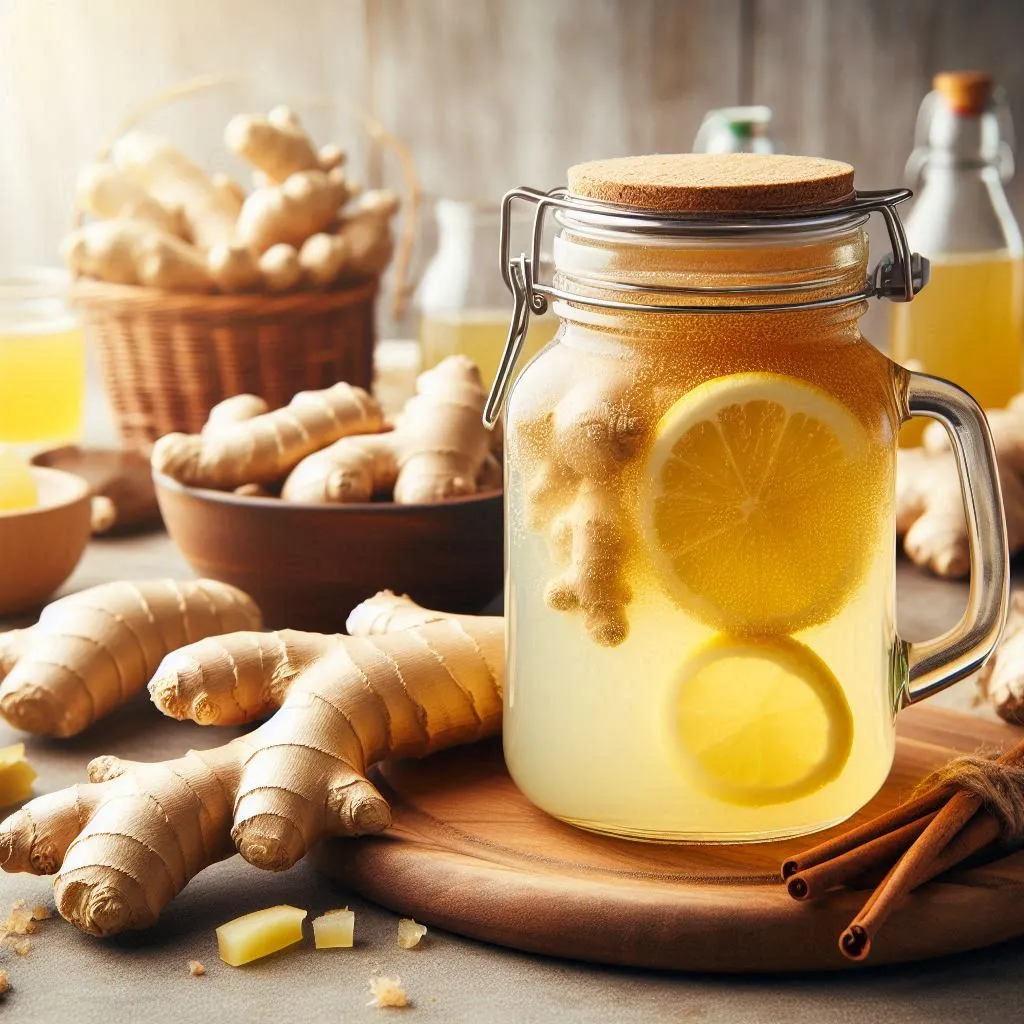
Making ginger beer is a magical, fizzy adventure that involves a mix of spicy ginger, sugar, and a touch of alchemy (okay, it’s just fermentation, but “alchemy” sounds cooler). Whether you’re the kind of person who loves a good homemade beverage, or you’re just tired of paying for overpriced ginger beers that make your wallet scream, this guide will help you create your very own fizzy drink—right in your kitchen!
Step 1: Gather Your Ingredients
Before we dive into the bubbling chaos, we need supplies. Here’s what you’ll need:
- Ginger: Obviously. About 100-150g of fresh ginger. It’s the star of the show!
- Sugar: 200g of regular sugar. Don’t skimp! Sugar’s what makes it bubbly.
- Lemon: Because ginger beer without a little lemon is like a joke without a punchline.
- Water: About 2 liters. If you’re feeling fancy, use filtered water, but tap works too.
- Yeast: Just a tiny bit. We’re making ginger beer, not ginger champagne.
- Bottles: Preferably ones that won’t explode. Trust me on this one—learn from my mistakes.
Now, some of you might be thinking, “Yeast? Isn’t that for bread?” Yes, but here, yeast is the tiny engine that will turn your sweet ginger drink into a bubbly extravaganza. It’s like a little colony of microscopic party animals who eat sugar and burp bubbles. Delightful, right?
Step 2: Prep the Ginger
Alright, time to get up close and personal with the ginger. Peel it. How? Well, you can use a knife like a normal person, or go rogue and use the back of a spoon. Yes, a spoon! It’s weird but effective, and you won’t lose as much ginger.
Next, grate the ginger like your life depends on it. (Or at least like the quality of your ginger beer does.) You want that stuff shredded down to tiny bits, like the aftermath of a toddler’s rampage through a paper shredder. It should look like a spicy mush when you’re done.
Step 3: Boil the Ginger
Take your grated ginger, toss it into a pot, and pour in about 500ml of water. Add the sugar too—remember, this isn’t diet ginger beer. We need the sugar for carbonation! Bring this concoction to a boil, which is essentially the ginger equivalent of a spa day. Let it simmer for about 5-10 minutes, then take it off the heat.
Now, stand back and appreciate the aroma. It’s like nature’s way of slapping your nose with flavor.
Step 4: Cool the Mixture
This part is critical. Do NOT add yeast to a boiling liquid unless you enjoy the idea of killing them off in a ginger sauna. Let the mixture cool down. You can speed things up by adding some cold water if you’re impatient (who isn’t?).
Once it’s cool enough (lukewarm or a bit cooler), strain the mixture into a large container or jug. Congratulations, you’ve made ginger syrup. But don’t stop there! The best is yet to come.
Step 5: Yeast Time!
Now, we introduce our sugar-gobbling friends. Add just a tiny pinch (about ¼ teaspoon) of yeast to the ginger syrup. Remember, yeast is powerful stuff. It’s like that one friend who shows up to the party and suddenly things get crazy. Too much yeast, and your ginger beer will be more explosive than fizzy.
Give it a good stir, because yeast needs to spread its magic evenly throughout the liquid. At this point, you can also squeeze in some lemon juice for a bit of tang. It’s like adding a zesty plot twist to your already fabulous story.
Step 6: Bottling and Fermentation
Now for the tricky part: bottling. Pour your ginger-yeast-sugar-water into clean, sturdy bottles. And for the love of fizzy drinks, do not fill the bottles to the top! Leave some space for the carbonation to build up, or you’ll end up with an explosive disaster. And by explosive, I mean you’ll have ginger beer erupting all over your kitchen like a mini volcano. Not as cool as it sounds.
Seal the bottles tightly and let them sit at room temperature for about 24-48 hours. During this time, the yeast will do its job, turning the sugar into carbon dioxide. If all goes well, the next time you check on them, you’ll have ginger beer with bubbles!
Step 7: Taste Test
After a day or two of fermenting, pop open a bottle (carefully) and give it a taste. If it’s fizzy and has that spicy ginger kick, congratulations! You’ve officially created ginger beer. If it’s too sweet, leave it a bit longer to ferment. If it’s too yeasty, well, maybe you got a little carried away with the yeast—happens to the best of us.
Pro tip: Once your ginger beer is as fizzy as you want, store it in the fridge to slow down the fermentation process. This will prevent it from getting too bubbly. Unless, of course, you’re aiming for the ginger beer equivalent of Mentos and Coke.
Step 8: Enjoy!
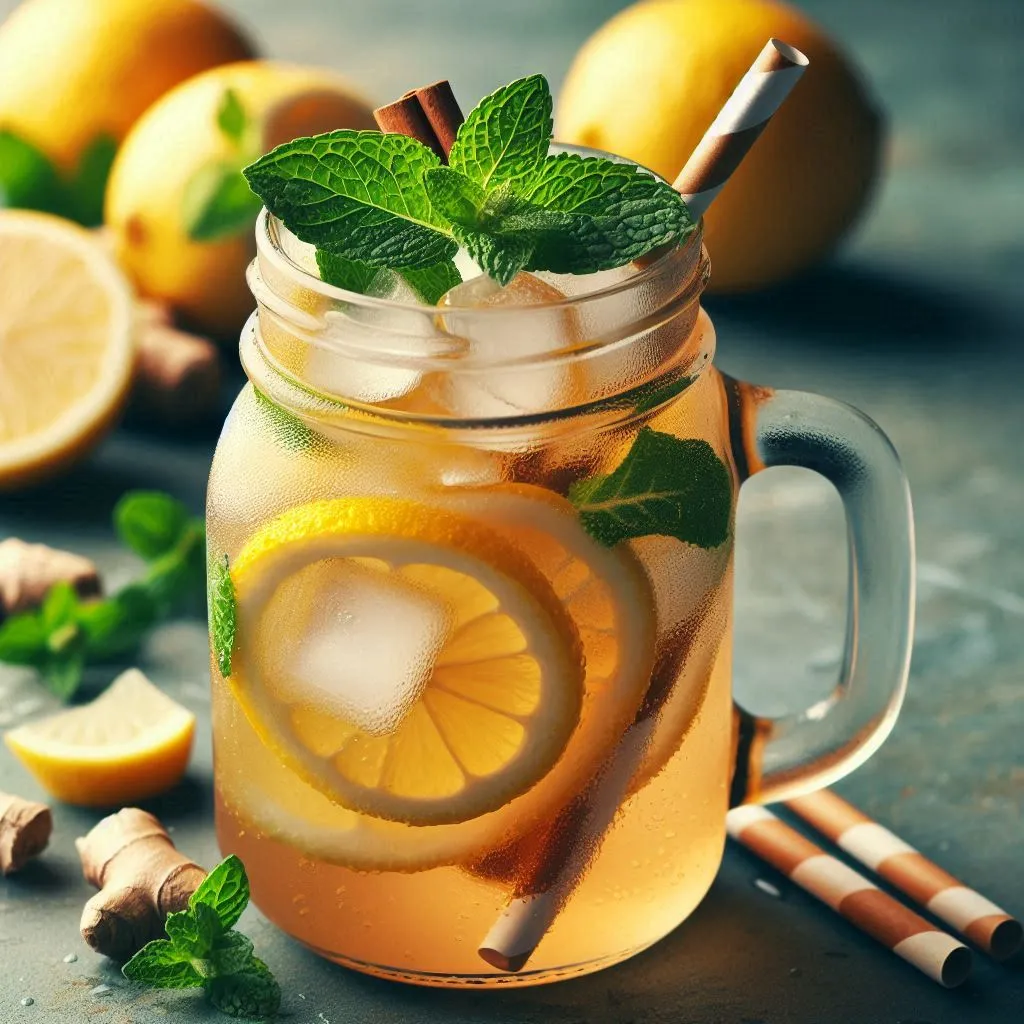
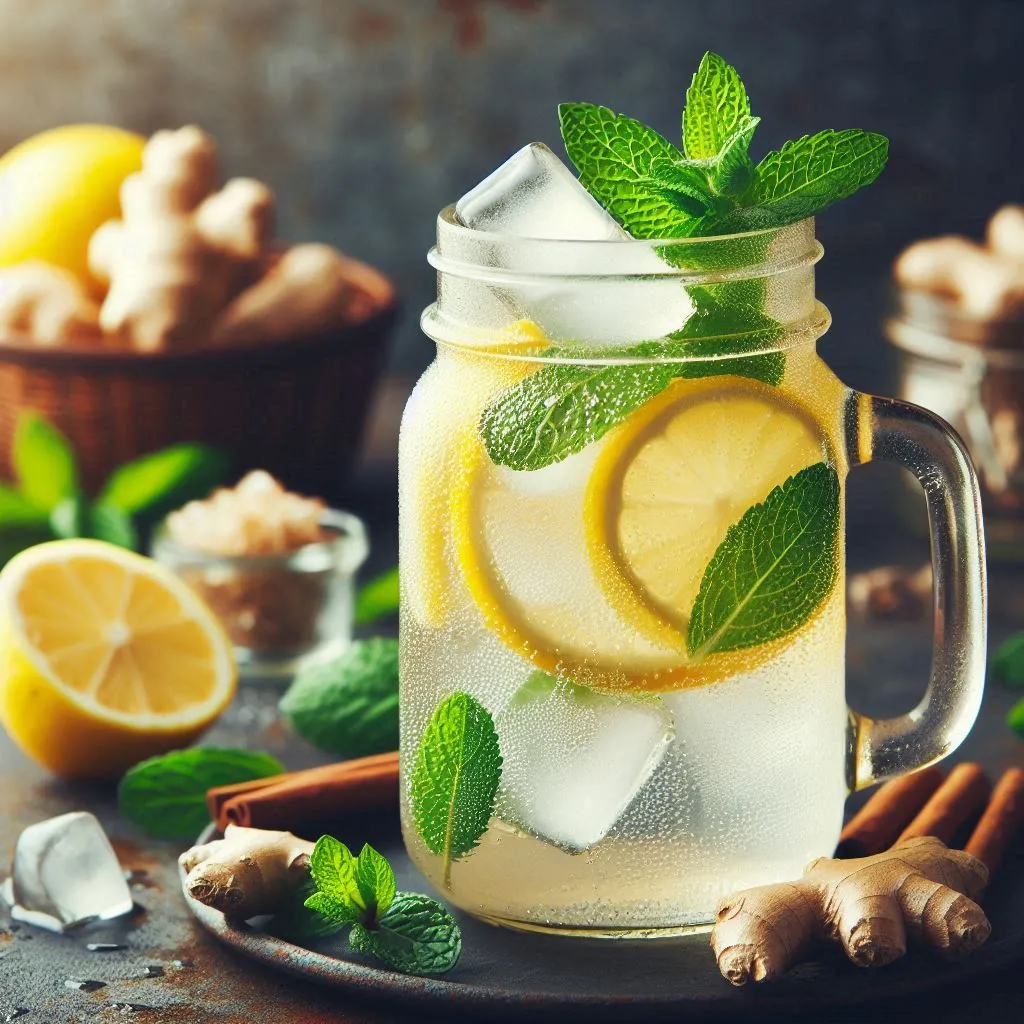
Crack open a cold one and savor that sweet, spicy, bubbly goodness. You’ve just made your own ginger beer, from scratch! Whether you’re sipping it straight, mixing it into a Moscow Mule, or casually bragging to your friends about your brewing skills, take a moment to bask in the glory of your newfound talent.
And there you have it! Making ginger beer is fun, easy, and just a little dangerous—like riding a unicycle or juggling knives. But hey, the reward is worth it. Cheers to your success, and may your future be as fizzy as your ginger beer!
Family Food – love a happy home (loveahh.com)
- SpongeBob Party Drink: 2025 In-Depth Guide
- 100 Unique Drink Ideas: A Comprehensive Guide 2025
- How to Make Ginger Beer(6 Steps Funny style)
- Best Ginger Beer(6 Best Choices)
- Fever Tree Ginger Beer Review(Funny Style)
- Ginger Beer vs Ginger Ale(1 In-Depth Guide)
- Best Beer in the World(Legendary Status)
- Corona Non-Alcoholic Beer Review(Funny style)
- Heineken 0.0: The Beer That Won’t Call You at 3 AM
- Best Non-Alcoholic Beer(6 Best Choices)
- How to Make Root Beer at Home: A Simple Guide
- How to Make a Root Beer Float(1 Perfect Guide)
- Best Spongebob Party Drink(2 Perfect Options)
- Best Spongebob Alcohol Drink: Pineapple Punch
- SpongeBob Party Drink: Creative In-Depth 2025
- Creative SpongeBob Party Drink(Dive into the Fun)
🌍 Ultimate Travel & Adventure Gear – Limited-Time Amazon Deals! 🚀
Get ready for your next adventure with these top-rated travel and outdoor essentials, now available on Amazon with exclusive limited-time discounts!
🎒 SHRRADOO Extra Large 50L Travel Laptop Backpack – Airline-approved, spacious, and equipped with a USB charging port, perfect for business trips and college students.
🔗 Shop Now on Amazon
🎖️ REEBOW GEAR Military Tactical Backpack – A durable, army-style MOLLE bag, ideal for hiking, camping, and 3-day survival trips.
🔗 Shop Now on Amazon
📷 DJI Osmo Action 4 Essential Combo – A waterproof 4K/120fps action camera with exceptional low-light imaging, built for extreme sports and travel.
🔗 Shop Now on Amazon
🔥 GoPro HERO8 Black Bundle – Includes HERO8 Black camera, head strap, Shorty, 32GB SD card, and extra batteries, making it the ultimate travel vlog companion.
🔗 Shop Now on Amazon
🛸 DJI Mini 3 Pro (DJI RC) Drone – A lightweight, 4K camera drone with obstacle sensing and 34-minute flight time, perfect for capturing stunning aerial shots.
🔗 Shop Now on Amazon
✨ Limited-time deals available now! Don’t miss out – gear up for your next adventure today! ✨
🌟 Amazon Top Picks – Enhance Your Smart Life & Home! 🌟
Upgrade your home and workspace with these Amazon bestsellers, designed to make your life smarter, more efficient, and more comfortable. Limited-time discounts available – shop now!
🔥 Featured Amazon Deals 🔥
✅ Amazon Smart Plug (2-Pack) – Works with Alexa
Control your devices with simple voice commands! Perfect for smart home automation.
👉 Shop now on Amazon!
✅ Philips Hue A19 LED Smart Light Bulb (3-Pack) – White & Color Ambiance
Set the mood with customizable colors and smart control through Alexa, Google Assistant, or Apple HomeKit.
👉 Get it today on Amazon!
✅ SOUNDANCE Laptop Stand – Ergonomic Aluminum Riser
Boost your posture with this sleek, durable laptop stand. Compatible with 10–15.6 inch laptops.
👉 Order now on Amazon!
✅ Logitech Studio Series Mouse Pad – Anti-Slip & Spill-Resistant
Enjoy smooth gliding and durability with this stylish, easy-to-clean mouse pad.
👉 Buy it now on Amazon!
✅ FoodSaver Vacuum Sealer Bags (3-Pack) – Airtight & BPA-Free
Keep food fresh longer and make meal prep a breeze with these vacuum sealer bags.
👉 Get it now on Amazon!
⏳ Limited-Time Offers – Don’t Miss Out!
Take advantage of exclusive Amazon discounts on these game-changing products before the offers end! 🚀
🔥 Amazon’s Top Picks for a Quick & Easy Breakfast! 🔥
Don’t miss breakfast again! Make your own delicious breakfast at home with these Amazon bestsellers – easy, fast, and hassle-free! 🍳🥪🍩
🎁 🚀 Limited-Time Deals – Get Yours Now! ⏳
✅ DASH Mini Waffle Maker – Make Perfect Waffles Anytime! ❤️
✔ Non-stick, easy to clean & perfect for waffles, paninis & more!
✅ DASH Mini Donut Maker – Fun & Kid-Friendly Treats! 🍩
✔ Makes 7 mini donuts in minutes – perfect for snacks & desserts!
✅ OVENTE Electric Sandwich Maker – Quick & Tasty Meals! 🥪
✔ Cooks sandwiches, grilled cheese & more with easy cleanup!
👉 Shop Now on Amazon & Grab These Deals Before They're Gone! 🚀
🌟 Featured Recommendations 🌟
Check out these amazing perfumes available on Amazon! Whether you're looking for a sweet floral scent or a warm, vanilla-based fragrance, these options are perfect for every occasion. 🛍️✨
- Lancôme La Vie Est Belle Eau de Parfum
Long-lasting fragrance with notes of iris, earthy patchouli, warm vanilla, and spun sugar. A perfect blend of floral & sweet for any woman.
💐🌸 Shop on Amazon - DKNY Be Delicious Eau de Parfum
A vibrant and fresh fragrance that captures the essence of New York with fruity notes and a modern twist.
🍏🍋 Shop on Amazon - Ed Hardy Women's Perfume by Christian Audigier
A bold, edgy fragrance with a mix of floral and fruity notes for the confident woman.
🌹🍓 Shop on Amazon - Gucci Bamboo by Gucci for Women
Elegant and refined, with notes of floral and citrus, this fragrance embodies grace and sophistication.
🌿🍊 Shop on Amazon - Viktor & Rolf Flowerbomb Eau de Parfum
A captivating floral and woody scent with hints of vanilla, jasmine, and rose, perfect for any special occasion.
🌹✨ Shop on Amazon
These products are all available on Amazon, so click the links and discover your new signature scent today! 💖🎁
If you’ve made it this far and felt even the slightest spark of connection,
how about buying me a coffee? ☕
Your support is the reason I keep writing 💌
Tip whatever you like ✨❤️

