- Top 10 Celsius Drink: The Ultimate 2025 Guide - 08/07/2025
- Prime Drink Comprehensive Deep Dive 2025 (10K+ word) - 08/05/2025
- Top Alani Energy Drink: 2025 Deep Dive(10K+ word) - 08/04/2025

Table of Contents
How to Achieve the Perfect Glazed Donut Nails: A Step-by-Step Guide
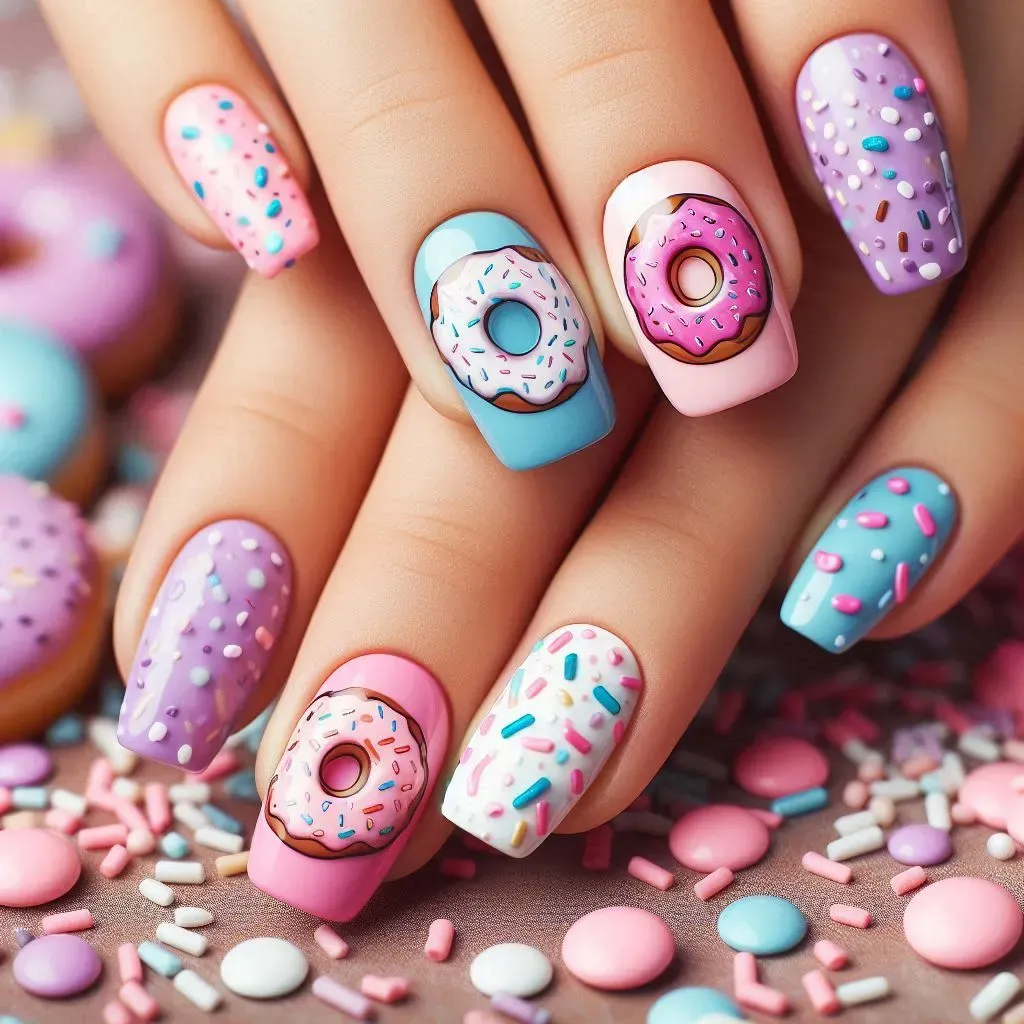
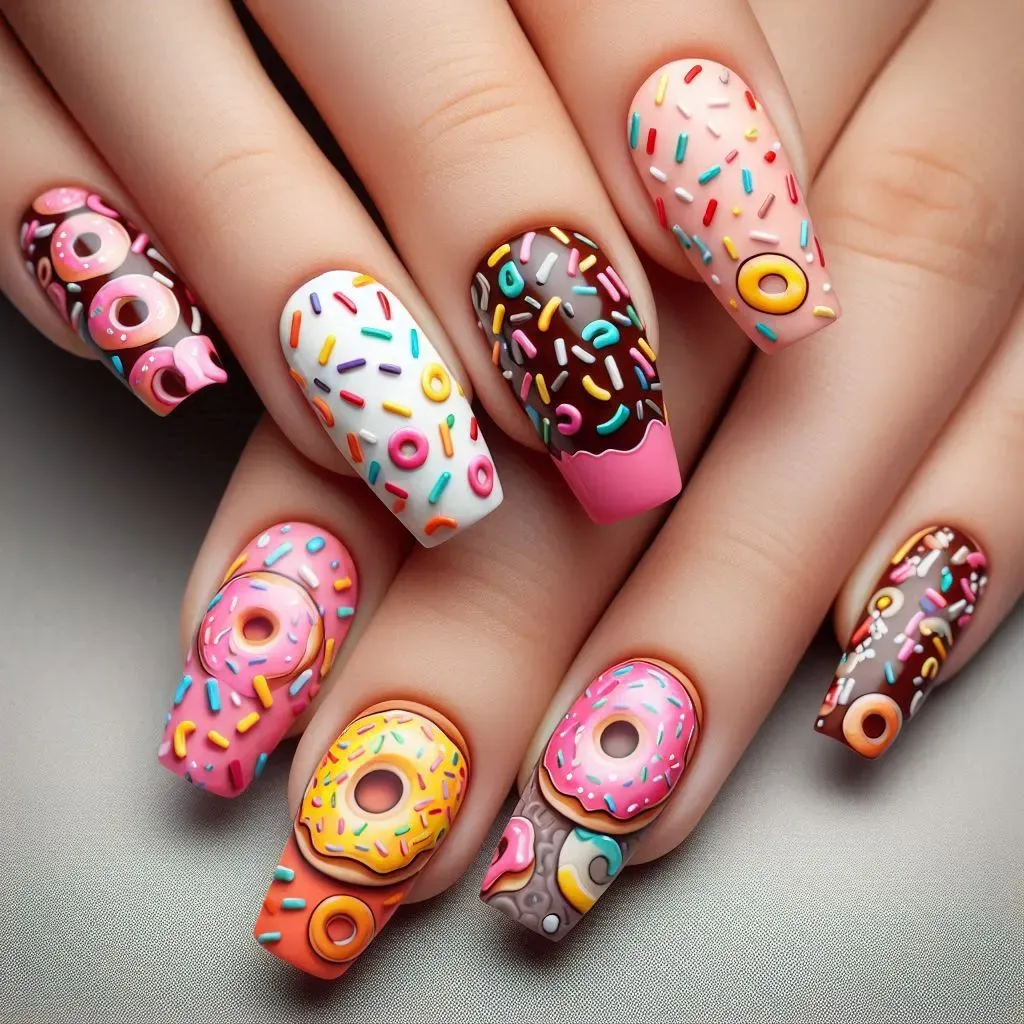
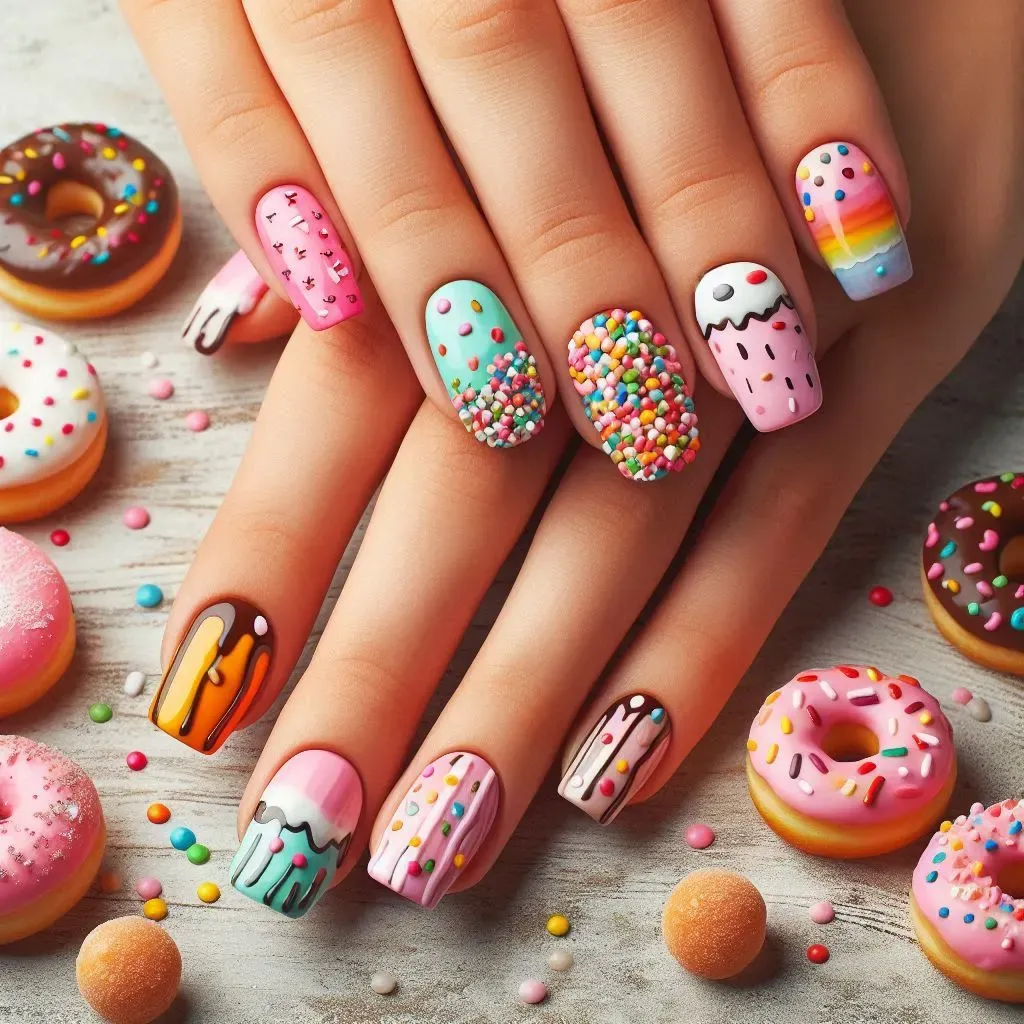
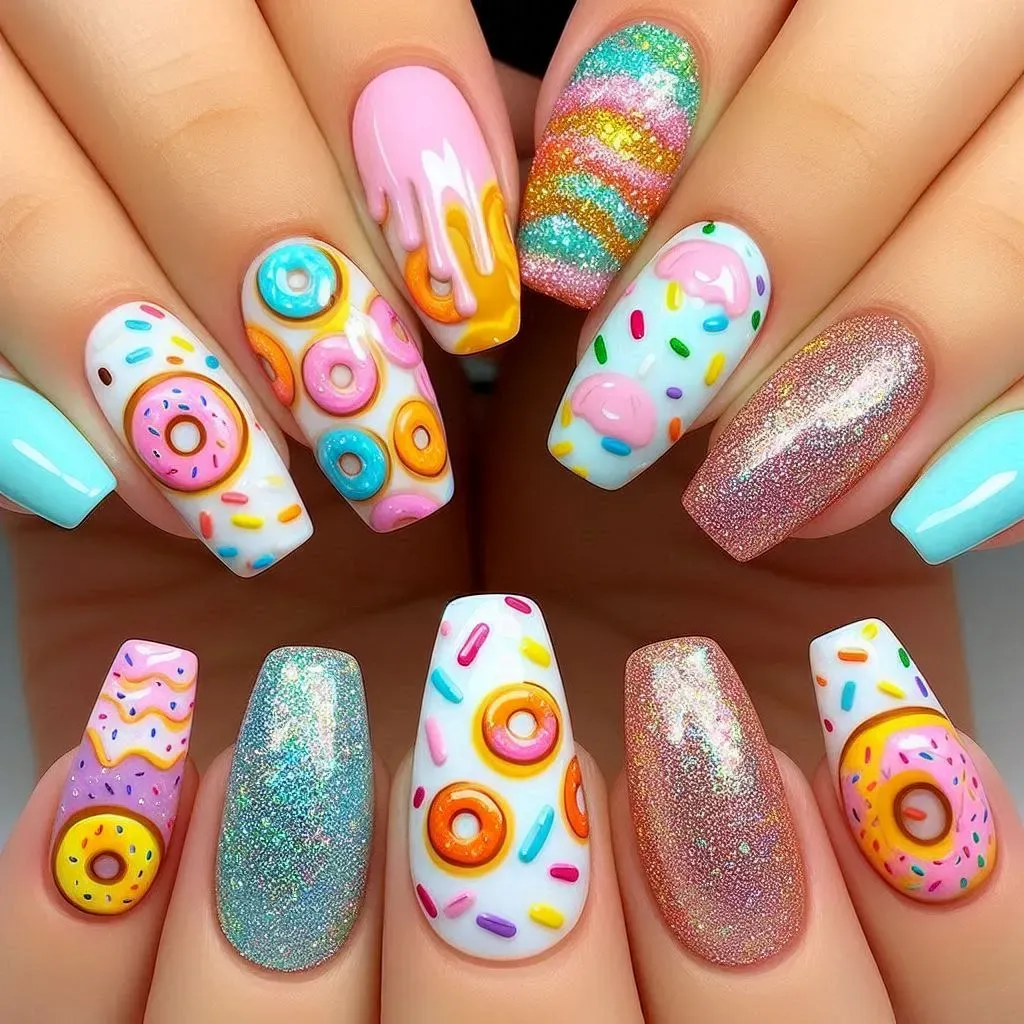
The “glazed donut nails” trend has taken the beauty world by storm, and for a good reason. This chic, sleek look combines the soft sheen of a glazed donut with a polished, pearlescent finish on your nails, offering a clean yet glamorous aesthetic. If you’ve been admiring this trend and wondering how to achieve it at home, you’re in the right place. Below, we will walk you through the process of doing glazed donut nails and provide tips to help you get the perfect finish.
What Are Glazed Donut Nails?
Before diving into the tutorial, let’s clarify what this trend is all about. Glazed donut nails resemble the sugary, shiny, and smooth coating of a fresh donut. Typically achieved using soft white, beige, or pink shades paired with a pearly, chrome-like top coat, the result is subtle, luminous, and effortlessly stylish. The key to getting that glazed effect is in layering sheer color with a metallic or pearly top coat that reflects light.
What You’ll Need:
To achieve this look at home, you will need a few essential items:
- Nail buffer and file: To shape and smooth your nails.
- Base coat: This is crucial for a smooth and even finish.
- Nude or soft white nail polish: These colors serve as the foundation of the look.
- Chrome powder or pearlescent top coat: For the signature glazed finish.
- Top coat: To seal the look and add extra shine.
- Cuticle oil (optional): To nourish and finish your nails.
Step-by-Step Guide to Achieving Glazed Donut Nails
1. Prepare Your Nails
Start with clean, dry nails. Remove any old polish with an acetone-based nail polish remover. Then, file and shape your nails to your desired shape. For glazed donut nails, a short almond or square shape often works best, though this style suits all lengths.
Next, use a nail buffer to smooth the surface of your nails. Buffing is important because it helps create an even base for the polish and ensures the final look is smooth and glossy.
2. Apply a Base Coat
Once your nails are prepped, apply a thin layer of base coat. The base coat acts as a primer, ensuring your polish adheres well and lasts longer without chipping. It also helps protect your natural nails from discoloration. Allow the base coat to dry completely before moving to the next step.
3. Choose and Apply Your Color
For the glazed donut look, soft colors work best. Opt for a pale white, milky beige, or light pink shade. Apply one thin coat of your chosen polish and let it dry for a minute or two. The key is to keep the layers thin to avoid streaks and bubbling. If the color is too sheer, apply a second coat to build up the opacity slightly, but don’t worry if it’s not perfectly opaque – the glazed top coat will do the rest.
4. Add the Chrome or Pearlescent Effect
The most crucial part of achieving the glazed donut nail effect is adding the chrome or pearlescent layer. There are two ways to do this:
- Using Chrome Powder: After applying your polish, while it is slightly tacky but almost dry, gently rub a fine layer of chrome powder onto the nail using a sponge applicator or your fingertip. Focus on creating a soft, even layer. Buff it lightly until you achieve that glowing, glazed effect. Be sure not to use too much powder, as the goal is a subtle shimmer, not a full-on metallic look.
- Using a Pearlescent Top Coat: If you don’t have chrome powder, you can opt for a pearly or iridescent top coat. Simply apply one thin layer over your dried color polish. This will give you a slightly less intense effect than chrome powder but still achieves the glowing, glazed look.
5. Seal with a Top Coat
Once you’re happy with the chrome or pearlescent finish, it’s time to seal the look with a high-gloss top coat. This not only locks in the glazed effect but also adds a brilliant shine that enhances the donut-like glow. Apply the top coat carefully, ensuring you cover the edges of your nails to prevent chipping. Let the top coat dry fully, as rushing can ruin the smooth finish.
6. Finishing Touches
For a professional-looking manicure, finish by applying cuticle oil to nourish your nail beds and give your nails a hydrated, salon-like glow. This final step adds to the overall polished look of your manicure.
Tips for Achieving the Best Glazed Donut Nails
- Keep Your Layers Thin: The key to a flawless glazed donut nail look is in the layers. Thick layers of polish can lead to a lumpy or uneven appearance, so be sure to apply thin coats of polish and allow each layer to dry properly.
- Opt for Neutral Shades: The glazed donut nail trend works best with neutral tones like white, beige, or pink. These colors offer a subtle base that lets the chrome or pearlescent effect shine without overpowering the look.
- Experiment with Chrome Powders: If you’re feeling adventurous, you can experiment with different shades of chrome powders. While silver and pearl tones are the most common, you can also try gold or rose gold for a unique twist on the trend.


Final Thoughts
Glazed donut nails are a versatile and stylish look that you can easily achieve at home with the right tools and techniques. Whether you’re a fan of minimalist beauty or love a touch of glam, this trend offers the best of both worlds. So gather your supplies, take your time, and soon you’ll have nails that are sleek, shiny, and totally Instagram-worthy!
Glaze (painting technique) – Wikipedia
Toy Poodle: The Perfect Petite Companion – love a happy home (loveahh.com)
- How to Be Funny Ultimate 2025 Guide
- 100 Best Guess What Jokes Ultimate 2025 Guide
- What the Difference Between Jokes? 2025 In-Depth
- What Is a Homemaker? 2025 Expert-Backed Guide
- 100 Best Dad Jokes for Kids 2025 Ultimate Guide
- 100 Best Bad Dad Jokes 2025 Ultimate Guide
- 100 Best Deez Nuts Joke 2025 Ultimate Guide
- 100 Best Candice Joke 2025 In-Depth Guide
- Top 100 Best Christmas Movies 2025 In-Depth Guide
- Top 100 Best Christmas Family Games 2025
- Top 100 Best Fun Family Games 2025 In-Depth Guide
- Top 100 Best Family Games 2025 Ultimate Guide
- 100 Talk Show Hosts 2025 In-Depth Guide
- 100 Best Funny Dad Jokes 2025 In-Depth Guide
- 100 Best Funny Games 2025 In-Depth Guide
- 100 Best Funny Names 2025 In-Depth Guide
- 100 Best Good Jokes 2025 In-Depth Guide
- 100 Best Christmas Jokes 2025 🎅 In-Depth Guide
- 100 Best Corny Jokes 2025 In-Depth Guide
- 100 Best Kids Jokes 2025 In-Depth Guide
- 100 Best Knock Knock Jokes 2025 In-Depth Guide
- 100 Best Dark Jokes 2025 😈 | In-Depth & Hilarious Guide
- 100 Best Dark Humor Jokes 2025 In-Depth Guide
- 100 Attractions in the World 2025 In-Depth Guide
- Amazon Best Sellers in Clothing Shoes: Top 10 2025
- Walmart Photo Center: The Ultimate Guide 2025
- Capybara as a Pet: The Ultimate Guide 2025
- Top 100 Attractions in the World 2025
- US Female Movie Stars Top 10 2025 In-Depth Guide
- Who is the Most Handsome Man in the World?
- Top 100 Party Entertainment Ideas 2025
- 100 Best Dad Jokes That Never Get Old 2025
- US Male Movie Stars Top 10
- How to Make Slime 2025 In-Depth Guide
- YouTube History Top 10 Funny Videos 2025 In-Depth
- How to Make a Paper Airplane 2025 In-Depth Guide
- Can Dogs Eat Fruit? A Comprehensive Guide 2025
- The Funniest Dad Jokes 2025 In-Depth Guide
- 100 Funny Jokes 2025 In-Depth Guide
- 2025 100 Best Dad Jokes In-Depth Guide
- Best Dry Humor 2025 In-Depth Guide
- Calico Cat Names: 2025 Ultimate Guide
- Why Are Dogs So Cute? In-Depth Guide 2025
- Can Dogs Eat Tomatoes? A Complete Guide for Pet Owners
- What Can Dogs Eat? 2025 A Complete Guide
- Why Are Cats So Cute 2025
- Can Dogs Eat Cat Food 2025 In-Depth Guide
- Why Does My Cat Lick Me 2025
- 999 Angel Number Meaning: A Complete Guide
- 888 Angel Number Meaning: A Powerful Symbol
- 666 Angel Number Meaning: Hidden Meaning
- Meaning of 555 in Love: Spiritual and Symbolic Messages
- 333 Angel Number Meaning: A Spiritual Guide
- 222 Angel Number Meaning: A Comprehensive Guide
- 777 Angel Number Meaning: A Comprehensive Guide
- 444 Angel Number Meaning: A Comprehensive Guide
- 111 Angel Number Meaning: A Comprehensive Guide
- Best Ginger Cat Names(25 Types Perfect Choice)
- What is the Krabby Patty Secret Formula? 2025 Deep Dive
- Best SpongeBob Party(1 Complete Guide)
- The Lovable Villain of SpongeBob: Plankton
- SpongeBob SquarePants(Character Design and Voice Actor)
- SpongeBob SquarePants: Iconic Character Introductions
- Classic SpongeBob SquarePants Episodes and Quotes
- SpongeBob SquarePants: All Character Introductions
- SpongeBob Meme: The Phenomenon Explained
- Toy Poodle: The Perfect Petite Companion
Amazon Best Sellers in Skin Care Products: Top 10 Must-Have Picks for Your Beauty Routine 2025
Introduction
We all want that healthy glow, but let's be real - the skincare aisle is overwhelming! Whether you're battling breakouts, dry patches, wrinkles, or irritation, finding products that actually work is half the battle.
Here's why Amazon's top sellers are a safe bet:
- They've been put to the test by real people (not just fancy marketing)
- The ingredients lists actually make sense
- These formulas deliver real results you can see
The best part? Thousands of honest reviews help cut through the hype so you can shop smarter.
We're going beyond the basics to give you:
→ The star ingredients and why they matter
→ Simple tips to get the best results
→ Exactly who it works for (and who should skip it)
→ Real people's honest experiences
Ready to find your new skincare MVPs? Let's check out Amazon's top 10!
1. Mighty Patch™ Original Patch by Hero Cosmetics
Overview
The Mighty Patch™ Original Patch by Hero Cosmetics is a hydrocolloid acne patch that effectively treats pimples and breakouts overnight. These patches work by absorbing pus, oil, and impurities, accelerating the healing process and reducing inflammation. Unlike spot treatments that can be drying, Mighty Patch™ provides a non-drying, gentle solution for acne-prone skin.
Key Ingredients & Benefits
✔️ Hydrocolloid Technology – Absorbs excess fluids, reducing swelling and redness.
✔️ Non-Irritating Formula – Free from harsh chemicals, making it suitable for sensitive skin.
✔️ Invisible and Comfortable – Can be worn during the day or overnight.
How to Use
- Cleanse and dry the affected area before applying.
- Stick the patch directly onto the pimple.
- Leave it on for at least 6 hours (preferably overnight).
- Remove and replace if needed.
Who Should Use It?
✔️ Anyone struggling with occasional breakouts or acne
✔️ People who pick at their pimples and want a protective barrier
✔️ Those looking for a gentle, non-drying acne solution
Customer Reviews & Feedback
⭐ 4.5/5 stars with over 100,000 reviews
💬 “These patches work like magic! I wake up with my pimples noticeably smaller and less inflamed.”
2. Medicube Zero Pore Pads 2.0
Overview
The Medicube Zero Pore Pads 2.0 are dual-textured exfoliating toner pads that help reduce blackheads, minimize pores, and remove dead skin cells. Infused with a blend of AHA and BHA, these pads gently exfoliate the skin while controlling excess oil and promoting a smooth complexion.
Key Ingredients & Benefits
✔️ AHA (Lactic Acid) - 4.5% – Exfoliates dead skin cells for a smoother texture.
✔️ BHA (Salicylic Acid) - 0.45% – Unclogs pores and prevents breakouts.
✔️ Centella Asiatica Extract – Soothes inflammation and irritation.
How to Use
- Use the textured side to exfoliate and remove dead skin cells.
- Flip to the smooth side to refine and hydrate the skin.
- Follow with a moisturizer to lock in hydration.
Who Should Use It?
✔️ People with oily and acne-prone skin
✔️ Those dealing with large pores and rough texture
✔️ Anyone looking for an easy exfoliating step in their routine
Customer Reviews & Feedback
⭐ 4.7/5 stars with 10,000+ reviews
💬 “These pads keep my skin smooth and clear without over-drying!”
3. Clean Skin Club Clean Towels XL™
Overview
Unlike regular washcloths that can trap bacteria, the Clean Skin Club Clean Towels XL™ are disposable, biodegradable face towels designed for a hygienic and irritation-free cleanse. These towels are ideal for sensitive skin, acne-prone individuals, and makeup removal.
Key Benefits
✔️ Ultra-soft and durable material
✔️ Eco-friendly and biodegradable
✔️ Prevents bacteria buildup
How to Use
- Use a towel with your favorite cleanser for a deep cleanse.
- Pat your face dry after rinsing.
- Dispose of the towel after use.
Who Should Use It?
✔️ People with acne-prone or sensitive skin
✔️ Anyone looking for a cleaner, more hygienic skincare routine
Customer Reviews & Feedback
⭐ 4.8/5 stars with 5,000+ reviews
💬 “I no longer have breakouts from dirty towels! These are a game changer.”
4. BIODANCE Bio-Collagen Real Deep Mask
Overview
This overnight hydrogel mask delivers intense hydration, improving skin elasticity and minimizing pores. It’s formulated with bio-collagen, which helps plump and rejuvenate the skin overnight.
Key Ingredients & Benefits
✔️ Hydrogel Technology – Enhances skin absorption.
✔️ Bio-Collagen – Improves skin elasticity.
✔️ Hyaluronic Acid – Boosts moisture retention.
How to Use
- Apply the mask before bedtime.
- Leave it on overnight and rinse in the morning.
Who Should Use It?
✔️ Anyone looking for an anti-aging treatment
✔️ Those with dry or dull skin
Customer Reviews & Feedback
⭐ 4.6/5 stars with 2,000+ reviews
💬 “My skin feels so hydrated and plump in the morning!”
5. Grace & Stella Under Eye Mask
Overview
The Grace & Stella Under Eye Mask is a luxurious self-care essential that helps reduce dark circles, puffiness, and fine lines. These gold hydrogel patches deliver intense hydration and rejuvenation to the delicate under-eye area.
Key Ingredients & Benefits
✔️ Hyaluronic Acid – Hydrates and plumps the under-eye skin.
✔️ Collagen – Improves skin elasticity and firmness.
✔️ Glycerin – Retains moisture and smooths fine lines.
How to Use
- Cleanse your face and pat dry.
- Apply a pair of under-eye patches and leave on for 15-20 minutes.
- Remove and gently tap the remaining essence into the skin.
Who Should Use It?
✔️ Anyone struggling with tired, puffy eyes
✔️ Those looking to brighten and hydrate their under-eye area
Customer Reviews & Feedback
⭐ 4.5/5 stars with 8,000+ reviews
💬 “These eye masks instantly refresh my eyes. A must-have for late nights!”
6. eos Shea Better Body Lotion - Vanilla Cashmere
Overview
The eos Shea Better Body Lotion in Vanilla Cashmere is a lightweight, non-greasy moisturizer that provides 24-hour hydration. Infused with natural shea butter, this body lotion softens and nourishes the skin while leaving a warm vanilla scent.
Key Ingredients & Benefits
✔️ Shea Butter – Deeply hydrates and repairs dry skin.
✔️ Coconut Oil – Locks in moisture and adds a smooth texture.
✔️ Vitamin E – Protects the skin from environmental damage.
How to Use
- Apply generously to clean, dry skin.
- Massage until fully absorbed.
Who Should Use It?
✔️ Anyone with dry or sensitive skin
✔️ Those who love sweet, comforting scents
Customer Reviews & Feedback
⭐ 4.6/5 stars with 10,000+ reviews
💬 “The scent is heavenly! My skin stays soft all day without feeling greasy.”
7. Neutrogena Makeup Remover Wipes
Overview
The Neutrogena Makeup Remover Wipes make makeup removal quick and easy. These alcohol-free towelettes dissolve waterproof makeup, dirt, and oil without irritating the skin.
Key Ingredients & Benefits
✔️ Gentle Cleansing Formula – Safe for sensitive skin.
✔️ No Residue – Leaves skin feeling fresh and clean.
✔️ Alcohol-Free – Prevents drying and irritation.
How to Use
- Gently wipe your face, including eyes and lips.
- No need to rinse—follow with a cleanser if desired.
Who Should Use It?
✔️ People who wear waterproof makeup
✔️ Anyone looking for a convenient cleansing solution
Customer Reviews & Feedback
⭐ 4.7/5 stars with 20,000+ reviews
💬 “Removes all my makeup without stinging my eyes. A lifesaver for busy days!”
8. La Roche-Posay Toleriane Double Repair Face Moisturizer
Overview
The La Roche-Posay Toleriane Double Repair Face Moisturizer is a dermatologist-recommended, oil-free moisturizer designed for all skin types, including sensitive skin. Formulated with ceramides and niacinamide, it strengthens the skin barrier and provides 48-hour hydration.
Key Ingredients & Benefits
✔️ Ceramides – Restore the skin barrier and prevent moisture loss.
✔️ Niacinamide – Soothes redness and irritation.
✔️ Prebiotic Thermal Water – Provides antioxidant benefits.
How to Use
- Apply morning and evening after cleansing.
- Use sunscreen during the day for added protection.
Who Should Use It?
✔️ People with dry, sensitive, or acne-prone skin
✔️ Anyone looking for a fragrance-free, non-greasy moisturizer
Customer Reviews & Feedback
⭐ 4.8/5 stars with 15,000+ reviews
💬 “This is my go-to moisturizer! It hydrates my skin without causing breakouts.”
9. Medicube Collagen Jelly Cream
Overview
The Medicube Collagen Jelly Cream is a hydrating and anti-aging moisturizer that contains freeze-dried hydrolyzed collagen and niacinamide to enhance skin elasticity and moisture retention.
Key Ingredients & Benefits
✔️ Hydrolyzed Collagen – Strengthens and plumps the skin.
✔️ Niacinamide – Brightens and improves skin tone.
✔️ Peptides – Reduce fine lines and promote firmness.
How to Use
- Apply after toner and serum.
- Massage into the skin in upward motions.
Who Should Use It?
✔️ Anyone concerned about aging and sagging skin
✔️ Those looking for a lightweight yet deeply hydrating cream
Customer Reviews & Feedback
⭐ 4.6/5 stars with 7,000+ reviews
💬 “I’ve noticed a huge difference in my skin’s texture. My face looks firmer and more hydrated!”
10. Medicube Collagen Overnight Wrapping Mask
Overview
The Medicube Collagen Overnight Wrapping Mask is a leave-on, peel-off facial mask that helps improve skin elasticity, hydration, and glow while you sleep.
Key Ingredients & Benefits
✔️ Hydrolyzed Collagen – Supports skin firmness and elasticity.
✔️ Peptides – Improve skin regeneration overnight.
✔️ Centella Asiatica – Soothes and calms the skin.
How to Use
- Apply a thin layer before bed.
- Let it absorb overnight and peel off in the morning.
Who Should Use It?
✔️ People looking for an anti-aging night treatment
✔️ Those with dry or dull skin needing deep hydration
Customer Reviews & Feedback
⭐ 4.7/5 stars with 6,000+ reviews
💬 “Waking up to plump, glowing skin is the best feeling ever!”
Final Thoughts
These Amazon favorites have already passed the real test - thousands of happy users swear by them!
No matter what your skin needs:
→ Fighting breakouts
→ Quenching thirsty skin
→ Turning back time
→ Or just a fresh start
✔️...we've got the perfect picks for you.
🎯 Don’t Miss Out — These Are Reader-Favorite Bestsellers You’ll Love Too 👇
| # | 🎁 Product | 💬 Why It Converts | 🔗 Quick Action |
|---|---|---|---|
| ✅ 1 | Exploding KittensThe Wildly Popular Card Game | 🔥 100,000+ rave reviews🤣 Fun for all ages🎉 #1 party game choice | 👉 Click to Check Price |
| 😂 2 | Funny Dad T-Shirt“You Can’t Scare Me, I Have Kids” | 👕 Viral dad gift🎂 Perfect for birthdays & Father’s Day💬 Gets people laughing instantly | 👉 See It in Action |
| 🕯️ 3 | Luxury Candle Gift SetElegant 1-Wick, Spa Fragrance | 🧘♀️ Instant relaxation🎁 Beautifully boxed for gifting💡 Affordable luxury | 👉 Treat Yourself or Gift Now |
| 🔍 4 | Tile Bluetooth TrackerFind Anything in Seconds | 🛠️ Life-saving tech🧓 Great for parents, teens, travelers📱 Works with your phone | 👉 Never Lose Anything Again |
| 📘 5 | Atomic Habits by James ClearTransform Your Daily Life | 📖 20M+ readers worldwide🔑 Simple steps, big results🎓 Top self-growth book | 👉 Read What Everyone’s Talking About |
✅ Why These Items Sell:
| 💡 Trigger | Example in Table | How It Helps Conversion |
|---|---|---|
| ✅ Social Proof | “100,000+ rave reviews” | Builds trust instantly |
| 🎯 Use Case Clarity | “Great for family game night” | Reduces decision friction |
| 🚀 Action Verbs | “Click to check price” | Encourages immediate action |
| 🔥 Urgency & Emotion | “Don’t miss out” / “Treat yourself” | Triggers impulse buying |
| 🎁 Gifting Potential | “Perfect for birthdays & holidays” | Taps into universal purchase intent |
❤️ Your Click Makes a Difference
Every purchase made through these links helps support this site and keeps great content coming — Thanks!
💬 Why Tip? It’s Not Just Money — It’s Motivation ❤️
| 😊 What You Got | 🎁 What I Get | 🔗 What You Can Do |
|---|---|---|
| ✔️ A smile or laugh | ✔️ A reason to keep creating | 👉 Buy me a coffee ☕️ |
| ✔️ Useful tips, insights, or ideas | ✔️ Proof that this content helps | 👉 Click the support button 💸 |
| ✔️ Fun, relatable content | ✔️ Motivation to go deeper & better | 👉 Leave a tip + kind feedback 🙌 |
| ✔️ Ad-free reading experience | ✔️ A little financial breathing room | 👉 $1 isn’t too little, $10 isn’t too much 🎉 |
| ✔️ A sense of connection | ✔️ The joy of being seen and supported | 👉 Let me know you’re out there 👀 |
❤️ If you made it this far, maybe that’s your sign to support? Every tip matters!


