
Table of Contents
Square Short Acrylic Nails: A Stylish and Practical Choice
Square short acrylic nails have become a popular choice in the world of nail art and design. Unlike longer or more elaborate nail shapes, square short acrylic nails offer a balance between fashion and functionality, making them suitable for many occasions and lifestyles. In this article, we’ll explore the benefits of square short acrylic nails, discuss design options, and provide some care tips to keep your nails looking fabulous.
Why Choose Square Short Acrylic Nails?
- Durability and Strength
Acrylic nails are known for their durability, which makes them a great option for those who want their manicure to last. The square shape adds an additional layer of sturdiness since it has fewer points susceptible to breakage compared to more tapered shapes. With square short acrylic nails, you get a stylish look that’s also practical and resilient, reducing the chances of chips and cracks. - Versatile Style
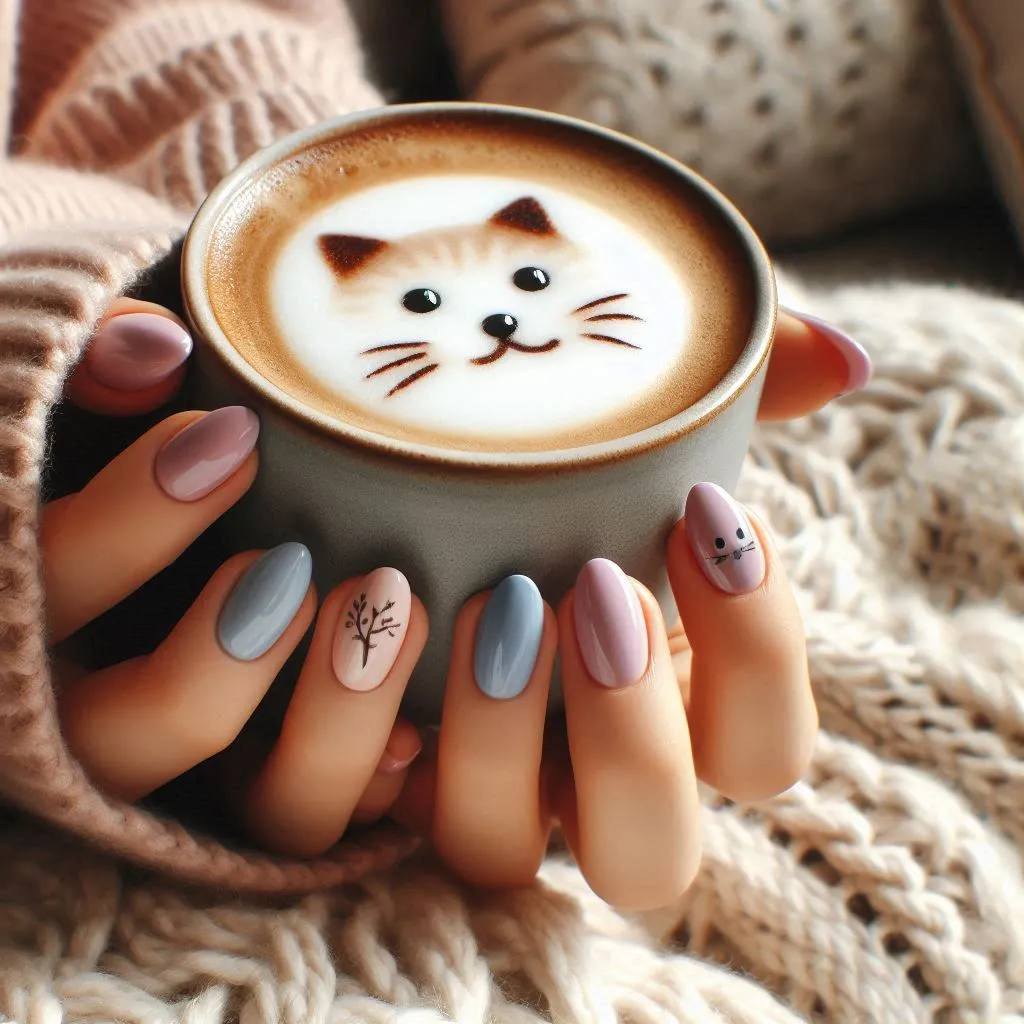
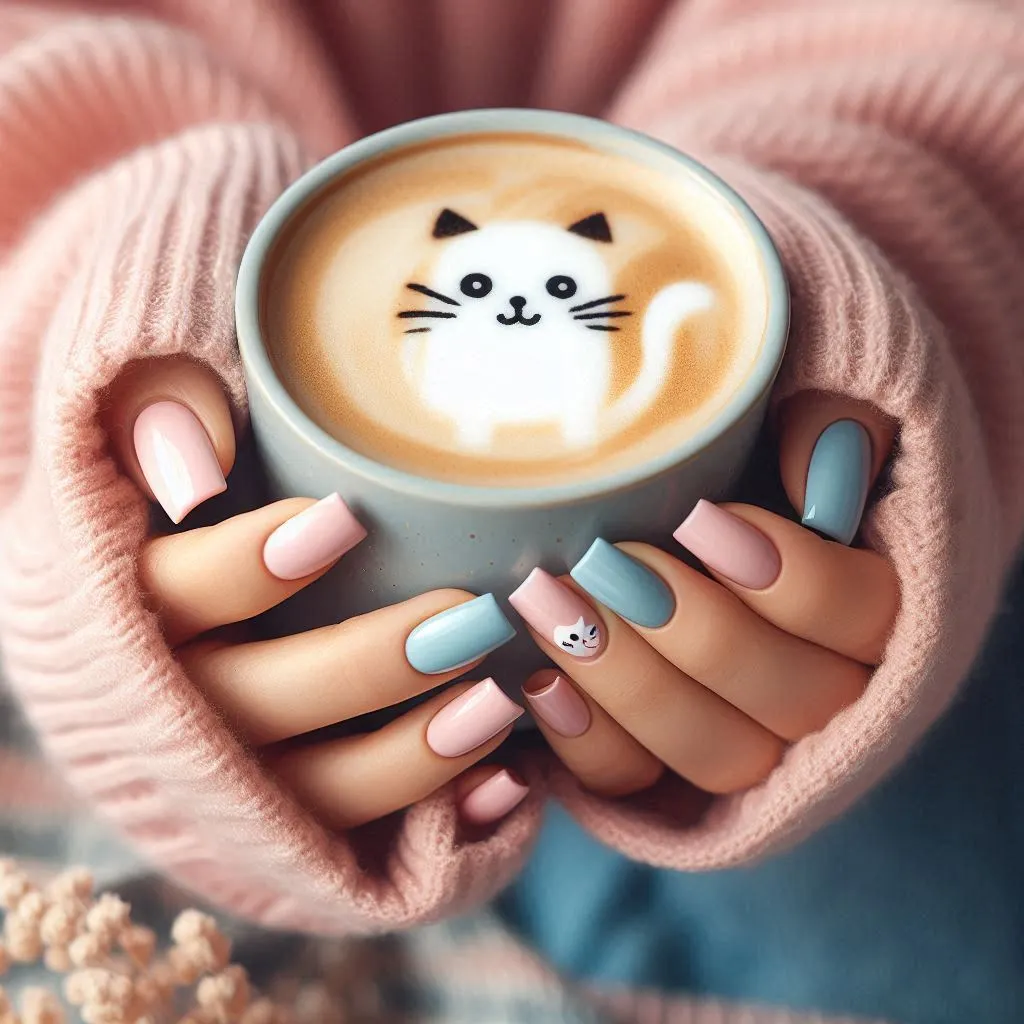
The square shape offers a clean, modern look that can suit both casual and formal settings. The short length keeps them understated, making them ideal for daily wear and for people who work with their hands. Square short nails are also versatile when it comes to styling – you can opt for a natural or neutral color for an understated elegance or go bold with vibrant colors and patterns. - Comfortable for Daily Use
Short nails are generally more comfortable and easier to manage, especially for those who aren’t used to long nails. The square shape allows for easy application and provides a larger surface for nail art without being cumbersome. Square short acrylic nails are ideal for people who want the beauty of acrylics without the maintenance challenges of long, pointed nails.
Popular Designs for Square Short Acrylic Nails
- French Manicure with a Twist
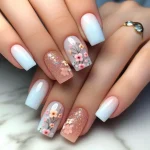
The classic French manicure looks especially chic on square short nails. For a modern update, try experimenting with colors instead of the traditional white tip. Some popular variations include using metallic shades, neon colors, or pastels. A thin, colored tip on a nude or neutral base can give you a fresh look that’s still classy. - Minimalist Geometric Patterns
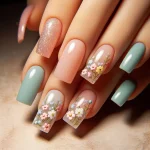
For a trendy yet minimalistic approach, geometric designs are a fantastic option. Simple lines, dots, or small triangles on a nude or pastel base make a bold statement without overwhelming the shorter nails. Black and white designs or metallic accents can add a modern edge, making your nails look stylish yet understated. - Ombre and Gradient Effects
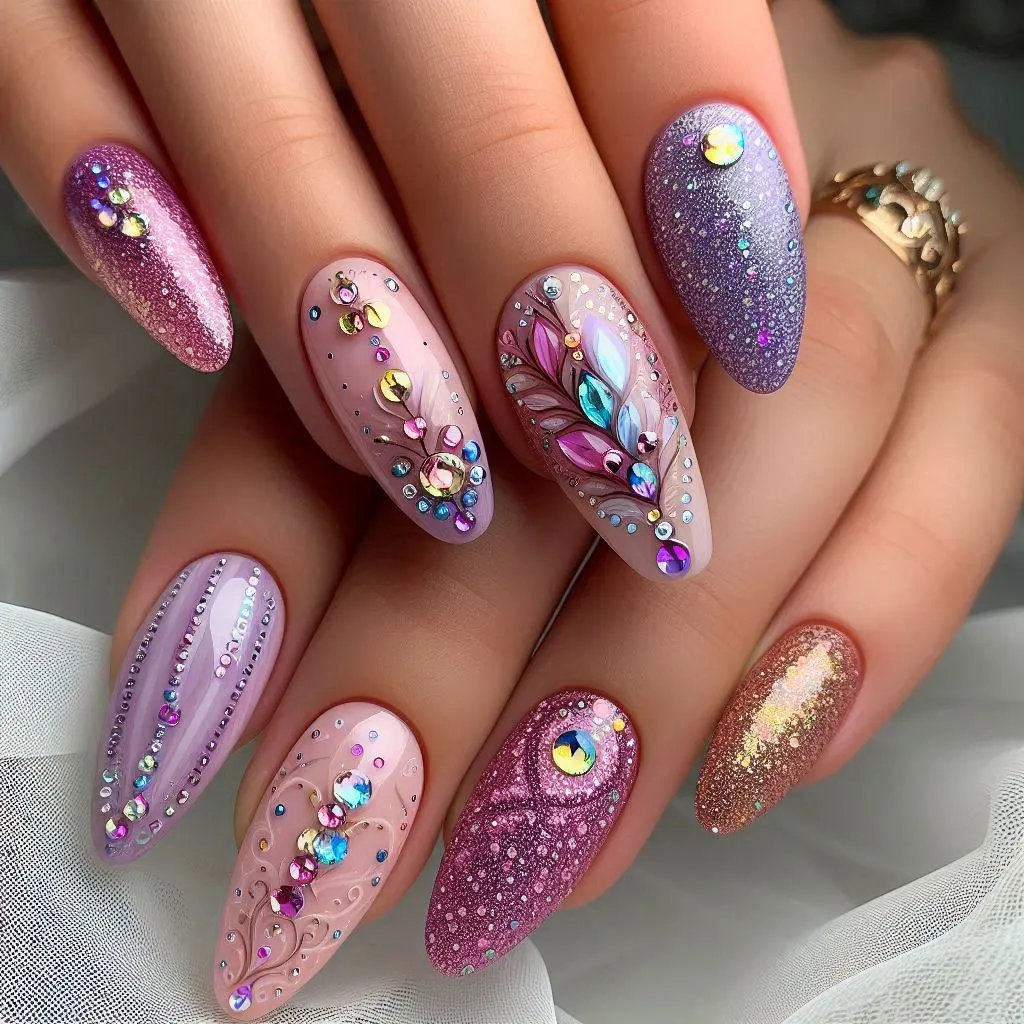
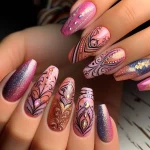
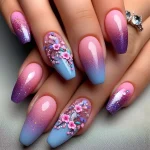
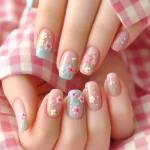
Ombre designs are popular in nail art and look great on square short nails. A gradient effect can be done in subtle nude shades for a natural look or bold colors for a more striking appearance. This style creates depth and dimension, making the nails appear more visually interesting even with the shorter length. - Glitter and Metallic Accents
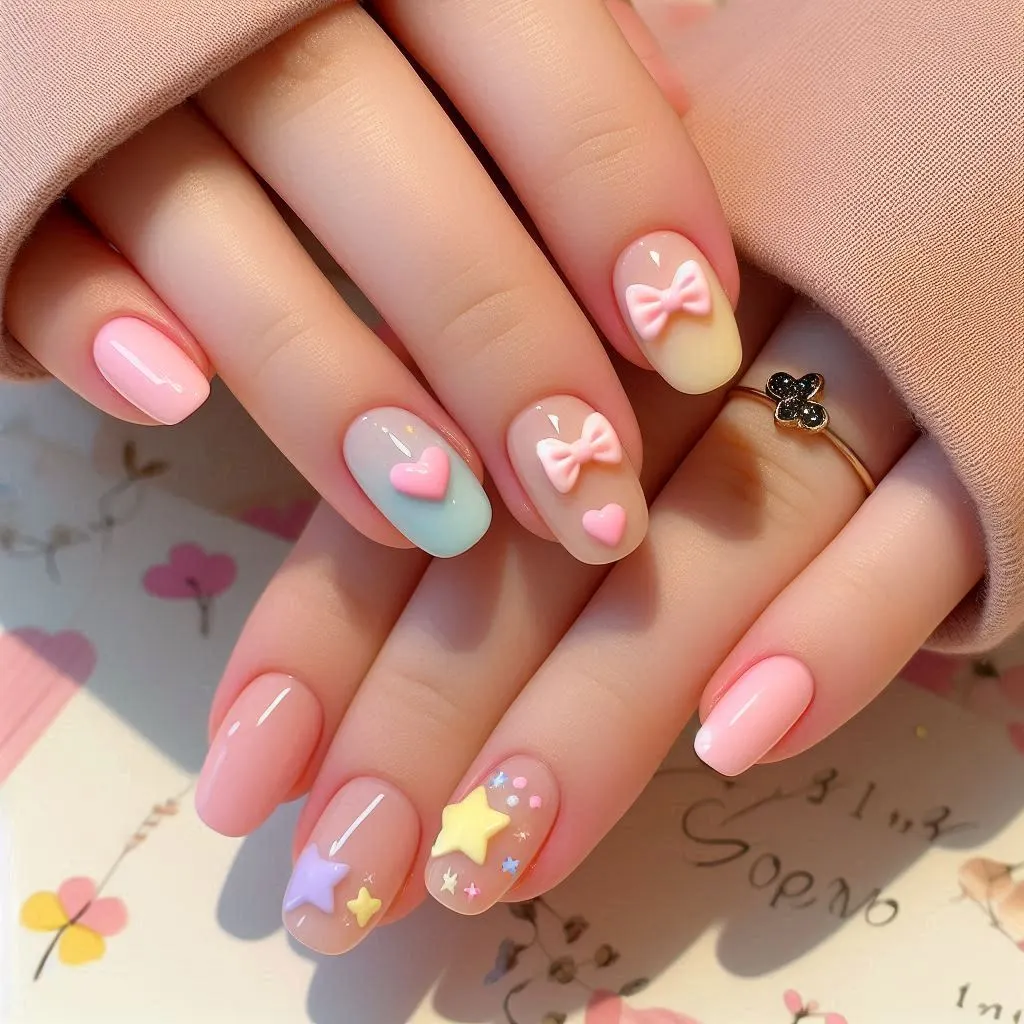
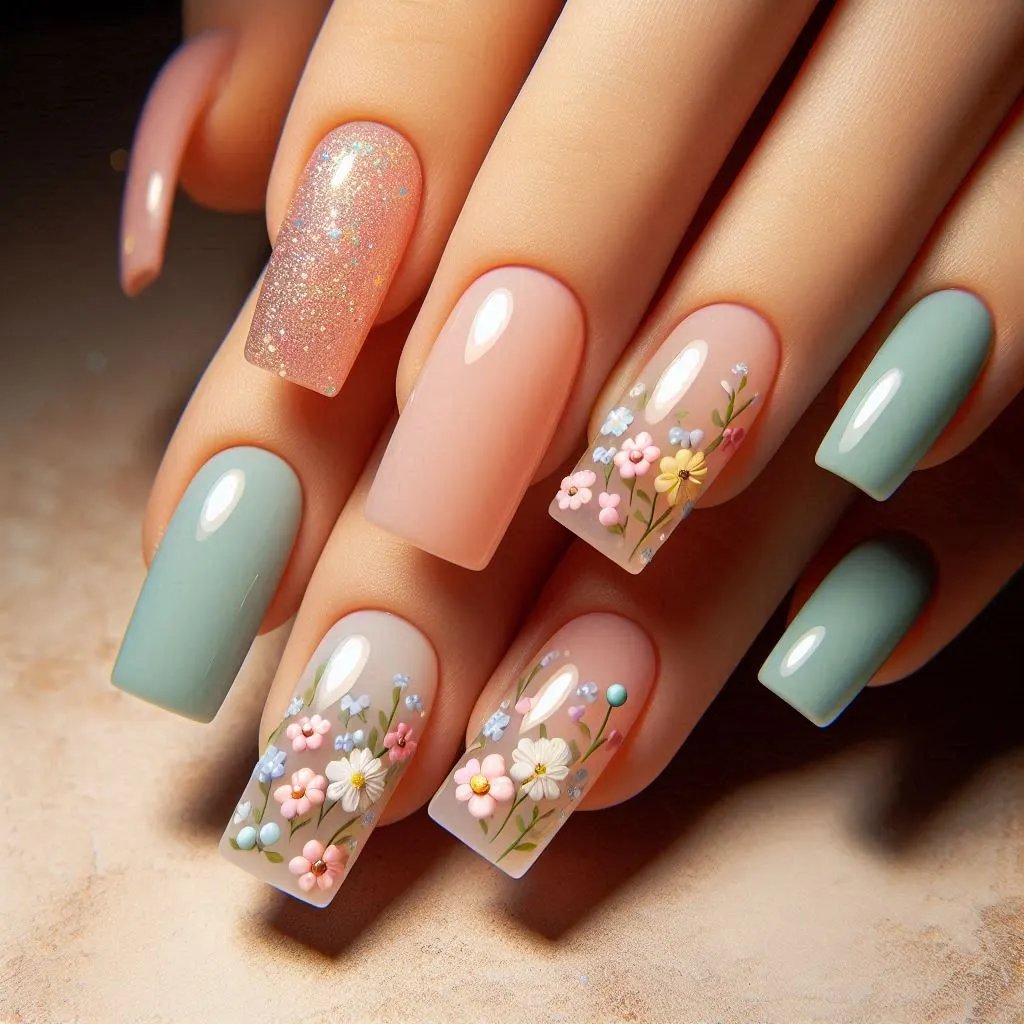
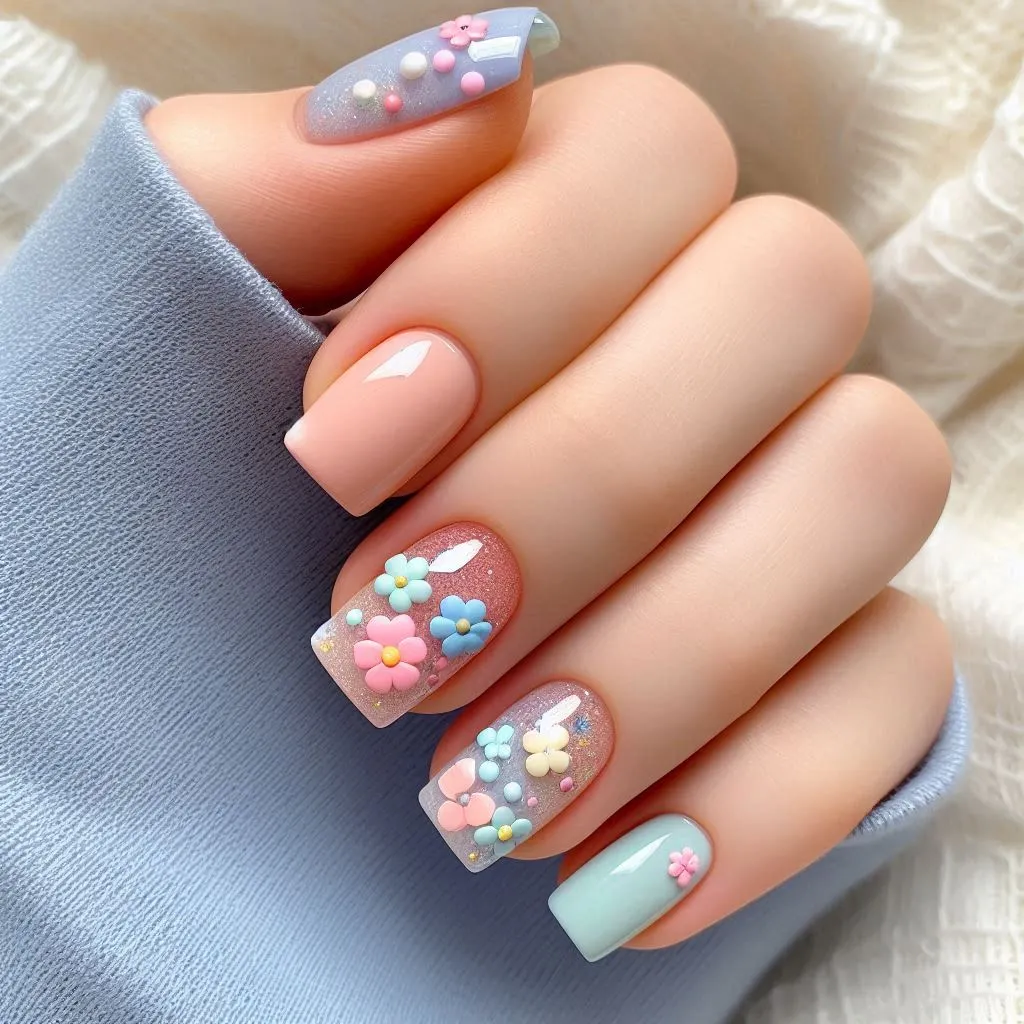
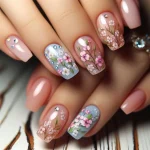
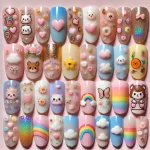
For those who love a bit of sparkle, glitter or metallic accents can transform square short nails into a statement accessory. Adding glitter to just one or two nails or creating a glitter gradient from the base to the tip of each nail can give a luxurious, eye-catching effect. Silver, gold, or rose-gold accents can add elegance without overpowering the shorter style. - Seasonal and Holiday Themes
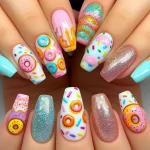
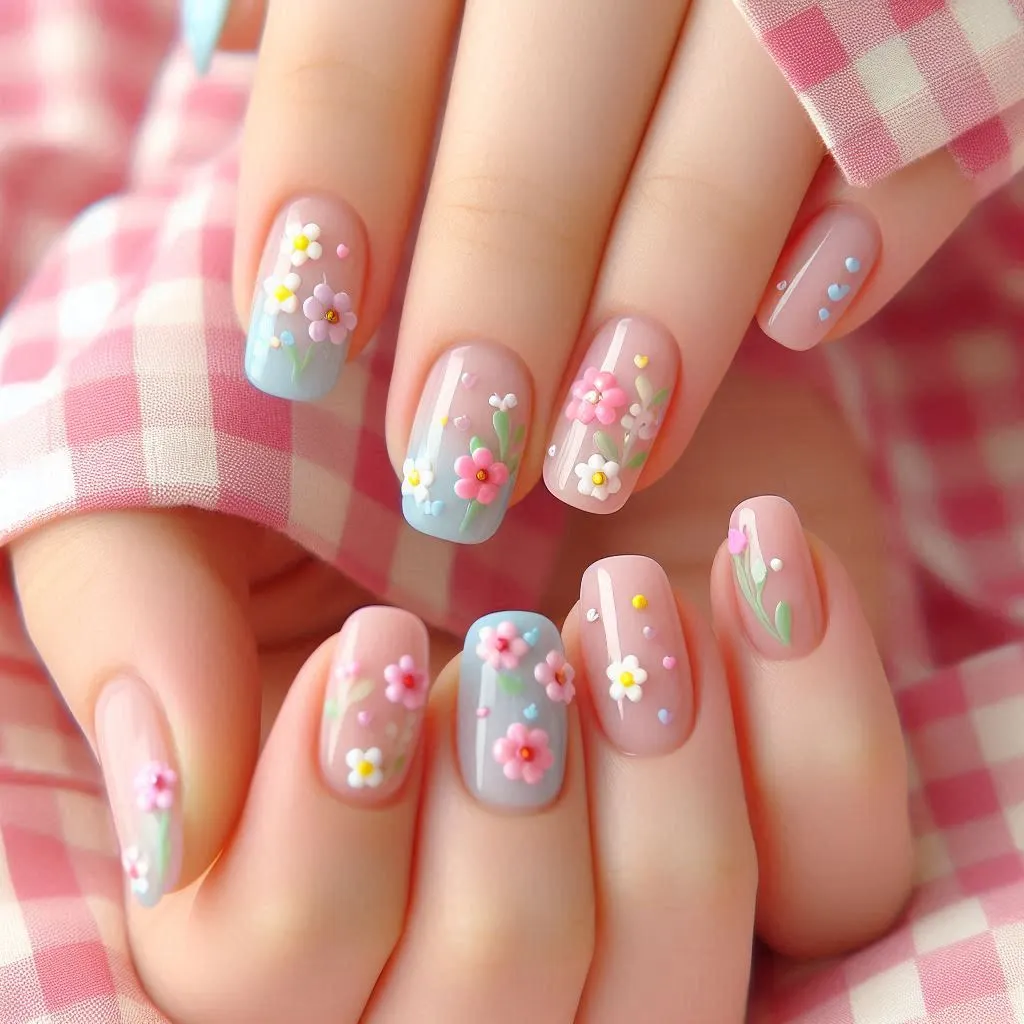
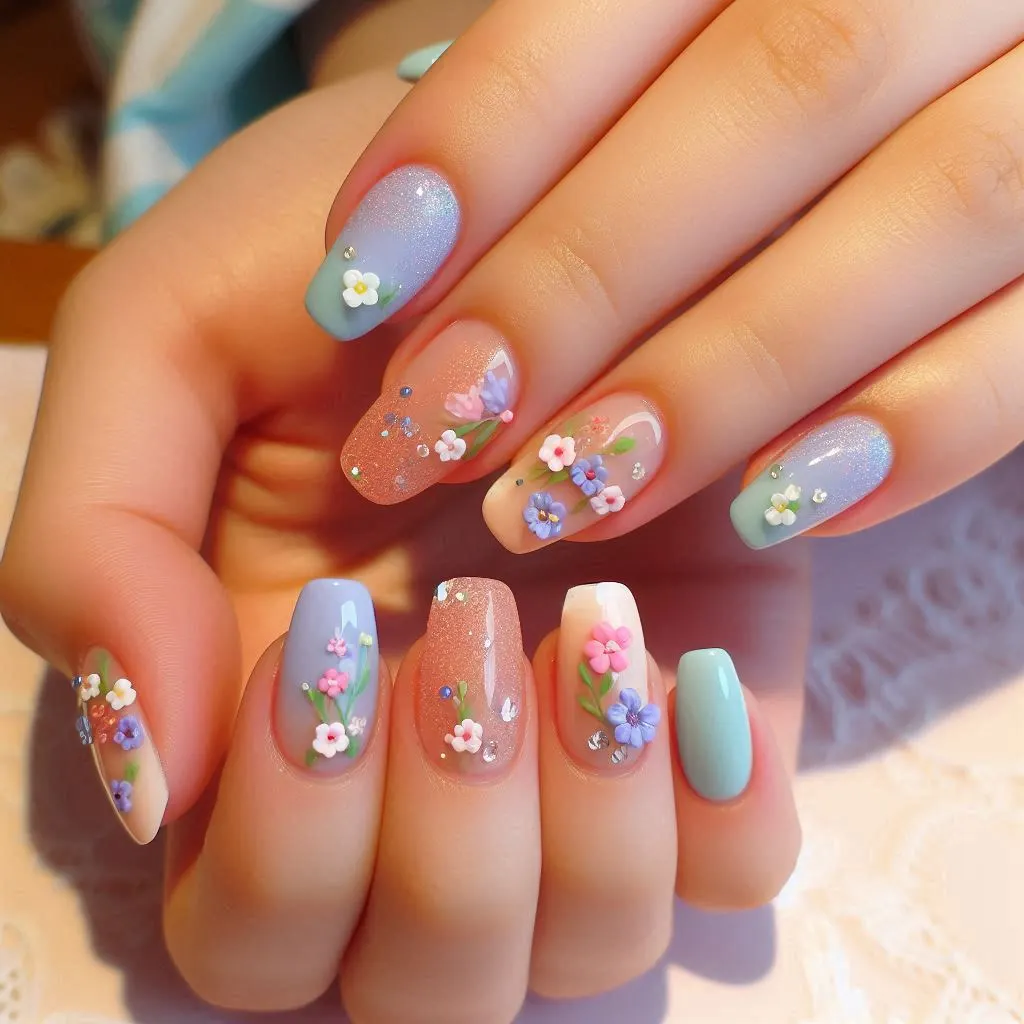
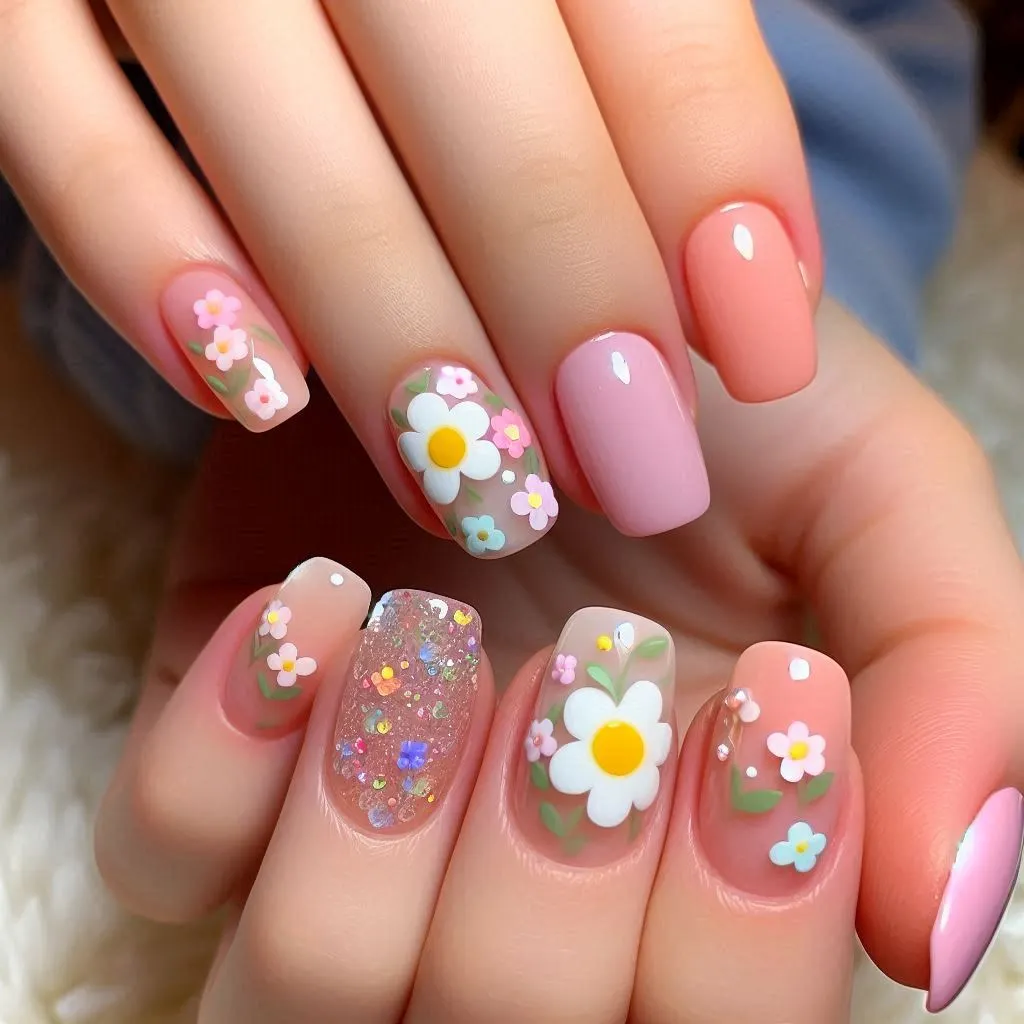
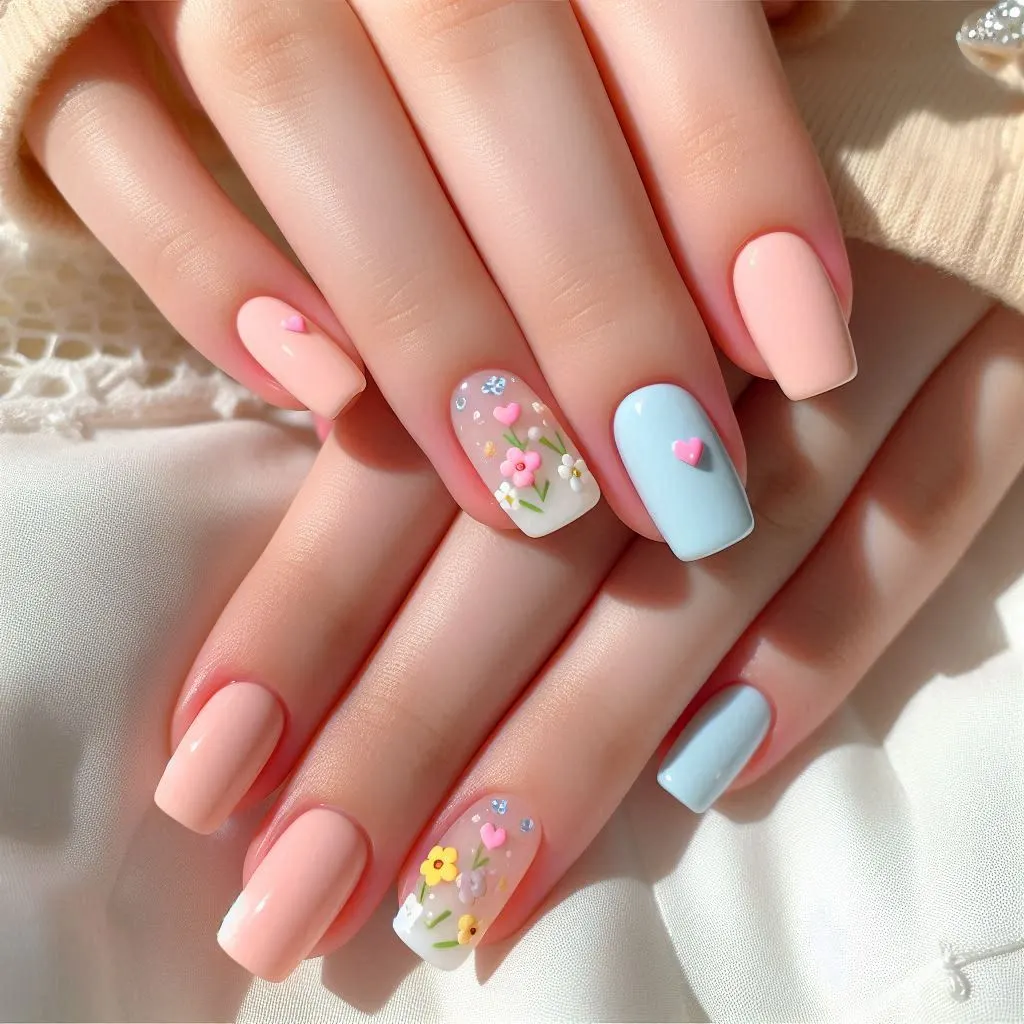
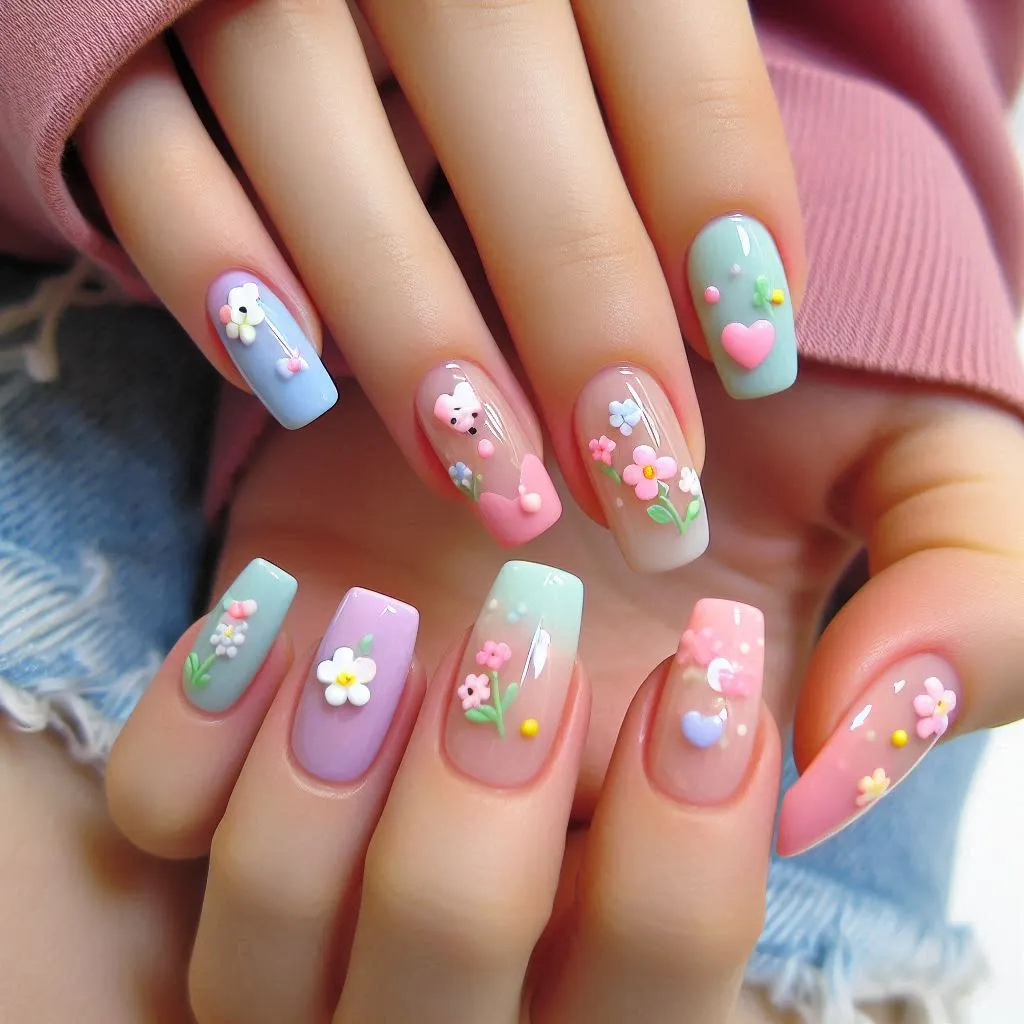
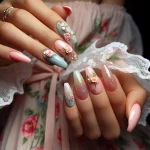
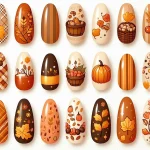
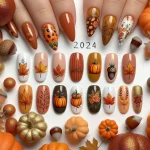
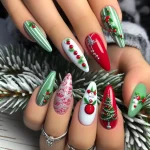
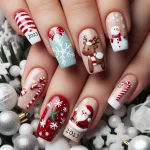
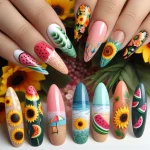
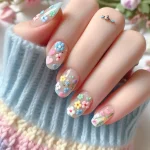
Square short acrylic nails provide a great canvas for themed designs. For the holiday season, you can try snowflakes, reindeer, or classic red and green color schemes. In spring, go for floral patterns, pastel colors, or even Easter-themed designs. These nails allow you to embrace seasonal styles without the need for a long nail length.
Tips for Maintaining Square Short Acrylic Nails
- Moisturize Regularly
Acrylic nails can sometimes lead to dryness around the cuticle area. To keep your nails looking fresh, apply cuticle oil or hand cream regularly. This not only keeps your nails looking healthy but also helps prevent lifting, where the acrylic starts to separate from the natural nail. - Protect Your Nails During Activities
Although square short acrylic nails are more durable, they still require care. When performing activities like cleaning or gardening, wear gloves to protect your nails. Acrylics can be affected by harsh chemicals, so taking preventive measures helps extend their lifespan. - Schedule Regular Fills
Acrylic nails need regular maintenance. As your natural nails grow, you’ll want to fill in the base of the nail to prevent gaps. Scheduling a fill every 2-3 weeks can keep your nails looking their best and prevent any lifting or chipping issues. - Choose Quality Products
Investing in quality nail products can make a big difference in how long your acrylics last. A reputable salon will use high-quality acrylic products and ensure proper application, both of which are essential for maintaining the look and durability of your nails. Avoid DIY acrylic kits unless you have experience, as improper application can damage your natural nails. - Avoid Using Your Nails as Tools
One common reason acrylic nails chip or break is that people often use them as tools – for example, to open packages or pop cans. This can put unnecessary stress on the acrylics, leading to potential damage. Treat your nails gently to extend their life and keep them looking pristine.
Conclusion
Square short acrylic nails are a fantastic choice for those looking to blend style, durability, and practicality. They offer endless design possibilities, from classic French tips to festive holiday patterns, allowing you to express your style without committing to longer nails. With the right care, square short acrylic nails can last for weeks, giving you a chic and resilient look suitable for any occasion. Whether you’re new to acrylics or a seasoned nail art enthusiast, square short acrylic nails provide an elegant, low-maintenance option that’s hard to beat.
Toy Poodle: The Perfect Petite Companion – love a happy home (loveahh.com)
- How to Choose the Right Perfume for Yourself

- Amazon Best Sellers in Skin Care Products Top 10 2025

- Perfume: Everything You Need to Know 2025

- Burberry Her Perfume: A Deep Dive 2025
- Ariana Grande Perfume: A Complete Guide 2025
- YSL Perfume: A Legacy of Luxury and Elegance 2025

- Sol de Janeiro Perfume: A Luxurious Fragrance 2025
- Billie Eilish Perfume 2025 In-Depth Guide

- Delina Perfume: A Comprehensive Guide 2025

- Kayali Perfume 2025 In-Depth Guide

- Miss Dior Perfume 2025 In-Depth Guide

- Valentino Perfume 2025 In-Depth Guide

- How to Increase Charisma: Women’s Edition 2025

- How to Increase Charisma: Men’s Edition 2025

- Amber: That Captivates the World 2025

- What Color Is Amber 2025?

- Makeup Looks: 2025 Finding Your Unique Style

- Polygel Nails: 2025 Nail Revolution
- Mouse Pretty Makeup 2025 In-Depth Guide

- Builder Gel Nails: 2025 Perfect, Long-Lasting Nails

- Trendy Short Gel Nails: 2025 Style Meets Practicality
- Makeup Bag: 2025 Your Beauty Companion
- Wedding Makeup Looks 2025 In-Depth Guide

- Christmas Makeup Looks: 2024 Glamorous Ideas

- 80s Makeup Looks 2025 In-Depth Guide

- 100 Cute Makeup Looks 2025 In-Depth Guide

- Natural Makeup Looks: 2025 Enhance Your Natural Beauty

- How to Remove Gel Nails Safely at Home
- Ombre Nails: 2024 Gorgeous Manicure Trend
- Autumn Nails Trends: Best Fall Nails

- Cute Fall Nails: Trendy Nail Ideas
- Fall Nails 2024: Trendy Colors, Designs, and Styles
- Festive Christmas Nails Ideas: Inspire Holiday Look
- Christmas Nails 2023: Festive Trends
- Summer Nails 2024: Top Trends
- 10 Cute Acrylic Nails Ideas to Elevate Your Look
- Beauty of Square Short Acrylic Nails: A Practical Guide
- Square Short Acrylic Nails: Stylish and Practical
- Cute Short Acrylic Nails Ideas: Trendy Look
- Cute Short Acrylic Nails: Perfect Look
- Best Short Acrylic Nails Ideas(15 Types)

- Trendy Short Acrylic Nails Ideas(13 Types)

- Short Acrylic Nails: Perfect Style with Practicality

- Short Acrylic Nails: Stylish, Durable, and Practical

- Acrylic Nails Ideas: 10 Trendy Designs

- How to Remove Acrylic Nails(1 In-Depth Guide)

- French Tip Nails 2025 In-Depth Guide

- French Tip Nails: A Timeless Style with a Modern Twist

- How to Achieve the Perfect Glazed Donut Nails