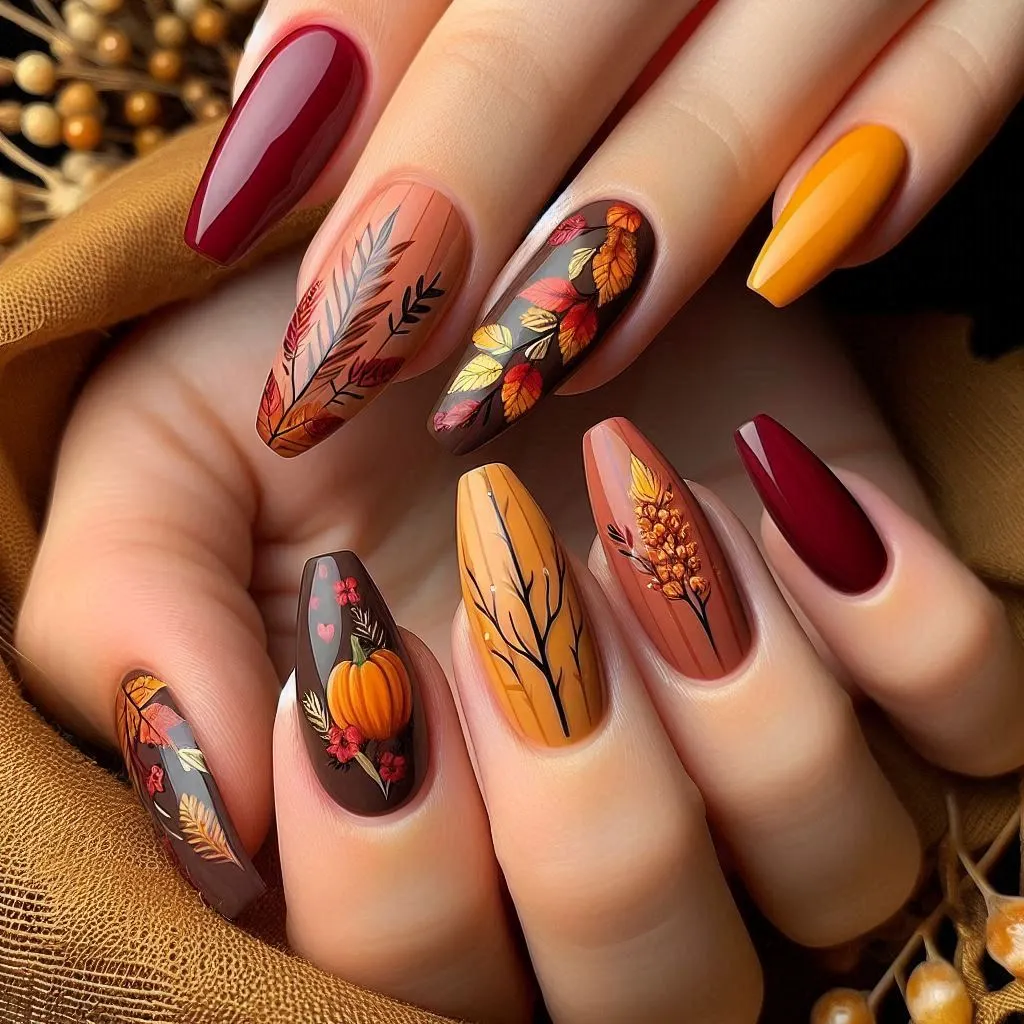
Acrylic Nails Ideas: 10 Trendy Designs

AcrylicNailsIdeasB
AcrylicNailsIdeasA

Acrylic Nails Ideas: 10 Trendy Designs to Elevate Your Manicure

Acrylic nails have become a favorite among beauty enthusiasts, offering a durable and stylish way to enhance your look. With endless design possibilities, acrylics allow you to experiment with length, shape, and a wide range of artistic styles. Whether you’re going for bold and dramatic or subtle and elegant, there’s an acrylic nail design to fit every mood and occasion. Here are ten trendy ideas to inspire your next acrylic manicure.

1. Classic French Tips with a Twist

The French tip is an iconic look, but there’s room to get creative with it. Instead of the traditional white tips, try switching things up with colored tips like baby blue, neon pink, or metallic silver. You can also modify the tip’s shape—replace the usual straight edge with a diagonal or V-shaped line for a modern take on this timeless style.

Style tip: Add a glitter or chrome finish to the tips to give the design an extra sparkle.

2. Minimalist Geometric Designs

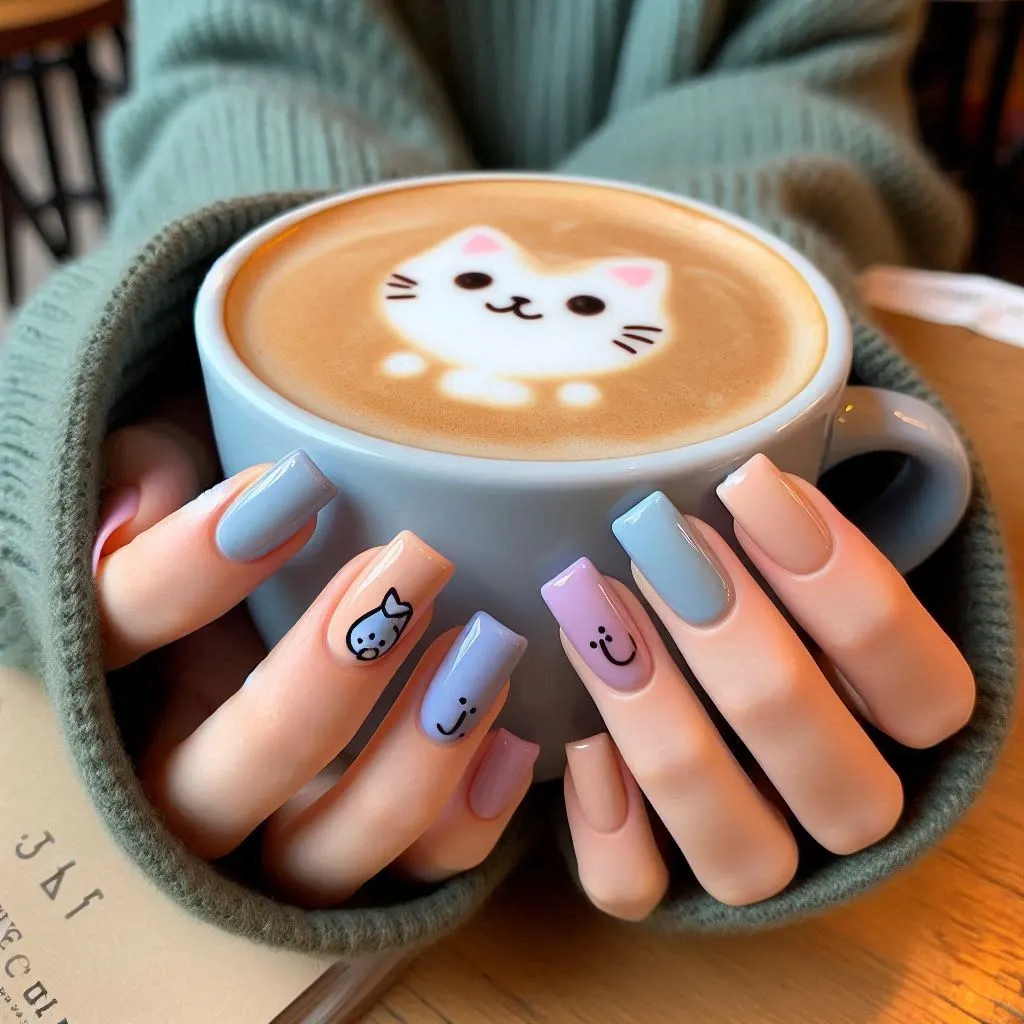
Less can be more when it comes to nail art, and minimalist designs are perfect for those who prefer a clean, simple aesthetic. Think thin lines, tiny triangles, or small dots in neutral or pastel colors. This style works especially well with a nude or clear base for a fresh and sophisticated look.

Pro idea: Add a metallic accent to one nail for a subtle yet chic touch.

3. Bold Animal Prints

Animal prints are always a bold choice. Leopard, zebra, and snakeskin patterns are the most popular, but don’t be afraid to experiment with less common designs like tiger or giraffe prints. These fierce designs can be done in traditional black and brown or reimagined in colorful shades for a more playful look.

Try this: Apply animal print on just a couple of nails as accent nails while keeping the rest of the nails in a solid color to avoid overwhelming the design.

4. Ombre Nails for a Soft Gradient

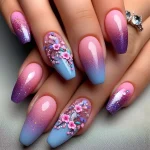
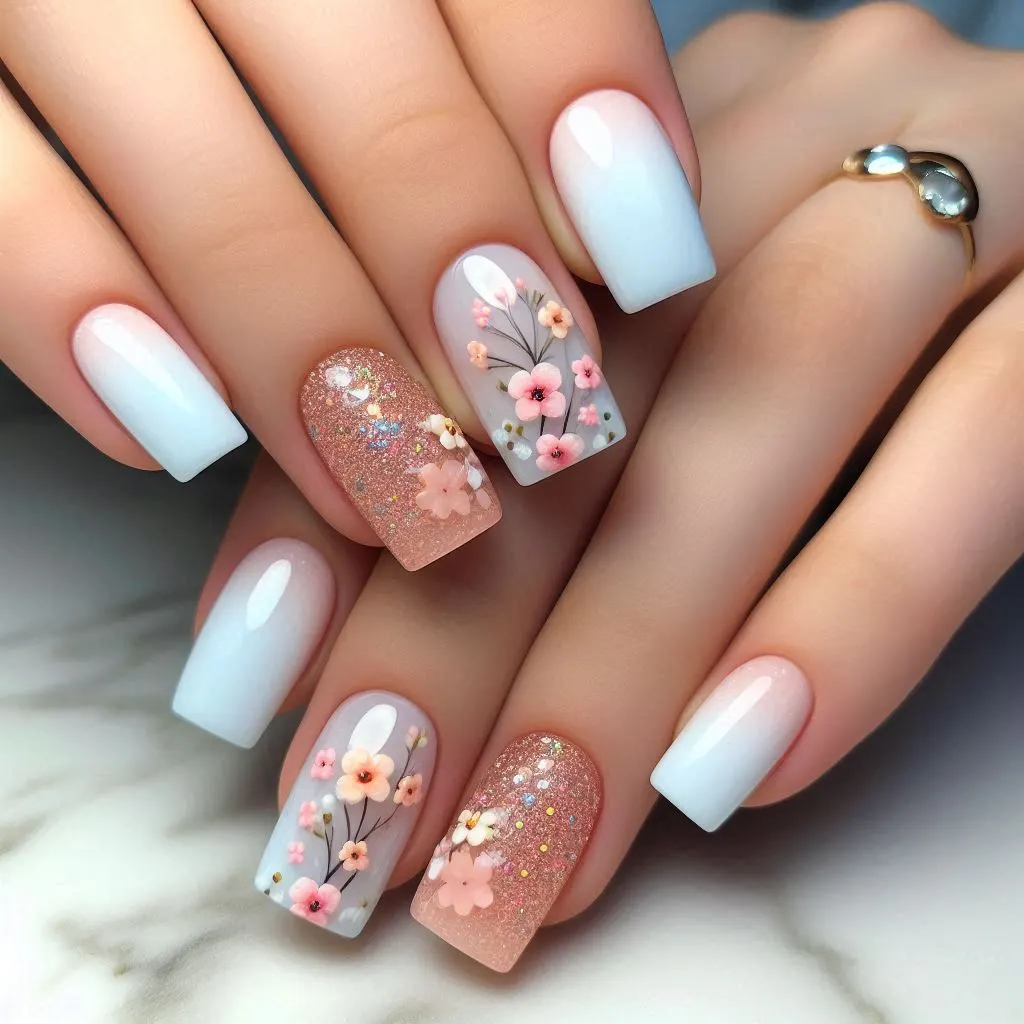
Ombre nails are an elegant and trendy choice. The gradient effect blends two or more colors, creating a seamless transition from one shade to another. Popular ombre designs include soft pastels, nude to pink transitions, or more vibrant hues for a bolder look.

Fun twist: Mix ombre nails with glitter at the tips to create a glamorous effect that’s perfect for special occasions.

5. Matte Finish for a Sleek Look

Matte nails are the epitome of modern elegance. Any design can be transformed with a matte topcoat, giving your nails a soft, velvety finish. Matte nails look particularly striking in darker shades like burgundy, deep green, or navy blue, but they can work with any color palette.

Pro tip: Pair matte nails with glossy accents like thin stripes or tips to add dimension to your manicure.

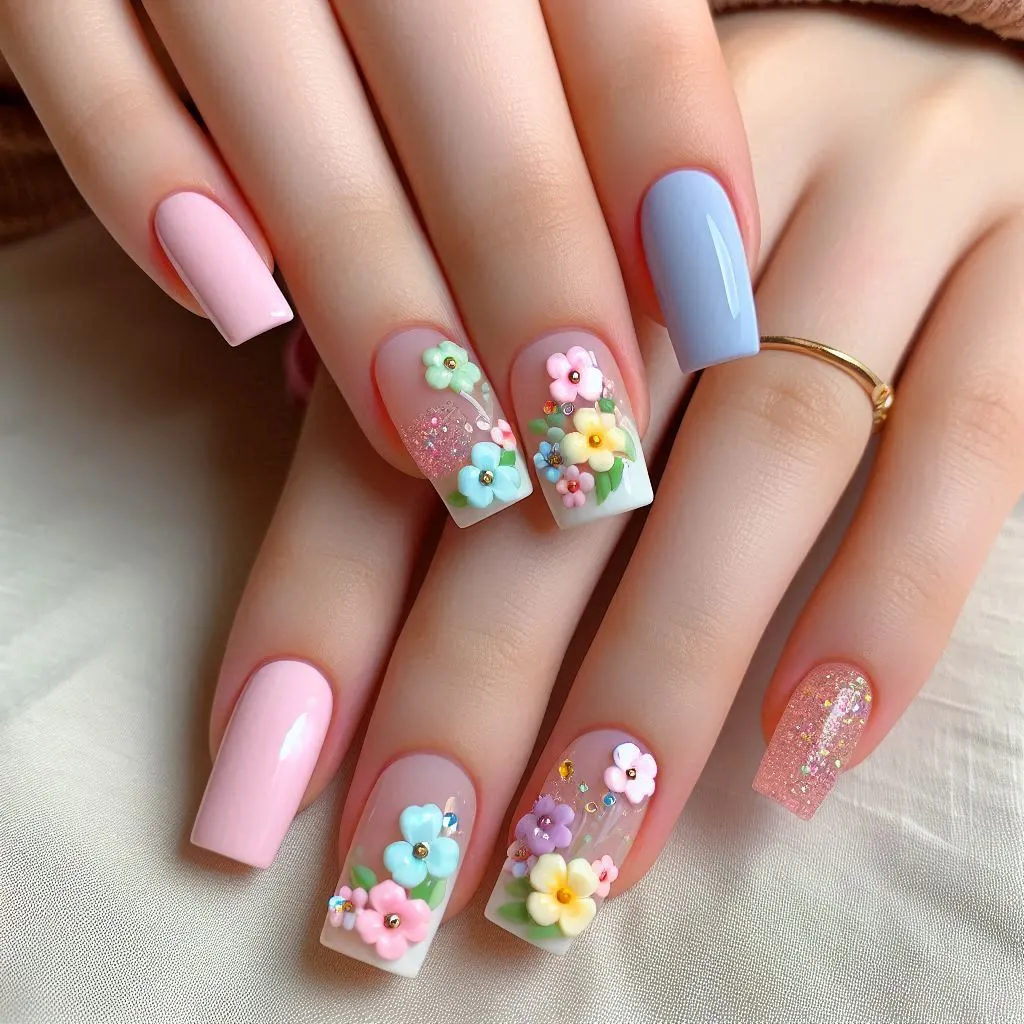
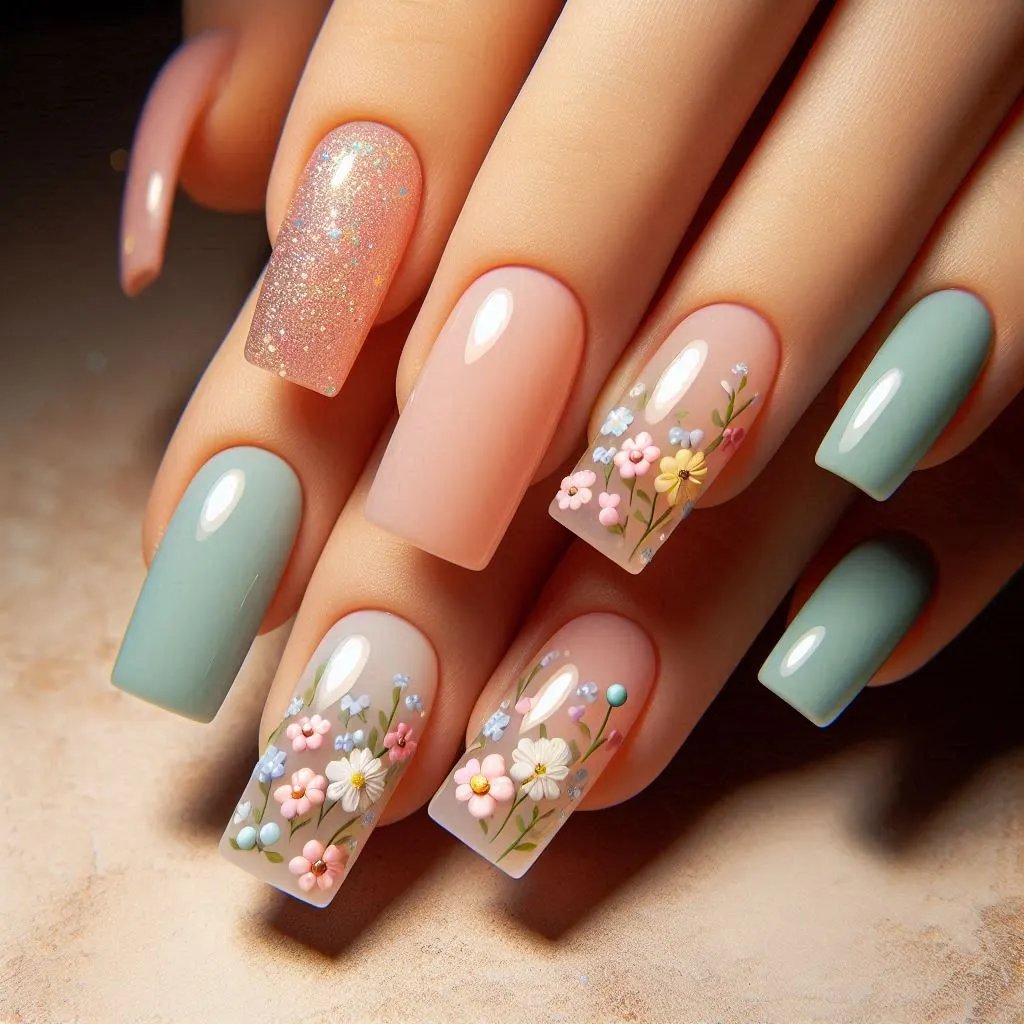
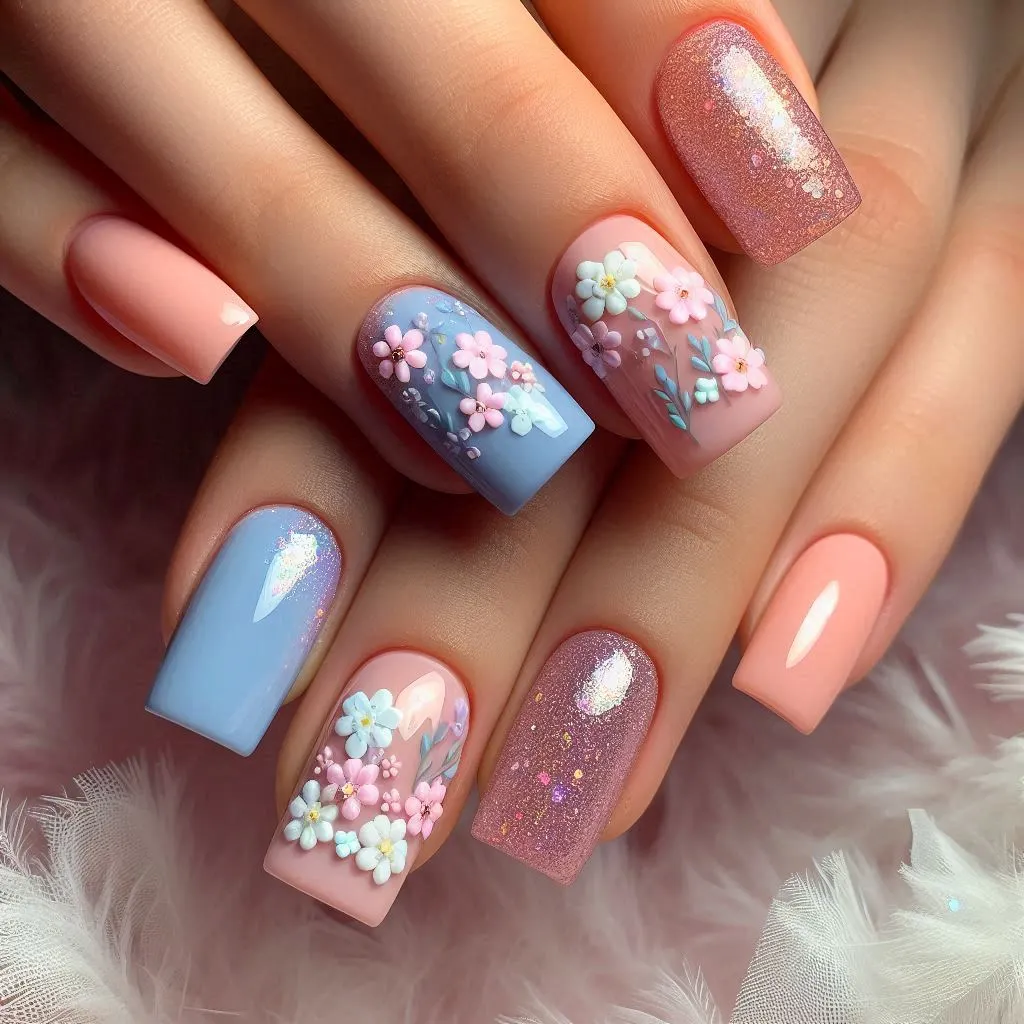
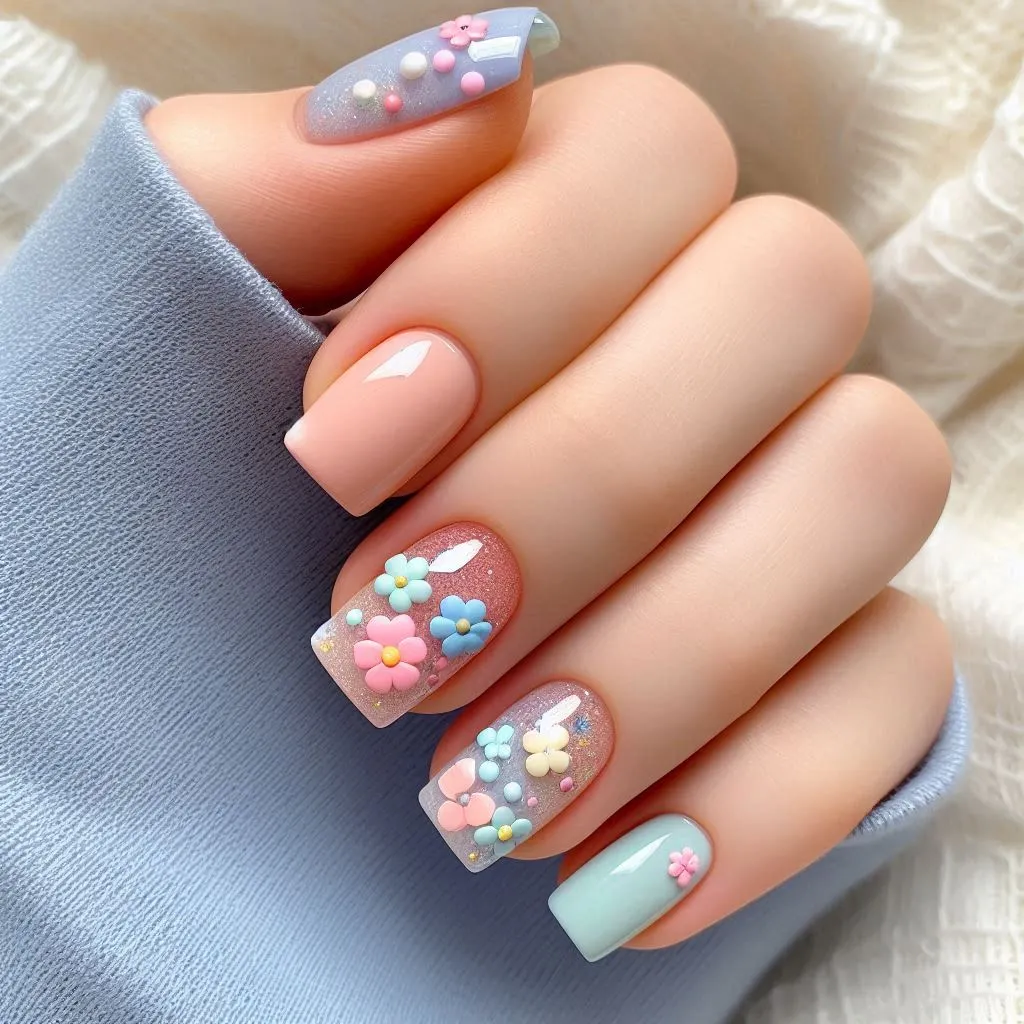
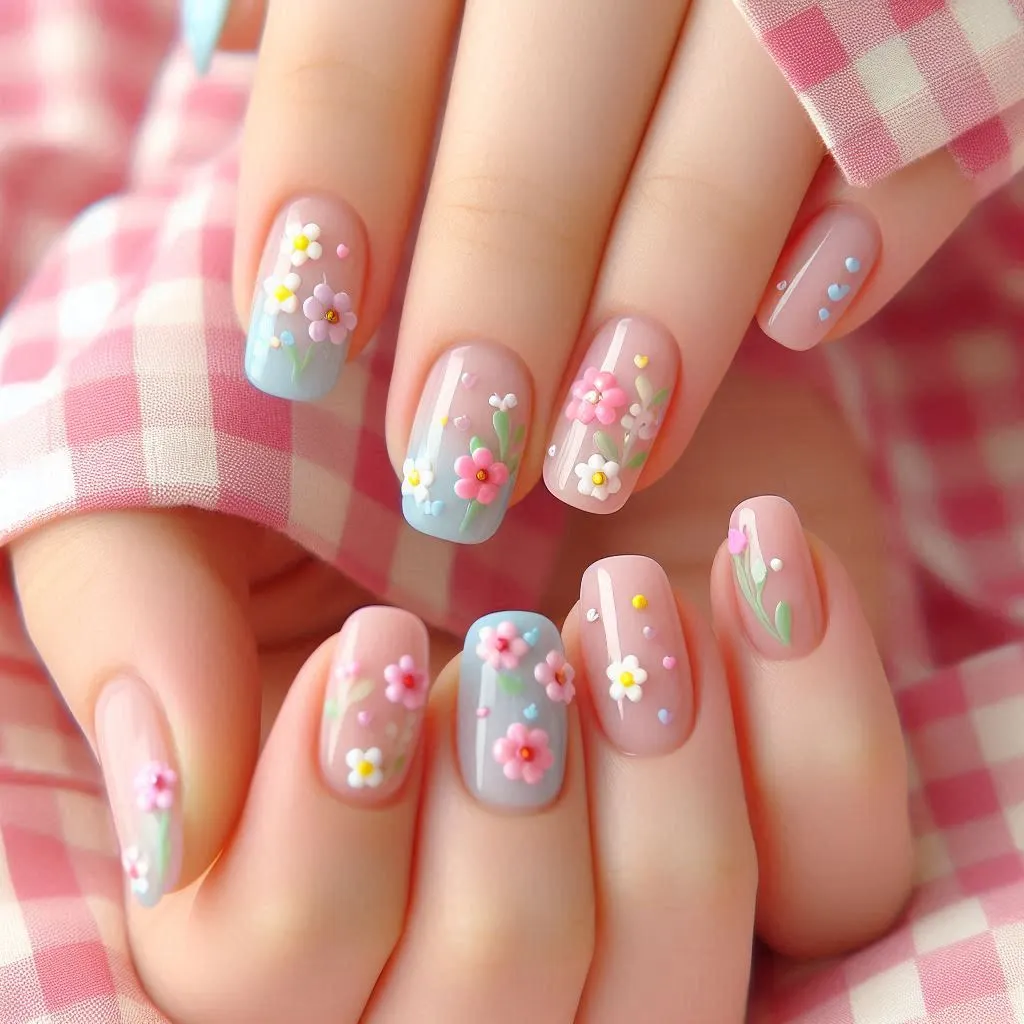
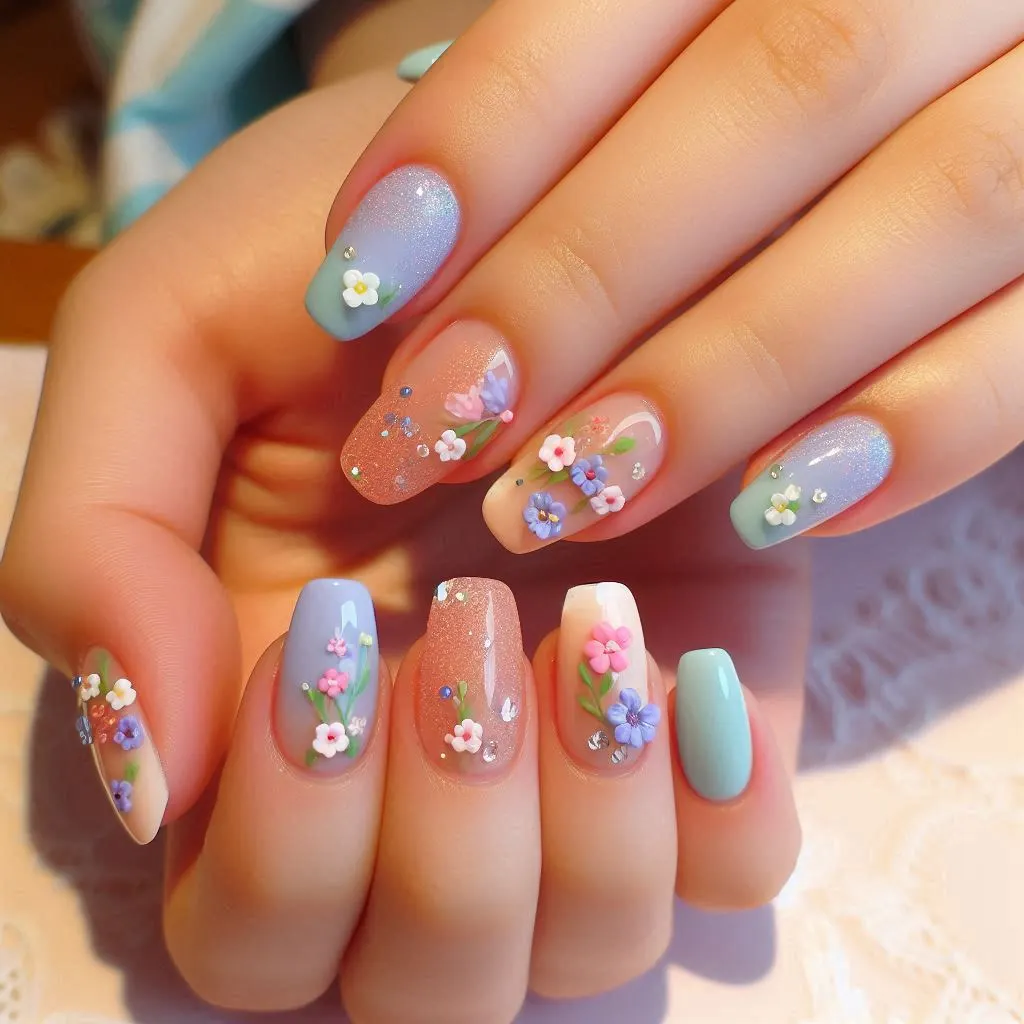
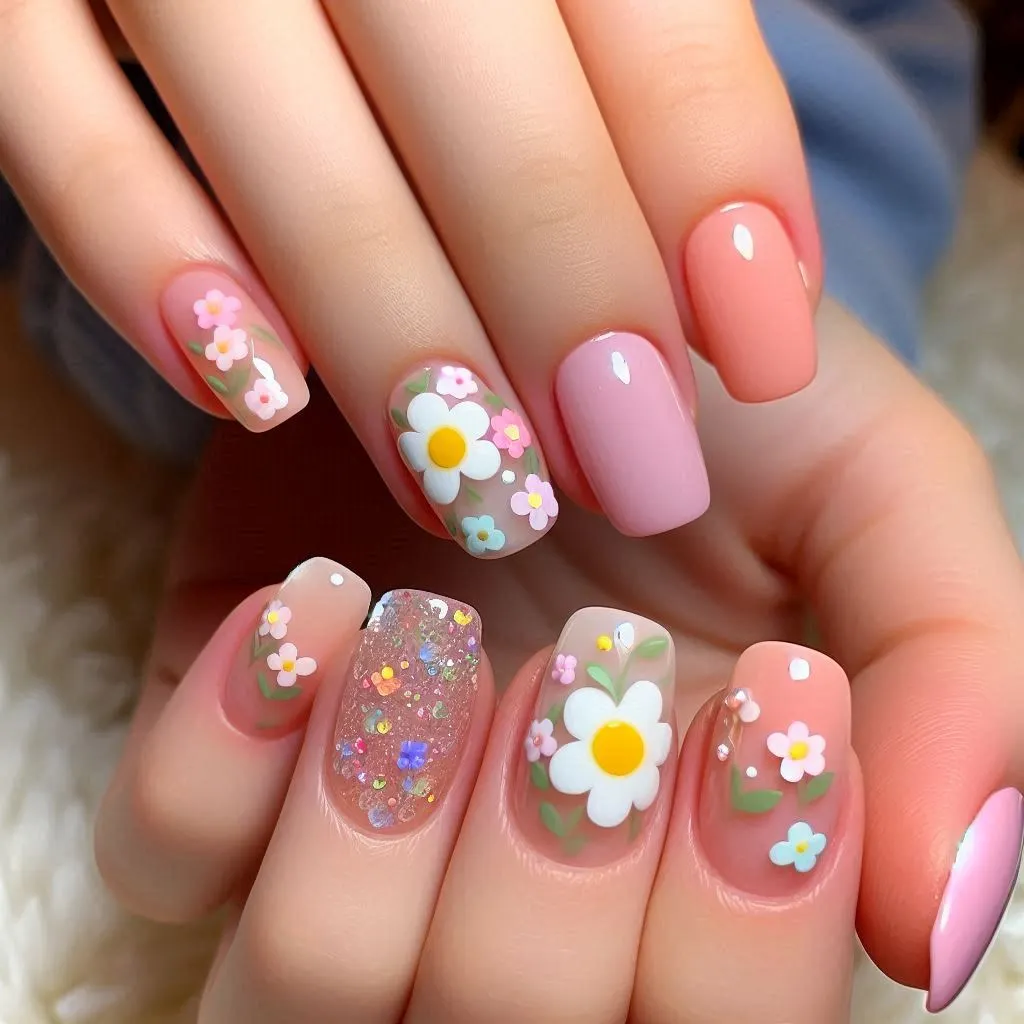
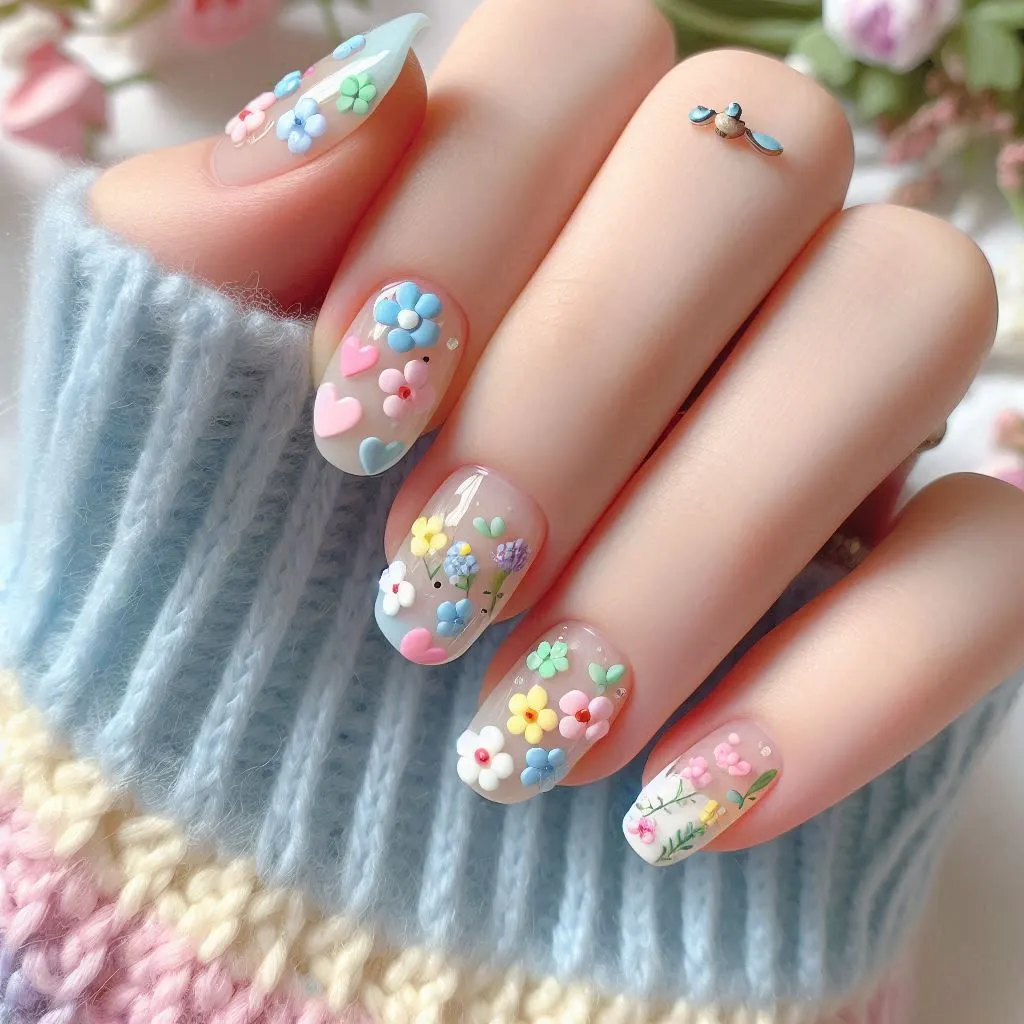
6. Floral Designs for a Feminine Touch

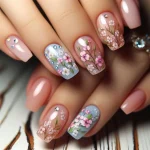
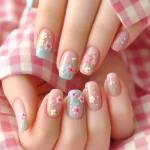
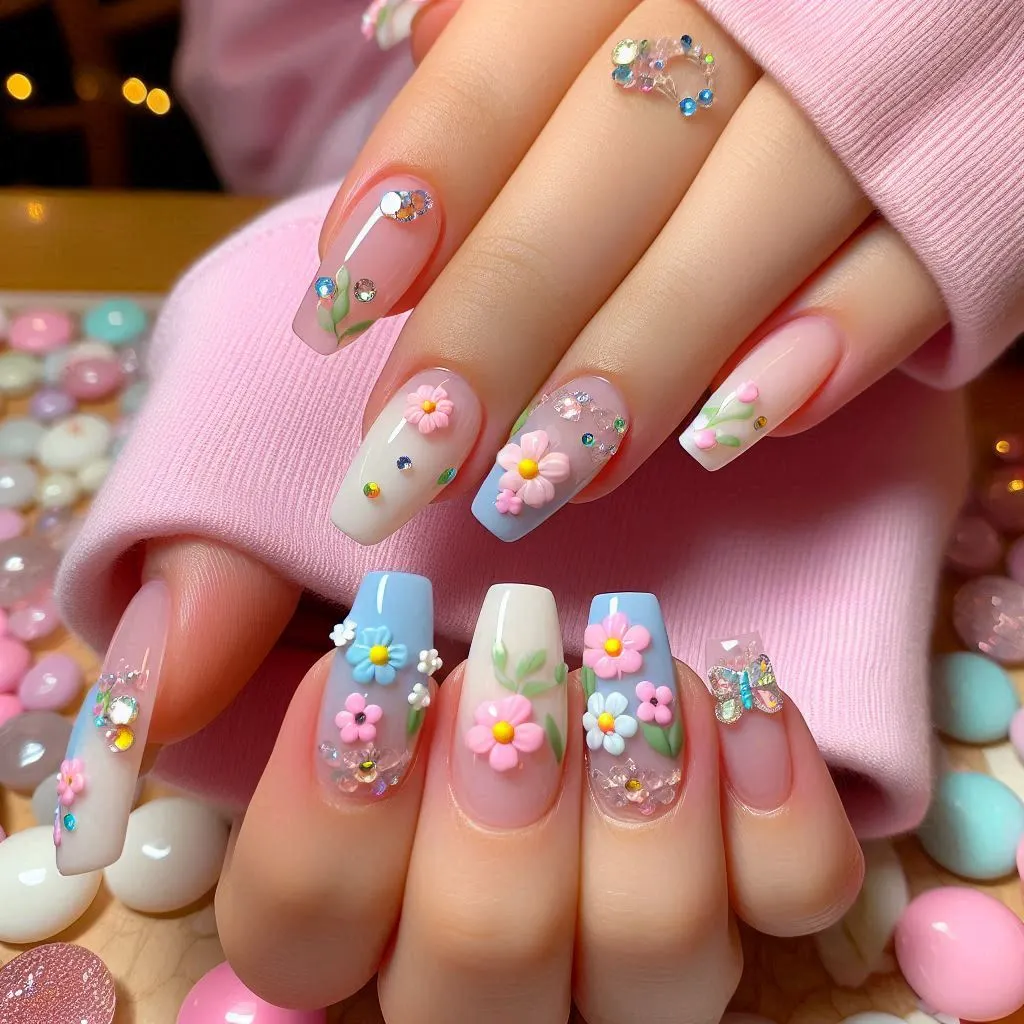
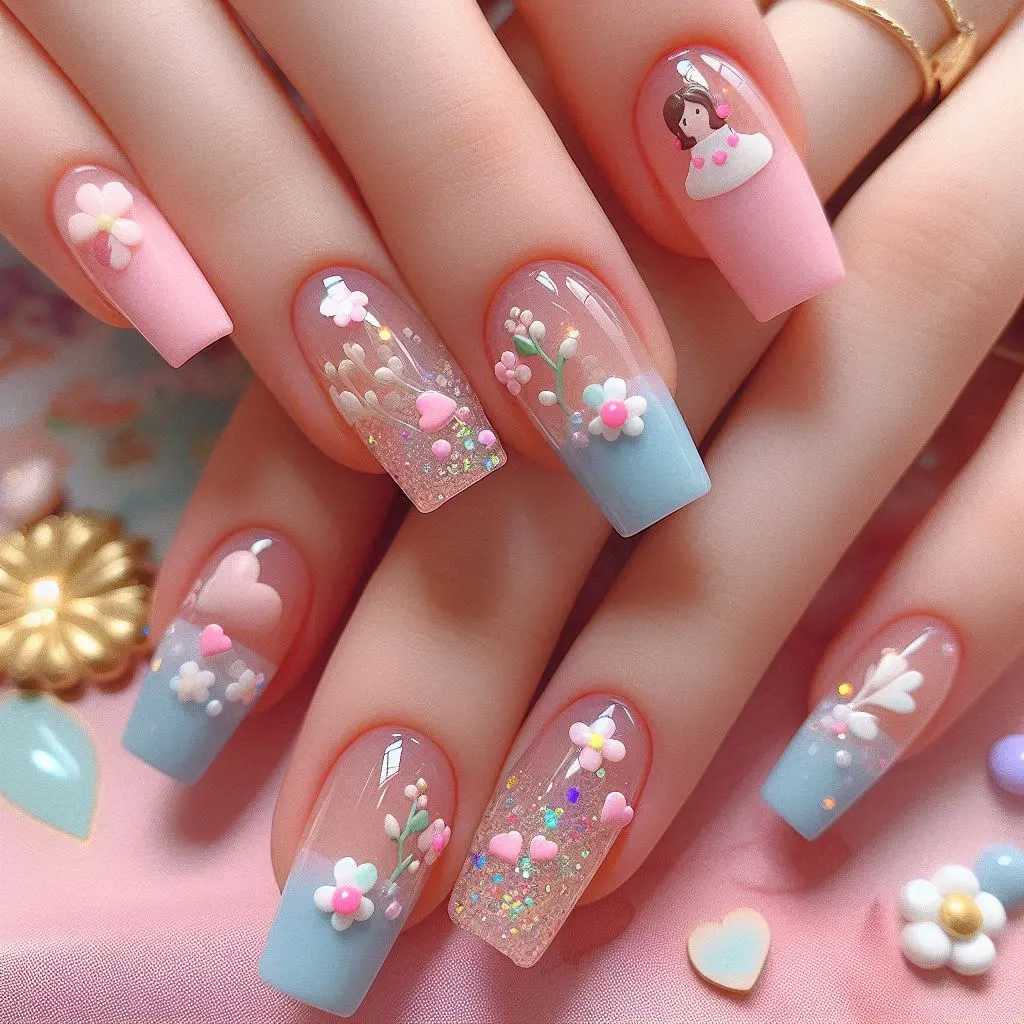
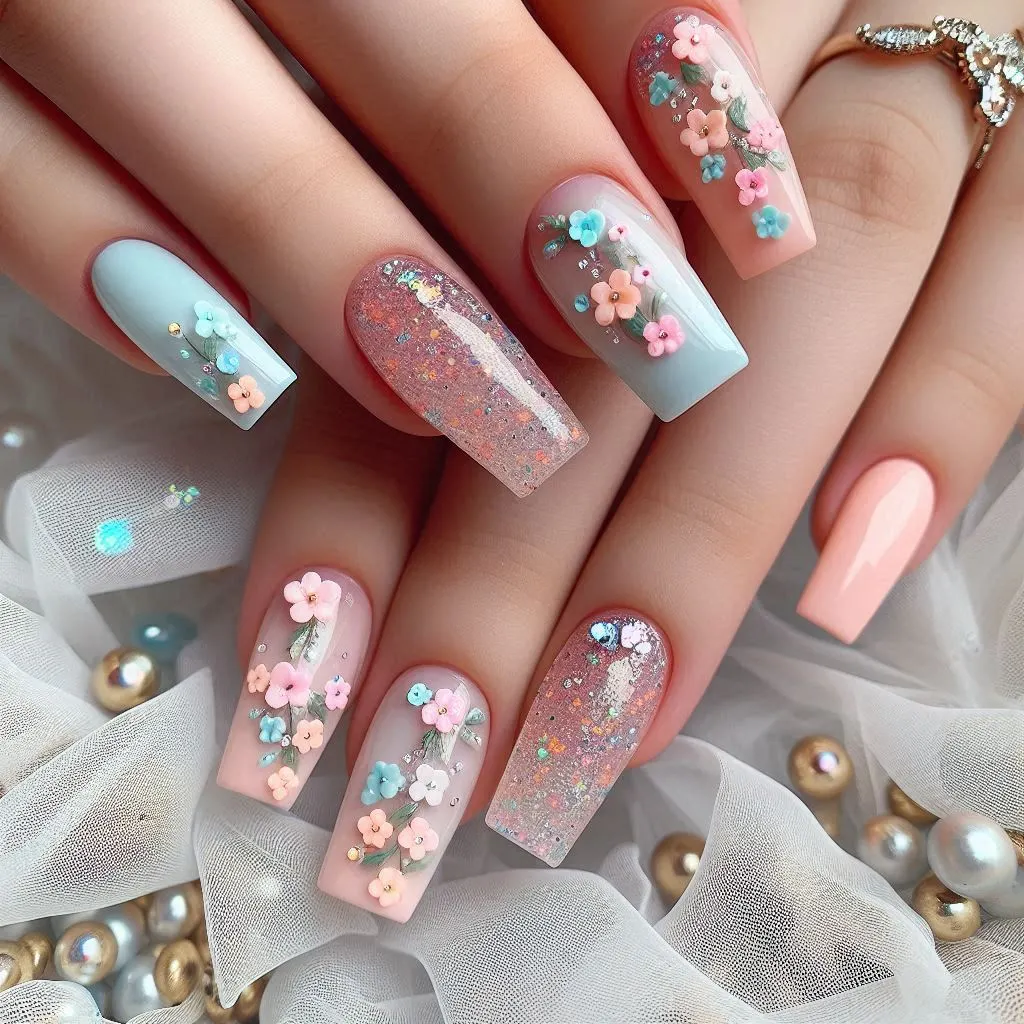
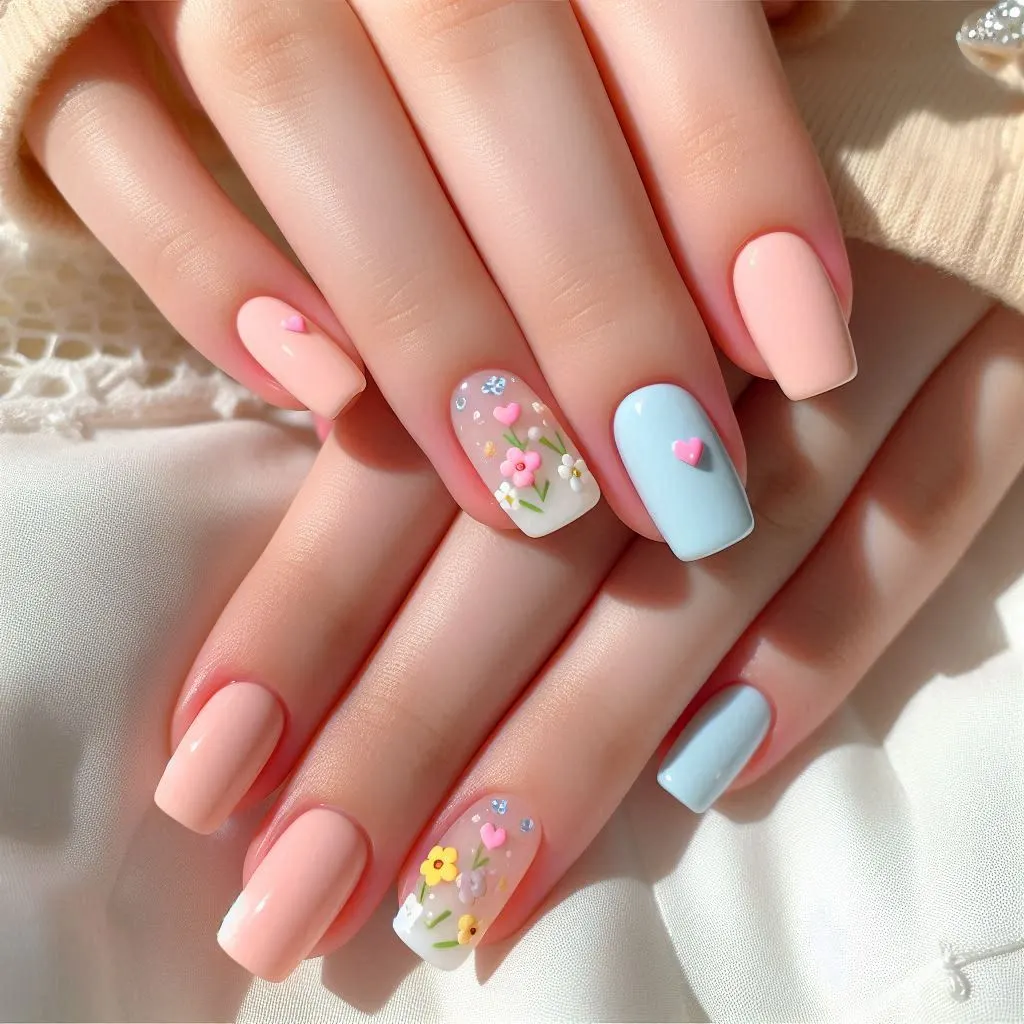
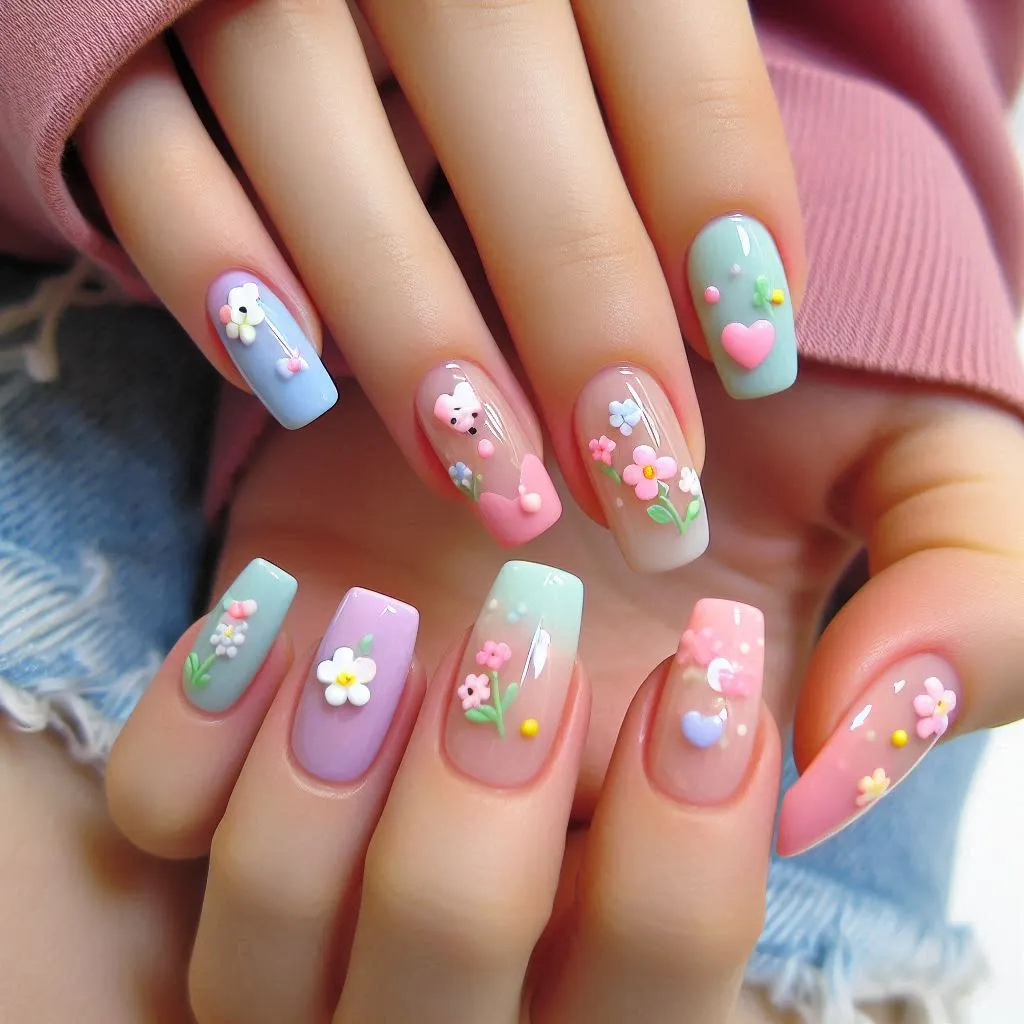
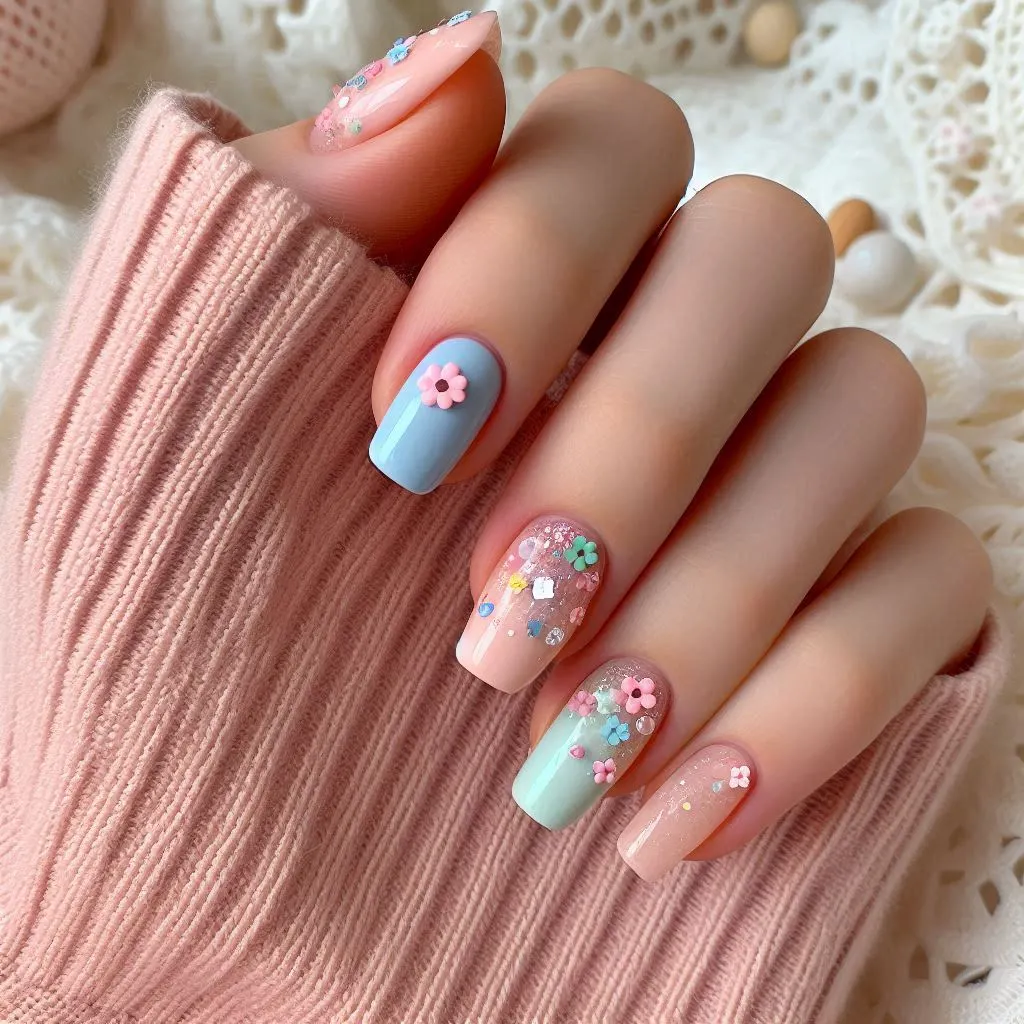
For a romantic and feminine style, opt for floral nail art. Whether it’s delicate hand-painted flowers or a more abstract floral pattern, this design brings a fresh and airy vibe to your look. Soft colors like blush pink, lavender, or baby blue are often used to create a whimsical floral effect.

Try this: Add rhinestones or pearls to the center of the flowers for a 3D touch that really stands out.

7. Chrome Nails for a Futuristic Vibe

Chrome nails offer a shiny, mirror-like finish that adds a futuristic vibe to your manicure. Whether you choose silver, gold, or a holographic hue, chrome nails are bold and eye-catching. This design works well with both short and long nails, and it pairs beautifully with geometric designs or simple shapes for a high-fashion look.

Style tip: Combine chrome with other trends like a French tip or marble for a more complex, multidimensional manicure.

8. Glitter Explosion

If you love to sparkle, then glitter nails are for you. Glitter can be applied all over the nail or used more sparingly as an accent. Whether you go for gold, silver, or a rainbow of colors, glitter acrylic nails are a fun way to add a little shine to your look.

Pro idea: Try a gradient glitter effect, starting with dense glitter at the tips and fading as you move toward the cuticle for a sophisticated, ombre-like shimmer.

9. Marble Nails for a Luxe Look

Marble nail art gives your manicure a luxurious, high-end feel. The marble effect can be created using white, black, gray, or even more adventurous colors like teal or pink. This design is great for creating a statement look, especially when paired with metallic accents like gold foil.

Creative idea: Choose one or two nails for the marble design and keep the rest simple with a solid color for a balanced yet dramatic effect.

10. Color Block Nails

Color blocking is a bold way to play with contrasting shades. You can section off parts of your nail using tape or freehand the design to create colorful blocks in different shapes and sizes. This look is perfect for anyone who loves experimenting with color and wants a playful yet modern manicure.

Pro tip: Stick to a complementary color palette for a polished look or go bold with neon and pastel combinations for a fun, trendy statement.

AcrylicNailsIdeasC
AcrylicNailsIdeasD

Final Thoughts

Acrylic nails provide endless opportunities for creativity and personalization. Whether you love understated elegance or enjoy making a statement with bold colors and patterns, there’s a perfect design for every style and occasion. From minimalist shapes and floral motifs to daring chrome finishes and animal prints, the possibilities are endless when it comes to acrylic nails.

Take these trendy acrylic nail ideas as inspiration for your next manicure and feel free to mix, match, and experiment with colors and designs that reflect your unique personality!

Artificial nails – Wikipedia

Manicure – Wikipedia

Nail polish – Wikipedia

Nail art – Wikipedia

Toy Poodle: The Perfect Petite Companion – love a happy home (loveahh.com)

How to Remove Acrylic Nails(1 In-Depth Guide)

AcrylicNailsA
AcrylicNailsC

How to Remove Acrylic Nails Safely at Home: A Step-by-Step Guide

Acrylic nails are a popular choice for those looking for durable, long-lasting manicures with added length and style. However, when it’s time to take them off, many people head straight to the salon for removal. But did you know you can safely remove acrylic nails at home? In this guide, we’ll walk you through a step-by-step process to remove acrylic nails without damaging your natural nails.

Why Removing Acrylic Nails Properly Matters

Before jumping into the removal process, it’s important to understand why proper care is crucial. Incorrect removal can lead to brittle, damaged nails, making them more susceptible to breakage or infection. That’s why it’s essential to be patient and follow the right steps to protect the health of your natural nails.

What You’ll Need

Before you start, gather the necessary supplies to make the process easier:

  • Acetone (100% pure): Regular nail polish remover might not be strong enough to dissolve acrylic nails, so you’ll need pure acetone.
  • Nail clippers: To trim down the acrylic nails.
  • Nail buffer: To file down the surface of the acrylic nails.
  • Cuticle pusher: To gently lift the acrylic as it softens.
  • Foil: To wrap your nails in acetone-soaked cotton balls.
  • Cotton balls or pads: To soak in acetone.
  • Bowl (optional): If you prefer soaking your nails in acetone instead of using foil wraps.
  • Moisturizing hand cream or cuticle oil: To rehydrate your skin and nails after removal.

Step 1: Trim Your Nails

Start by trimming down the length of your acrylic nails with nail clippers. Try to cut them as short as possible without cutting into your natural nails. This will make the removal process faster by reducing the amount of acrylic that needs to be dissolved.

Step 2: File the Surface

Using a coarse nail buffer, gently file the top layer of the acrylic nails. Your goal here is to remove the shiny topcoat and thin down the acrylic layer. Don’t over-file, as this could damage your natural nails. This step helps the acetone penetrate the acrylic more effectively.

Step 3: Soak Cotton Balls in Acetone

There are two methods for soaking your nails in acetone. You can either wrap each nail individually using acetone-soaked cotton balls or pads, or you can soak your nails in a bowl of acetone.

For the foil wrap method, take cotton balls soaked in acetone and place them directly on your nails. Wrap each fingertip tightly with aluminum foil to keep the acetone in contact with the acrylic. This creates heat, which speeds up the breakdown of the acrylic material.

Alternatively, for the soak method, you can pour pure acetone into a small bowl and soak your nails for 15-20 minutes. Be sure to choose a well-ventilated area, as acetone has a strong odor.

Step 4: Wait and Check Progress

Once your nails are soaking in acetone, let them sit for at least 20-30 minutes. The acrylic should start to dissolve, making it easier to remove. After 20 minutes, gently check one of your nails. If the acrylic starts to peel off easily, you’re ready to move on to the next step. If it’s still firm, wrap your nails back up and wait another 10-15 minutes.

Step 5: Gently Remove the Acrylic

Using a cuticle pusher or an orangewood stick, gently push the softened acrylic off your nails. Start at the cuticle area and work your way toward the tip. Be careful not to apply too much pressure or scrape too hard, as this can damage your natural nails.

If some of the acrylic is still stuck, don’t force it off. Instead, rewrap your nails with acetone and foil or soak them for another 10-15 minutes before attempting removal again.

Step 6: Buff and Shape Your Nails

Once all the acrylic has been removed, use a gentle nail buffer to smooth out the surface of your natural nails. Buffing will remove any remaining acrylic residue and leave your nails smooth. You can also shape your nails using a nail file, trimming any rough or jagged edges.

Step 7: Rehydrate Your Nails and Hands

Acetone is extremely drying, so after removal, it’s important to rehydrate your nails and skin. Apply a generous amount of cuticle oil or hand cream to nourish your nails and restore moisture. You can even massage the cuticle oil into your nails and let it absorb for a few minutes.

If your nails feel weak or brittle after the removal process, consider applying a nail strengthener or a clear polish designed to protect and reinforce your natural nails.

Tips for Healthy Nail Care After Removal

  1. Give your nails a break: After removing acrylic nails, it’s a good idea to let your natural nails breathe for a while before applying another set of acrylics or any other nail enhancements.
  2. Use nail-strengthening products: Look for treatments containing keratin or biotin to help strengthen and repair your natural nails after acrylic removal.
  3. Be patient: Healthy nail growth takes time, so avoid biting your nails or picking at them while they grow out.

When to Seek Professional Help

If you experience any pain or notice redness, swelling, or signs of infection during or after the removal process, it’s best to consult a professional nail technician or a dermatologist. Sometimes at-home removal can be tricky, and seeking professional help ensures that your natural nails remain healthy and strong.

AcrylicNailsB
AcrylicNailsD

Conclusion

Removing acrylic nails at home is possible with the right tools and techniques. Following these steps patiently and carefully will not only remove the acrylic nails but also protect your natural nails from unnecessary damage. Remember to nourish and care for your nails afterward, and give them a well-deserved break to recover.

Artificial nails – Wikipedia

Manicure – Wikipedia

Nail polish – Wikipedia

Nail art – Wikipedia

Toy Poodle: The Perfect Petite Companion – love a happy home (loveahh.com)

The Ultimate Guide to French Tip Nails(6 Types)

FrenchTipNailsA1
FrenchTipNailsA2

Introduction
French tip nails have long been a staple in nail fashion, known for their clean lines and elegant simplicity. But in recent years, this classic style has evolved, branching out from traditional white to include a rainbow of colors and styles that cater to every personality and occasion. Whether you want a bold twist on the classic look or something soft and subtle, French tip nails can meet your needs. Let’s explore six popular French tip styles—black, pink, short, white, red, and blue—so you can find the perfect match for your next manicure.

1. Black French Tip Nails: A Bold Statement

Black French tips add an edgy, sophisticated twist to the classic French manicure. Perfect for anyone who wants a daring look, black tips make a striking contrast against a neutral or clear base. They work especially well with almond or stiletto nail shapes, as the dramatic shape complements the bold color. Black tips are versatile and suit a range of occasions, from casual gatherings to formal events. You can also experiment with matte black tips for a muted elegance, or try a high-gloss finish to make them pop.

Why Choose Black Tips?
Black French tips are ideal for those who prefer a chic, modern aesthetic. They add a touch of glamor without being overly flashy, making them a versatile choice that’s both trendy and timeless.

2. Pink French Tip Nails: Soft and Romantic

For a delicate, feminine twist, pink French tips are a popular choice. Pink tips offer a gentle pop of color that’s perfect for weddings, spring celebrations, or any occasion that calls for a softer look. Light pinks are subtle and romantic, while vibrant pinks bring a playful energy. These tips work well with rounded or square nails for a softer overall effect. You can also add small accents, like tiny hearts, flowers, or glitter, to enhance the romantic vibe.

Why Choose Pink Tips?
Pink French tips are versatile and suit various occasions. They offer a touch of elegance without overpowering the natural beauty of the nails and can be customized to match your mood—whether that’s sweet and gentle or bright and playful.

3. Short French Tip Nails: Practical and Polished

Short French tip nails offer the classic elegance of a French manicure while maintaining practicality. Perfect for those with an active lifestyle or jobs where long nails aren’t ideal, short French tips are subtle yet stylish. They look great in traditional white but can be adapted to any color, depending on your preference. Square or rounded tips work particularly well with shorter nails, giving them a neat and polished look. This style is a perfect option for professional settings where understated nails are preferred.

Why Choose Short Tips?
Short French tip nails are low-maintenance and comfortable while still looking polished. They’re a great choice for anyone who values simplicity but still wants a touch of style in their manicure.

4. White French Tip Nails: The Classic Choice

The timeless white French tip is the original style that made this manicure iconic. White tips give your nails a clean, classic look that’s suitable for all occasions, from formal events to everyday wear. This style complements any nail length or shape and is perfect for anyone looking to keep things traditional. For a modern update, try different finishes like chrome or pearl, or add subtle embellishments like rhinestones or thin metallic lines along the tips.

Why Choose White Tips?
White French tips are universally flattering, making them ideal for anyone who wants an elegant, sophisticated look that’s guaranteed to complement any outfit.

5. Red French Tip Nails: Bold and Glamorous

Red French tips are vibrant, glamorous, and full of confidence. This style is perfect for making a statement, whether it’s for a night out, a date, or any event where you want to stand out. From deep, dark reds that add a sultry touch to brighter shades that bring energy and flair, red tips are versatile and eye-catching. Pair them with a glossy finish and perhaps a touch of gold for added drama.

Why Choose Red Tips?
Red French tips exude confidence and charisma, making them ideal for those who love to make a bold impression. They’re an easy way to add a touch of glamor to your look without going overboard.

6. Blue French Tip Nails: Cool and Unique

Blue French tips bring a refreshing twist to the classic French manicure. Whether you prefer a soft pastel blue for a dreamy vibe or a bright cobalt blue for a bolder look, blue tips are versatile and unique. This color works well with almond or coffin-shaped nails and can be enhanced with silver accents or glitter for an added pop. Blue is a calming color, so it’s perfect for when you want a touch of color that’s both soothing and stylish.

Why Choose Blue Tips?
Blue French tips are unexpected and stylish, offering a unique alternative to more traditional French tip colors. They add a relaxed yet chic vibe, making them ideal for anyone looking to try something different.

FrenchTipNailsA3
FrenchTipNailsA4

Conclusion
French tip nails are no longer limited to the classic white style—they now come in a wide range of colors and shapes to suit any preference. Whether you’re drawn to the edgy black tip, the timeless white, or a playful blue, each option brings something special to your look. So, the next time you’re considering a French manicure, explore one of these trendy options and take your nail game to new heights!

Manicure – Wikipedia

Nail polish – Wikipedia

Nail art – Wikipedia

Toy Poodle: The Perfect Petite Companion – love a happy home (loveahh.com)

French Tip Nails: A Timeless Style with a Modern Twist

FrenchTipNailsA
FrenchTipNailsB

French tip nails have been an enduring favorite in the nail industry. Known for their clean, versatile look, they bring an air of sophistication to any style. While the classic French manicure remains popular, modern variations have breathed new life into this timeless trend, giving nail lovers endless creative options.

The Origins and Appeal of French Tip Nails

The classic French manicure, recognized by its nude or pale pink base and white-tipped edges, emerged in the 1970s. Jeff Pink, the founder of ORLY nail polish, is credited with popularizing this style. Originally designed for Hollywood actresses who needed a neutral look for on-screen versatility, French tips quickly gained popularity in mainstream fashion. The look became iconic due to its ability to pair well with any outfit, season, or occasion.

The classic French tip manicure features a pink or nude base with a white line across the tip of each nail. However, in recent years, artists and enthusiasts have experimented with colors, shapes, and textures to create unique, modern adaptations. Here are some variations that have evolved from the traditional French tip:

  1. Colored Tips: Rather than classic white, colored tips in pastels, neon shades, or even metallics have become trendy. This playful take allows you to keep the elegance of French tips while expressing personal style.
  2. Reverse French Tips: Also known as the “moon manicure,” this style involves placing the accent color at the base of the nail rather than the tip. This unexpected twist gives a modern, artsy look.
  3. Ombré French Tips: Blending colors to create a gradient effect, ombré French tips provide a soft and stylish alternative. This style often features a pink-to-white fade but can be done in any color combination.
  4. V-Shaped French Tips: A twist on the classic design, V-shaped tips give the manicure a bold, geometric look. This shape is trendy and works well on longer nails for an edgy, fashion-forward style.
  5. Glitter and Metallic Tips: Perfect for special occasions or holidays, adding a glitter or metallic polish to the tip adds a touch of glamour to the traditional French manicure.
  6. Double-Lined French Tips: This design involves adding a second line above the original tip line, often in a contrasting color. This look adds dimension and makes the classic French manicure feel modern.

How to Create French Tip Nails at Home

Achieving a professional-looking French manicure at home requires a few essential tools: a base coat, white (or chosen accent color) polish for the tips, and a top coat for a smooth finish. Here’s a step-by-step guide to get the perfect French tip manicure at home:

  1. Prepare the Nails: Start with clean, trimmed, and filed nails. Make sure the nail surface is smooth and dry.
  2. Apply a Base Coat: Apply a clear base coat to protect the nails and create a smooth canvas. Allow it to dry thoroughly.
  3. Create the Tip: Use white polish for a classic look, or choose a different color for a unique twist. Gently sweep the polish along the tip of each nail. To achieve a clean, even line, use French manicure nail guides or a strip of tape just below the tips.
  4. Perfect the Tip: Clean up any mistakes with a fine brush dipped in nail polish remover.
  5. Apply a Top Coat: Finish with a clear top coat to add shine and seal the look for longer wear.

French Tip Nails for Every Occasion

One reason French tip nails are so popular is their versatility. For everyday wear, the classic style pairs seamlessly with any outfit or occasion, offering a clean, polished look. Meanwhile, variations like glitter or colored tips can make a statement for special events, holidays, or nights out.

  • Office and Formal Settings: The classic French manicure works well in professional environments, adding polish and elegance without drawing too much attention.
  • Casual Outings: Colored or V-shaped tips can make the French manicure more playful, great for casual weekends or dates.
  • Special Events: Glitter, metallics, or ombré French tips can be perfect for weddings, parties, or any event where you want your nails to pop.

Caring for Your French Tip Nails

Maintaining a fresh French manicure requires some attention. To keep the tips looking pristine, avoid using nails as tools and apply a clear top coat every few days to prevent chipping. Consider using cuticle oil daily to nourish your nails and extend the life of the manicure.

FrenchTipNailsC
FrenchTipNailsD

Final Thoughts

French tip nails have retained their popularity for a reason. From the minimalist appeal of the classic French manicure to the bolder modern variations, this style offers something for everyone. Whether you’re a fan of the classic look or prefer a fresh twist with color or glitter, French tip nails are a beautiful choice for any occasion.

Manicure – Wikipedia

Nail polish – Wikipedia

Nail art – Wikipedia

Toy Poodle: The Perfect Petite Companion – love a happy home (loveahh.com)

How to Achieve the Perfect Glazed Donut Nails

GlazedDonutNailsA
GlazedDonutNailsB

How to Achieve the Perfect Glazed Donut Nails: A Step-by-Step Guide

The “glazed donut nails” trend has taken the beauty world by storm, and for a good reason. This chic, sleek look combines the soft sheen of a glazed donut with a polished, pearlescent finish on your nails, offering a clean yet glamorous aesthetic. If you’ve been admiring this trend and wondering how to achieve it at home, you’re in the right place. Below, we will walk you through the process of doing glazed donut nails and provide tips to help you get the perfect finish.

What Are Glazed Donut Nails?

Before diving into the tutorial, let’s clarify what this trend is all about. Glazed donut nails resemble the sugary, shiny, and smooth coating of a fresh donut. Typically achieved using soft white, beige, or pink shades paired with a pearly, chrome-like top coat, the result is subtle, luminous, and effortlessly stylish. The key to getting that glazed effect is in layering sheer color with a metallic or pearly top coat that reflects light.

What You’ll Need:

To achieve this look at home, you will need a few essential items:

  • Nail buffer and file: To shape and smooth your nails.
  • Base coat: This is crucial for a smooth and even finish.
  • Nude or soft white nail polish: These colors serve as the foundation of the look.
  • Chrome powder or pearlescent top coat: For the signature glazed finish.
  • Top coat: To seal the look and add extra shine.
  • Cuticle oil (optional): To nourish and finish your nails.

Step-by-Step Guide to Achieving Glazed Donut Nails

1. Prepare Your Nails

Start with clean, dry nails. Remove any old polish with an acetone-based nail polish remover. Then, file and shape your nails to your desired shape. For glazed donut nails, a short almond or square shape often works best, though this style suits all lengths.

Next, use a nail buffer to smooth the surface of your nails. Buffing is important because it helps create an even base for the polish and ensures the final look is smooth and glossy.

2. Apply a Base Coat

Once your nails are prepped, apply a thin layer of base coat. The base coat acts as a primer, ensuring your polish adheres well and lasts longer without chipping. It also helps protect your natural nails from discoloration. Allow the base coat to dry completely before moving to the next step.

3. Choose and Apply Your Color

For the glazed donut look, soft colors work best. Opt for a pale white, milky beige, or light pink shade. Apply one thin coat of your chosen polish and let it dry for a minute or two. The key is to keep the layers thin to avoid streaks and bubbling. If the color is too sheer, apply a second coat to build up the opacity slightly, but don’t worry if it’s not perfectly opaque – the glazed top coat will do the rest.

4. Add the Chrome or Pearlescent Effect

The most crucial part of achieving the glazed donut nail effect is adding the chrome or pearlescent layer. There are two ways to do this:

  • Using Chrome Powder: After applying your polish, while it is slightly tacky but almost dry, gently rub a fine layer of chrome powder onto the nail using a sponge applicator or your fingertip. Focus on creating a soft, even layer. Buff it lightly until you achieve that glowing, glazed effect. Be sure not to use too much powder, as the goal is a subtle shimmer, not a full-on metallic look.
  • Using a Pearlescent Top Coat: If you don’t have chrome powder, you can opt for a pearly or iridescent top coat. Simply apply one thin layer over your dried color polish. This will give you a slightly less intense effect than chrome powder but still achieves the glowing, glazed look.

5. Seal with a Top Coat

Once you’re happy with the chrome or pearlescent finish, it’s time to seal the look with a high-gloss top coat. This not only locks in the glazed effect but also adds a brilliant shine that enhances the donut-like glow. Apply the top coat carefully, ensuring you cover the edges of your nails to prevent chipping. Let the top coat dry fully, as rushing can ruin the smooth finish.

6. Finishing Touches

For a professional-looking manicure, finish by applying cuticle oil to nourish your nail beds and give your nails a hydrated, salon-like glow. This final step adds to the overall polished look of your manicure.

Tips for Achieving the Best Glazed Donut Nails

  • Keep Your Layers Thin: The key to a flawless glazed donut nail look is in the layers. Thick layers of polish can lead to a lumpy or uneven appearance, so be sure to apply thin coats of polish and allow each layer to dry properly.
  • Opt for Neutral Shades: The glazed donut nail trend works best with neutral tones like white, beige, or pink. These colors offer a subtle base that lets the chrome or pearlescent effect shine without overpowering the look.
  • Experiment with Chrome Powders: If you’re feeling adventurous, you can experiment with different shades of chrome powders. While silver and pearl tones are the most common, you can also try gold or rose gold for a unique twist on the trend.
GlazedDonutNailsC
GlazedDonutNailsD

Final Thoughts

Glazed donut nails are a versatile and stylish look that you can easily achieve at home with the right tools and techniques. Whether you’re a fan of minimalist beauty or love a touch of glam, this trend offers the best of both worlds. So gather your supplies, take your time, and soon you’ll have nails that are sleek, shiny, and totally Instagram-worthy!
Glaze (painting technique) – Wikipedia

Toy Poodle: The Perfect Petite Companion – love a happy home (loveahh.com)