


This is my little online home where we celebrate life's real magic - the warm connections, simple self-care rituals, and those quiet moments that stay with you.
What I do here:
• Craft stories and tips to brighten your everyday
• Build a space where everyone feels welcome
• Make each visit worth your while - whether you need quick advice or food for thought
My superpowers? Turning ordinary moments into something special through words that actually mean something.
Off-screen, I'm probably:
☕ Curled up with a book that changes my perspective
🎨 Trying some new creative hobby
🌿 Noticing the small wonders we usually rush past
So glad you're here - let's make something meaningful together!
Youtube: https://www.youtube.com/@FamilyGoods
- 100 Attractions in the World 2025 In-Depth Guide - 05/13/2025
- 100 Best Life Hacks 2025 In-Depth Guide - 05/12/2025
- 100 Easy Dinner Ideas 2025 In-Depth Guide - 05/09/2025
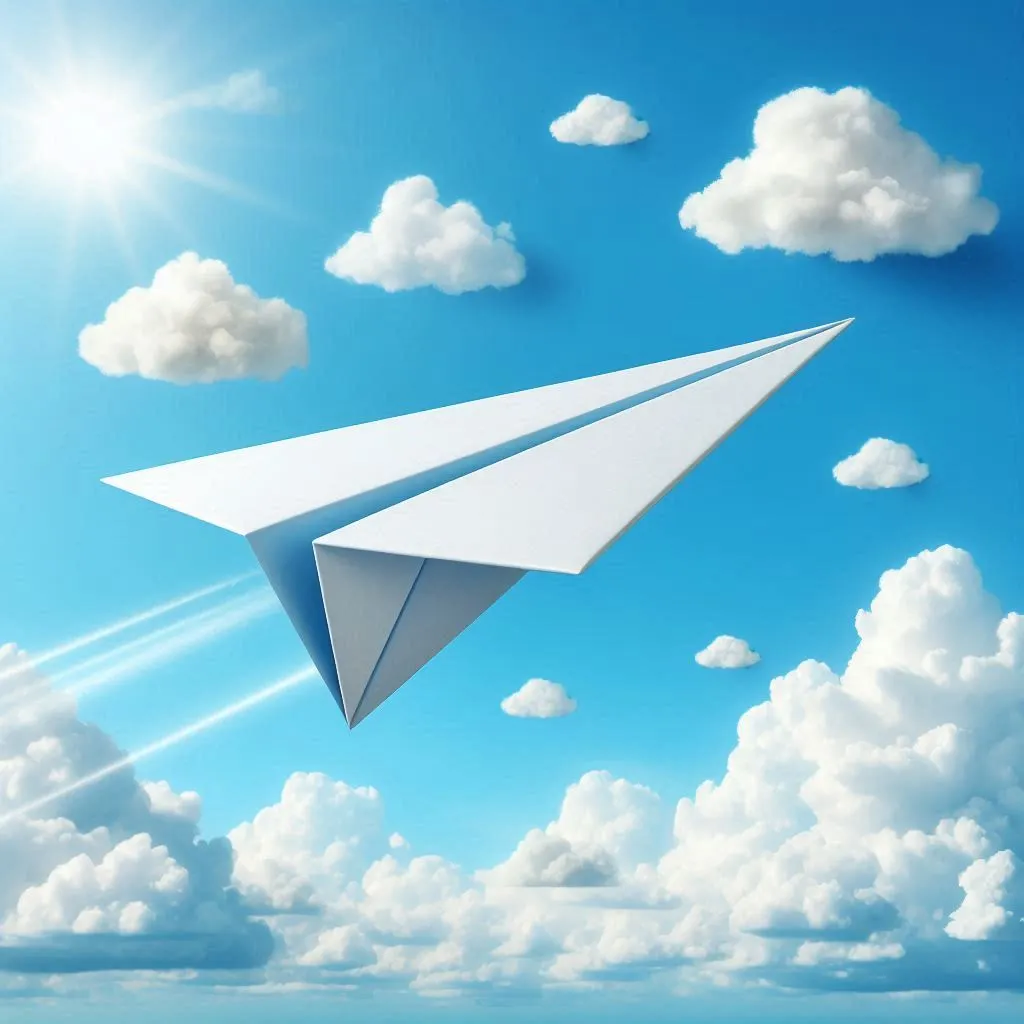
Table of Contents
Paper airplanes are a timeless source of fun and creativity, appealing to kids and adults alike. Whether you’re looking to win a paper airplane contest or entertain yourself with some simple yet effective engineering, this article will guide you step by step on how to create the perfect paper airplane. We’ll also include some tips, tricks, and aerodynamic principles to help your airplane fly farther and faster.
Materials Needed
Before diving into the process, gather the following materials:
| Material | Description |
|---|---|
| Standard Paper | 8.5 x 11 inches (A4) recommended. |
| Flat Surface | For folding with precision. |
| Ruler | Optional, for creating crisp folds. |
| Markers/Pens | Optional, for decoration. |
Pro Tip:
Use lightweight paper to make your airplane glide longer. However, if you’re aiming for speed, slightly heavier paper works better.
Additionally, having a variety of paper types on hand will allow you to experiment and find the best material for your designs. Some advanced enthusiasts even use specialized craft paper for unique performance characteristics.
Step-by-Step Instructions
Step 1: Choose the Right Paper
The first and most crucial step is selecting the right type of paper. Standard printer paper works well for most designs, but experimenting with construction paper or even specialty craft paper can yield interesting results. Heavier paper may improve durability but could compromise flight distance.
Step 2: Basic Fold
- Fold the paper in half lengthwise to create a center crease. Open it back up.
- Fold the top two corners inward so they meet at the centerline, forming a triangle at the top.
Take your time to ensure these folds are symmetrical; even minor differences can affect your airplane’s flight path.
Step 3: Create the Nose
- Fold the triangle down so that the tip touches the bottom of the paper.
- Fold the top two edges down to meet the centerline. This forms the pointed nose of the airplane.
- Consider reinforcing the nose with an additional fold for better weight distribution, especially for long-distance flights.
Step 4: Shape the Wings
- Fold the paper in half along the original center crease.
- Fold down each side to create the wings, ensuring both are symmetrical. The angle of the wings will significantly influence flight stability and distance.
Step 5: Test Your Plane
Your basic airplane is now ready to fly. Throw it gently to observe how well it performs. Take note of its flight characteristics—is it stable, or does it veer off course?
For beginners, testing indoors in a draft-free environment can help you better assess your airplane’s performance.
Advanced Designs
If you’re ready to level up, try one of these advanced designs:
| Airplane Type | Difficulty | Key Feature |
|---|---|---|
| The Dart | Easy | Long and fast flights. |
| The Glider | Medium | Smooth, long-distance glides. |
| The Stunt Plane | Hard | Aerobatic maneuvers. |
| The Boomerang Plane | Hard | Returns to you when thrown. |
For detailed instructions on these designs, consider resources like Fold ‘N Fly for an extensive library of paper airplane templates. Advanced designs often require additional folds and more precise measurements to achieve optimal performance.
Aerodynamics 101
Understanding basic aerodynamics will help you improve your paper airplane’s performance. Here are the four forces that act on your airplane:
- Lift: Generated by air moving under the wings.
- Thrust: The force you provide when throwing the plane.
- Drag: Air resistance that slows the plane down.
- Gravity: Pulls the airplane downward.
To maximize distance, aim to balance these forces. Adjust the wing angle and nose weight to control lift and drag. Experiment with adding small flaps to the wings, known as elevators, to increase lift and improve gliding capabilities.
Common Mistakes and Fixes
| Mistake | Cause | Solution |
|---|---|---|
| Plane dives too quickly. | Too much weight in the nose. | Adjust the nose folds. |
| Plane veers to one side. | Uneven wing folds. | Symmetrize the wings. |
| Short flight distance. | Poor throwing technique. | Throw gently and evenly. |
| Plane stalls mid-flight. | Wings angled too steeply. | Lower the wing angle slightly. |
Troubleshooting your design is part of the fun. Don’t be afraid to make small adjustments and retest to achieve the desired flight characteristics.
Fun Facts About Paper Airplanes
- The world record for the longest paper airplane flight is 226 feet, set by John Collins in 2012. His design, known as “Suzanne,” took months to perfect.
- Origami, the art of paper folding, is over 1,000 years old and originated in Japan. Modern origami often combines aesthetics with functionality, just like paper airplanes.
- NASA engineers sometimes use paper airplanes to demonstrate aerodynamics to students, showcasing the principles of lift and drag in a simple format.
- The Guinness World Record for the most paper airplanes folded in one hour is held by a team of engineers, emphasizing the universal appeal of this craft.

Reference Links
- How to Fold a Paper Airplane – Fold ‘N Fly
- World Record for Paper Airplanes – Guinness World Records
- Basic Aerodynamics – NASA
- Tips for Better Paper Airplanes
Conclusion
Making a paper airplane is a simple yet rewarding activity that combines art, science, and fun. By following this guide, you can craft basic designs or experiment with advanced ones to challenge your creativity. Don’t forget to test your creations outdoors or in a large indoor space to truly appreciate their flight capabilities.
With practice and patience, you might even create a plane capable of breaking records. So grab some paper, start folding, and let your imagination take flight.
Happy flying!
Recommended Articles:
What Can I Feed a Stray Cat: 2025 Comprehensive Guide – love a happy home
What to Do if You Find a Stray Dog 2025 – love a happy home
- 100 Attractions in the World 2025 In-Depth Guide

- Amazon Best Sellers in Clothing Shoes: Top 10 2025

- Walmart Photo Center: The Ultimate Guide 2025

- Capybara as a Pet: The Ultimate Guide 2025

- Top 100 Attractions in the World 2025

- US Female Movie Stars Top 10

- Who is the Most Handsome Man in the World?

- Top 100 Party Entertainment Ideas 2025

- 100 Best Dad Jokes That Never Get Old 2025

- US Male Movie Stars Top 10

- How to Make Slime: A Comprehensive Guide 2025

- YouTube History Top 10 Funny Videos 2025 In-Depth

- How to Make a Paper Airplane: Complete Guide 2025

- Can Dogs Eat Fruit? A Comprehensive Guide 2025

- The Funniest Dad Jokes 2025 In-Depth Guide

- Guess What Jokes: 2025 A Playful Exploration

- 100 Funny Jokes 2025 In-Depth Guide
- Knock Knock Jokes: 2025 A Playful Dive into Humor

- 2025 Best Dad Jokes to Brighten Your Day

- Understanding Dry Humor: 2025 A Comprehensive Guide

- Funny Responses to “How Are You”: Clever Comebacks

- Dark Humor Memes: 2025 A Deep Dive

- Dark Humor Memes: 2025 A Deep Analysis

- Dark Humor: 2025 A Deep Dive

- What the Difference Between Jokes 2025?

- Funny Jokes: 2025 A Deep Dive into Humor

- Funny Dad Jokes: 2025 A Deep Dive into Humor

- How to Be Funny: 2025 A Comprehensive Guide

- Funny Dad Jokes: 2025 A Timeless Source of Laughter

- Funny Names 2025: Unusual Monikers

- Funny Names: 2025 A Journey Through Humor

- Funny Jokes 2025: Universal Joy

- Funny Jokes: 2025 Exploring Humor

- Calico Cat Names: 2025 Ultimate Guide

- Why Are Dogs So Cute? In-Depth Guide 2025

- Can Dogs Eat Tomatoes? A Complete Guide for Pet Owners

- What Can Dogs Eat? 2025 A Complete Guide

- Why Are Cats So Cute 2025
- Can Dogs Eat Cat Food 2025

- Why Does My Cat Lick Me 2025

- 999 Angel Number Meaning: A Complete Guide

- Russell Wilson: The Quarterback of the Denver Broncos

- Denver Broncos: A Storied Franchise in the NFL

- 888 Angel Number Meaning: A Powerful Symbol

- 49ers vs Bills: Comprehensive Postgame Analysis

- 666 Angel Number Meaning: Hidden Meaning

- Meaning of 555 in Love: Spiritual and Symbolic Messages

- Trails: 2025 Pathways to Discovery and Connection

- 333 Angel Number Meaning: A Spiritual Guide

- 222 Angel Number Meaning: A Comprehensive Guide

- 777 Angel Number Meaning: A Comprehensive Guide

- 444 Angel Number Meaning: A Comprehensive Guide

- 111 Angel Number Meaning: A Comprehensive Guide

- Best Ginger Cat Names(25 Types Perfect Choice)

- What is the Krabby Patty Secret Formula? 2025 Deep Dive
- Best SpongeBob Party(1 Complete Guide)

- The Lovable Villain of SpongeBob: Plankton

- SpongeBob SquarePants(Character Design and Voice Actor)

- SpongeBob SquarePants: Iconic Character Introductions

- Classic SpongeBob SquarePants Episodes and Quotes

- SpongeBob SquarePants: All Character Introductions

- SpongeBob SquarePants: The Eternal Optimist

- SpongeBob Meme: The Phenomenon Explained

- Toy Poodle: The Perfect Petite Companion

- Toy Story 5: A Journey of Hope and Belonging

- 2024 Black Myth: Wukong Review

- Best Home Theatre Installation(4 Steps)